EHSA Documentation
Add or Edit Waste Request Profile
Add or Edit Waste Request Profile
Adding a New Waste Profile
- Users that do not have a Waste Profile will be prompted to enter one.
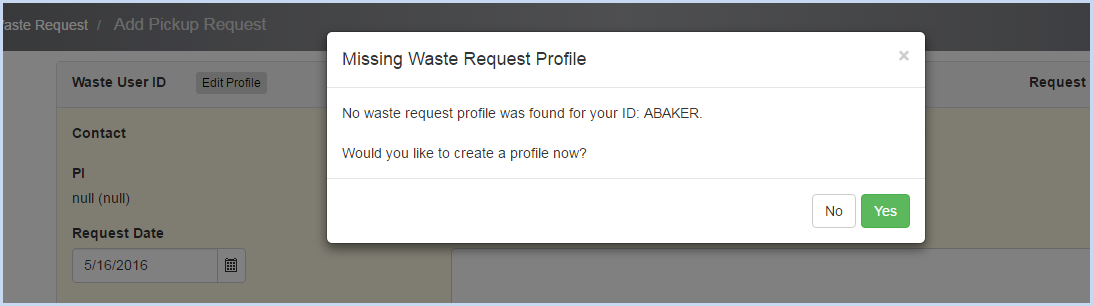
- Click on [Yes] to create a Waste Profile.
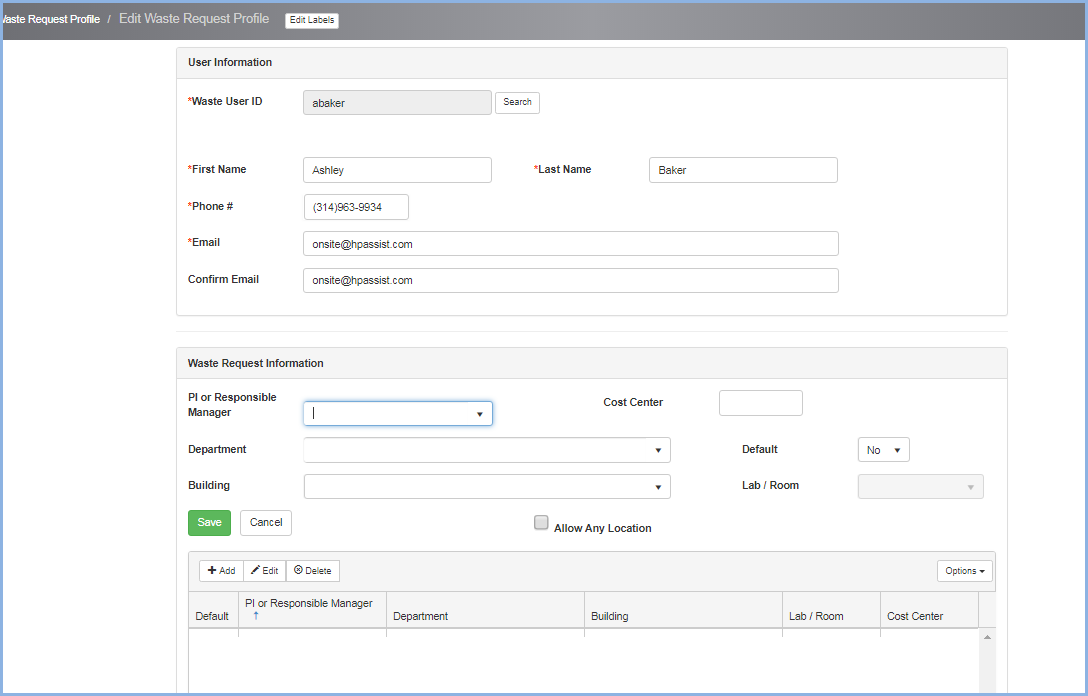
- Enter Waste Profile information. Verify name, phone and email information.
- Select the PI or Manager from the dropdown list of PI's.
- Use the dropdowns to select the Department, Building, and Lab to associate with the Waste Profile.
- Click [Save] to save, or [Cancel] to discard edit/entry.
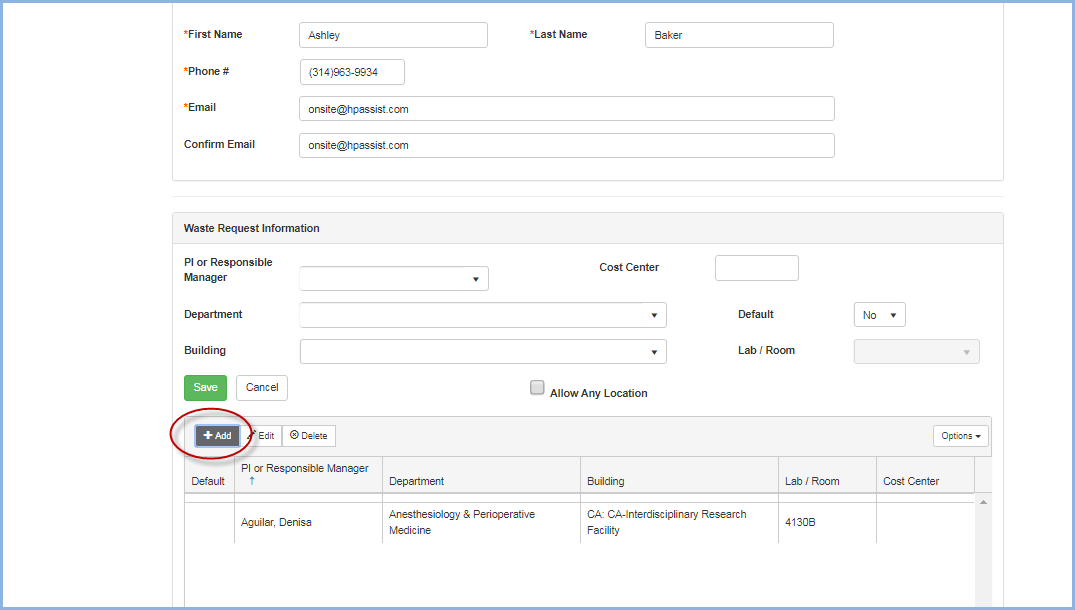
- Click [+Add] to add each additional PI to the waste request profile.
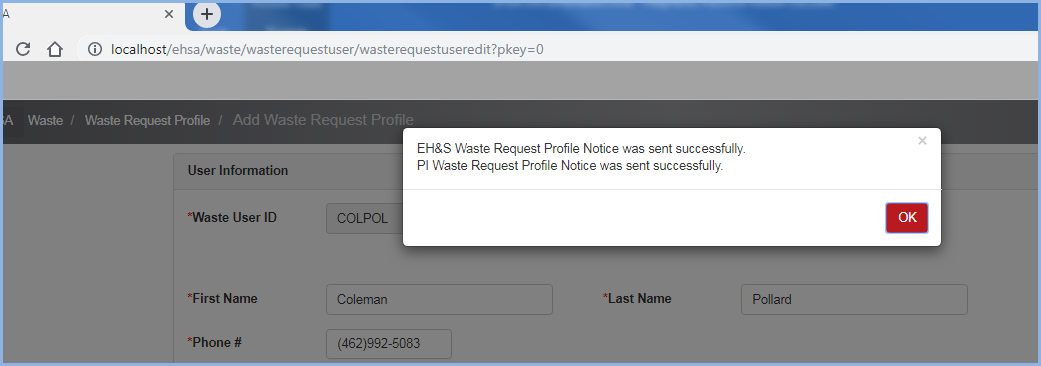
- When a new profile is created, Waste Request Profiles Notifications will be sent from the system.

- The Profile Notice success pop-up will appear.
- Click [OK] to close the box.
Editing an Existing Waste Profile
- Use Filters and Sorting to search for and view profiles.
- Highlight and click [Edit] to view or modify a Waste Request Profile.

- Make modifications as needed and click [Save] to save changes.
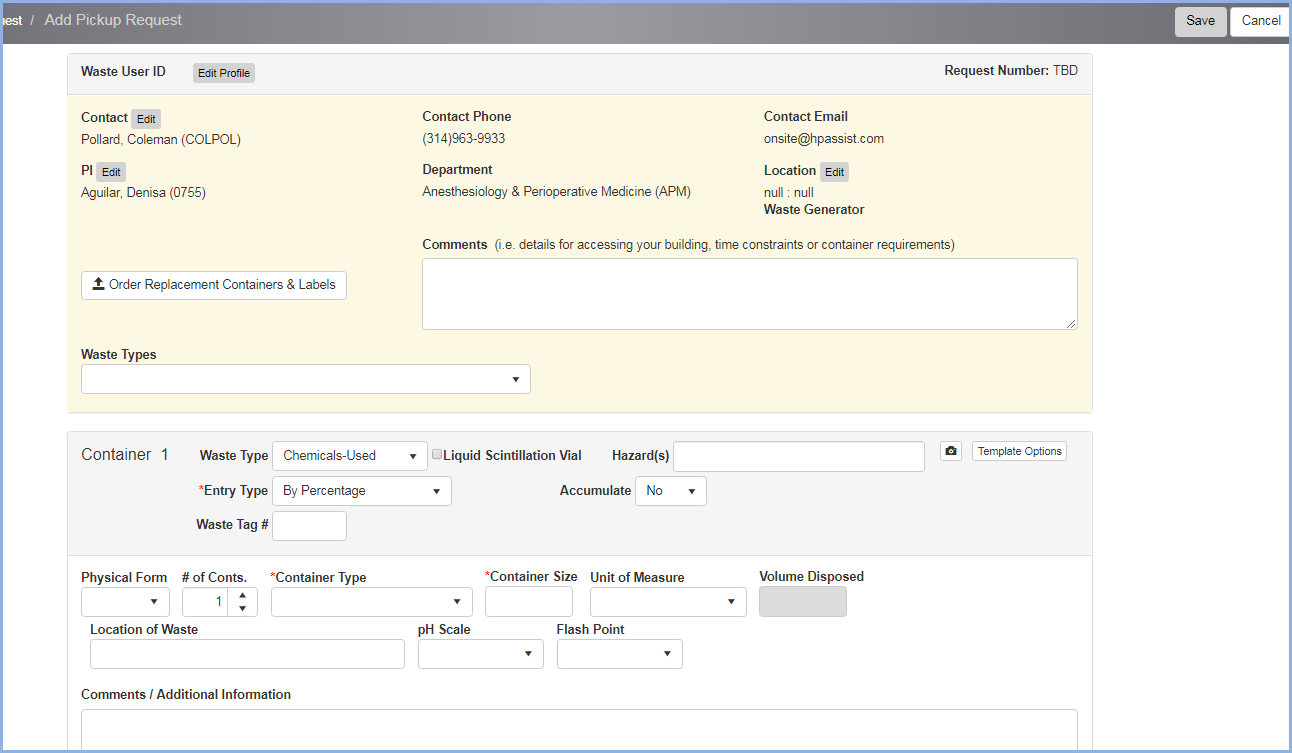
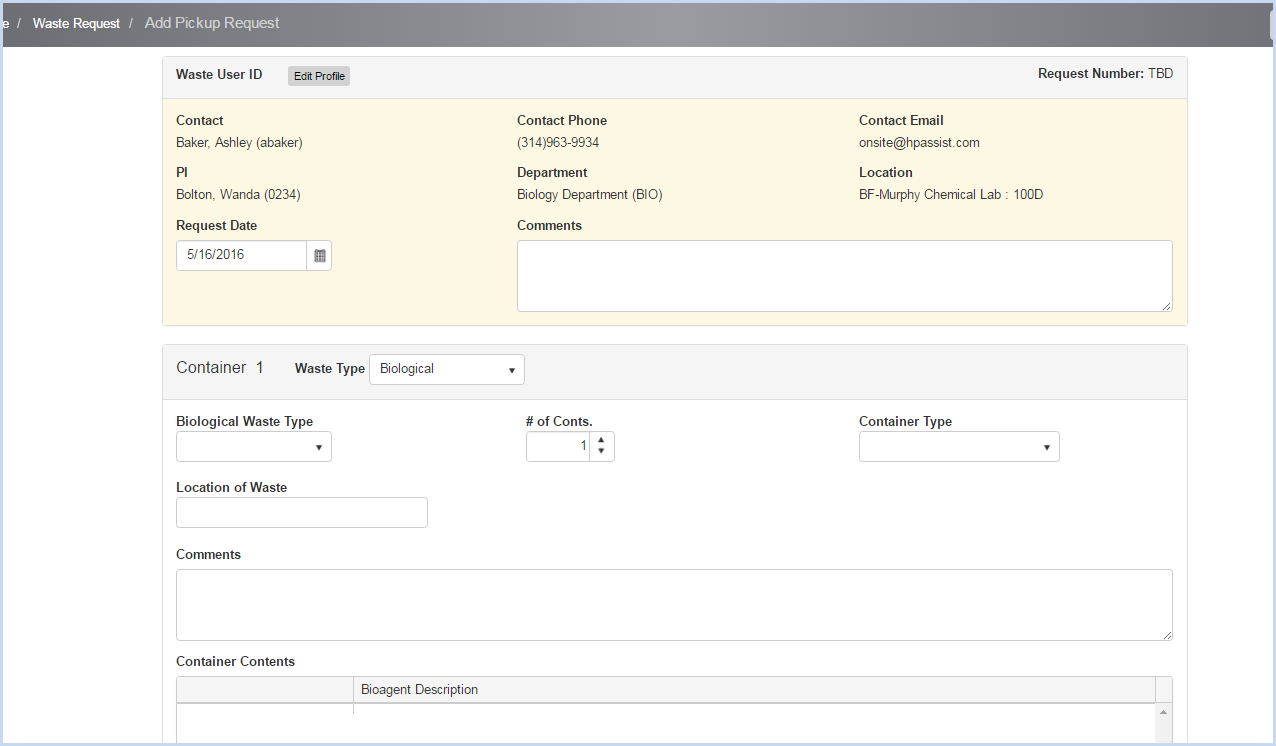
Adding a Waste Request
- After a new profile was been saved, the Add Pickup Request screen will be displayed.