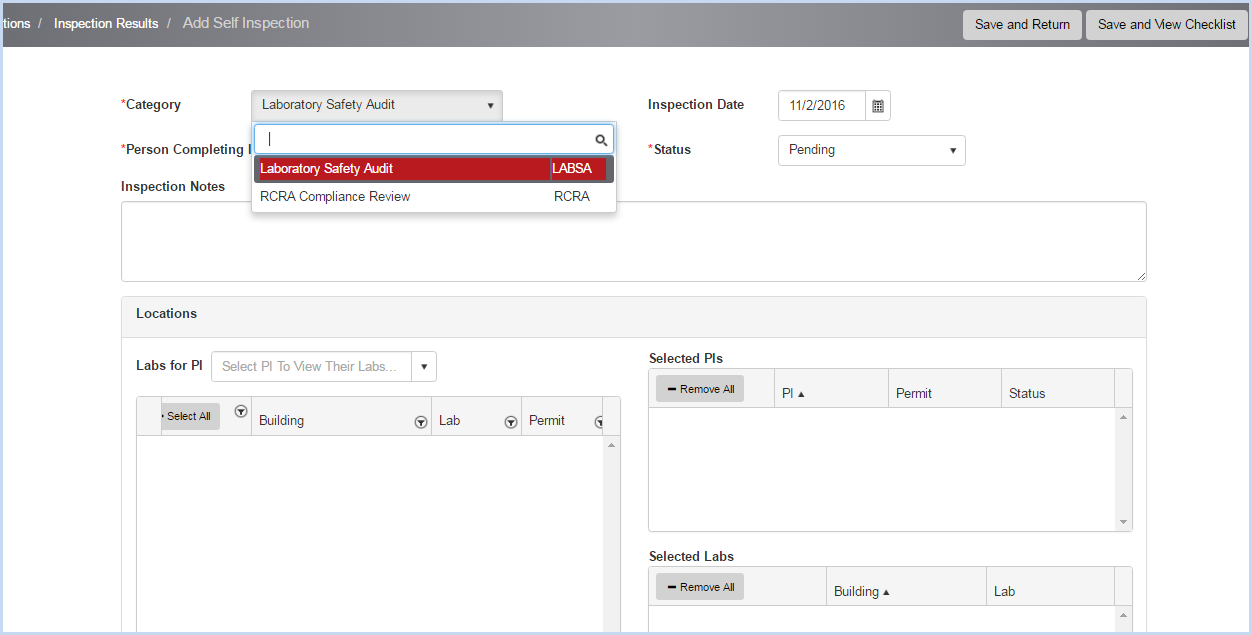
Click the [Add Self-Inspection] button in the top left corner of the screen to set up an inspection.
This opens the Self-Inspection add/edit screen.
Select the Category from the dropdown list of Inspection Categories. This is a required field.
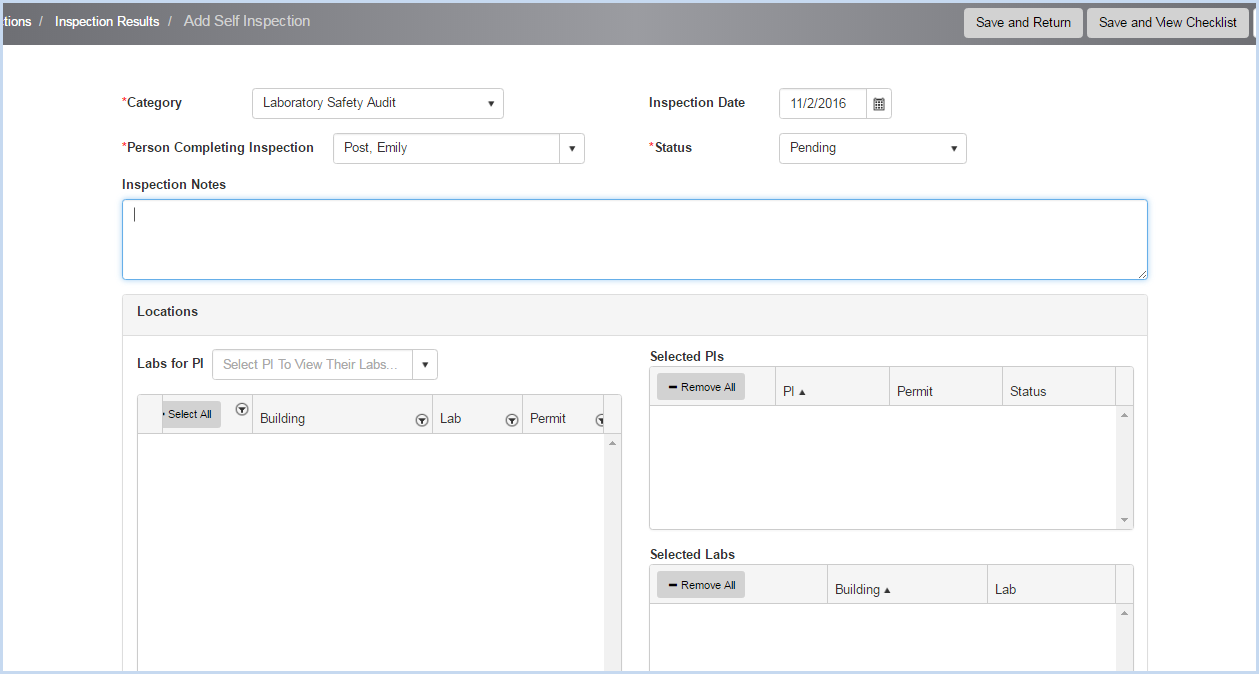
The Person Completing Inspection field defaults to the User who is logged into the system.
Enter any notes or comments about the inspection in the Inspection Notes field.
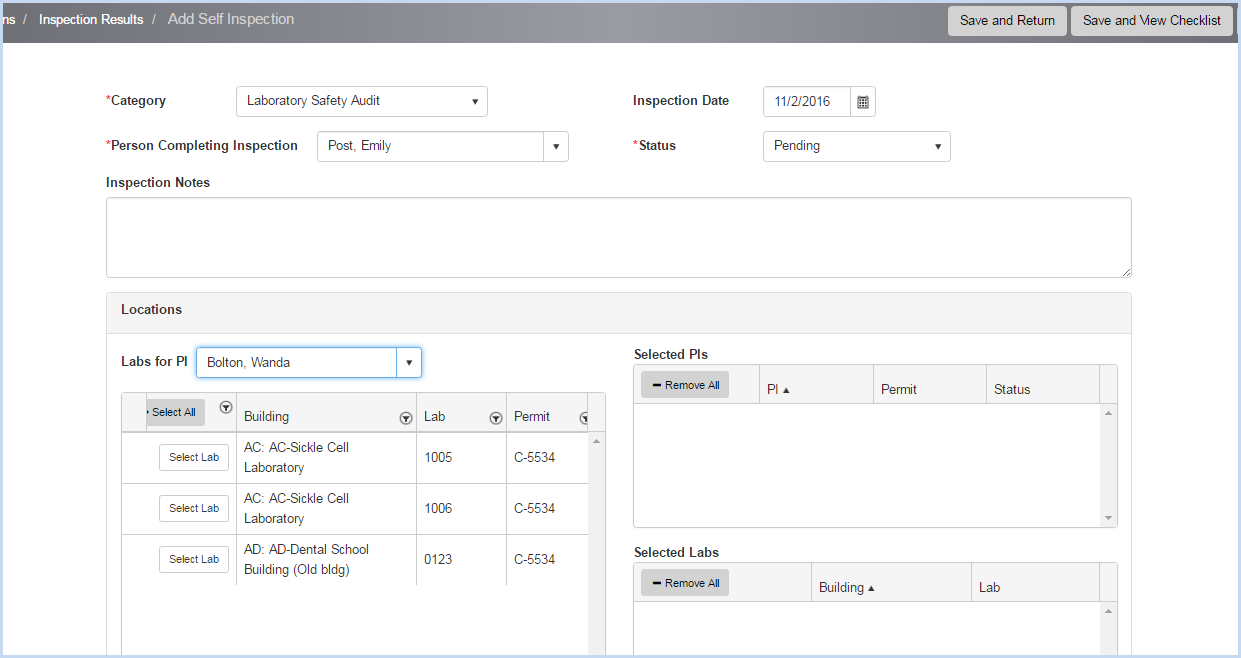
Under the locations section, select the PI for the inspection from the Labs for PI dropdown list. The PI's available will be based on the logged in user's access.
The labs shown for the selected PI will be labs attached to Permit type that corresponds to the Inspection Category selected.
In the example below, Permit Type has been set to CHEM for the Category, only CHEM permitted labs are displayed.
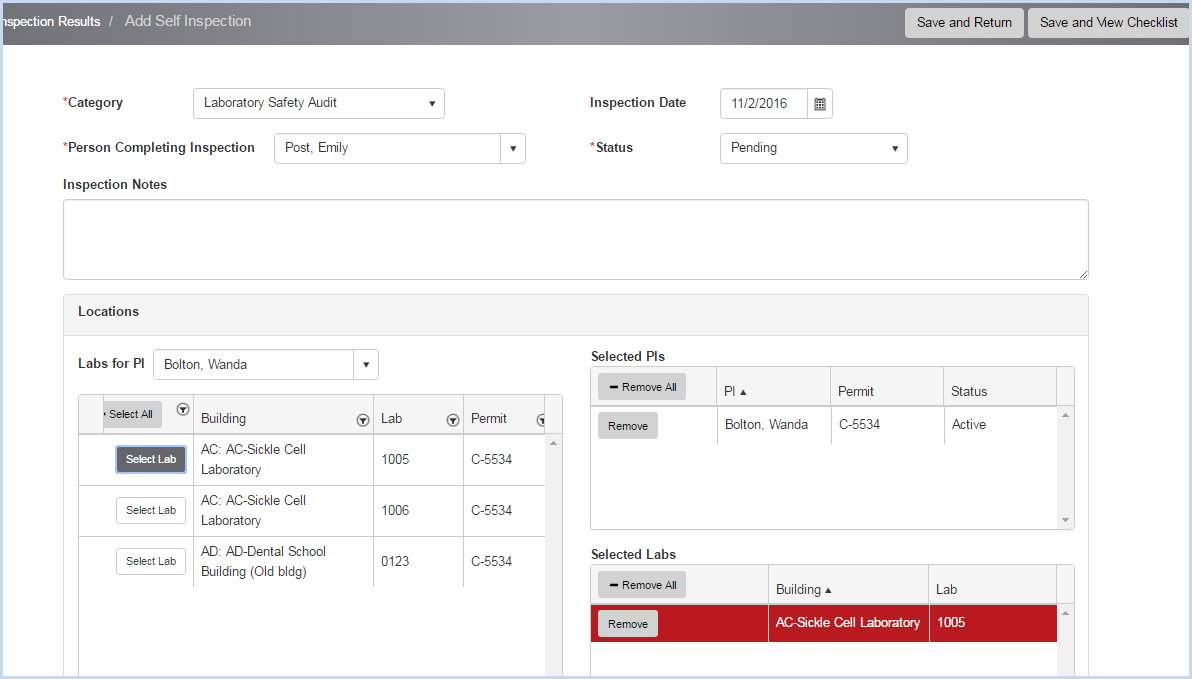
Select the lab or labs for the inspection by clicking on [Select Lab] for each lab to include.
Click [Remove] to remove a highlighted lab from the inspection.
After the lab(s) have been selected, click on [Save and View Checklist].
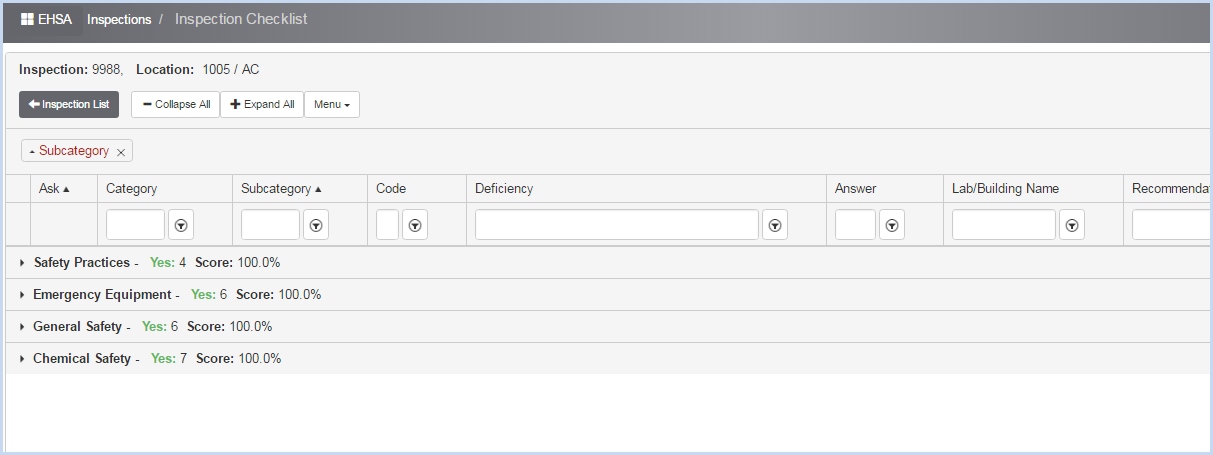
The Inspection Checklist screen will open, as shown below.
To view the questions under each subcategory, click on the arrow to the left of each Subcategory, or click on the [+ Expand All] button at the top of the screen to expand all Subcategories.
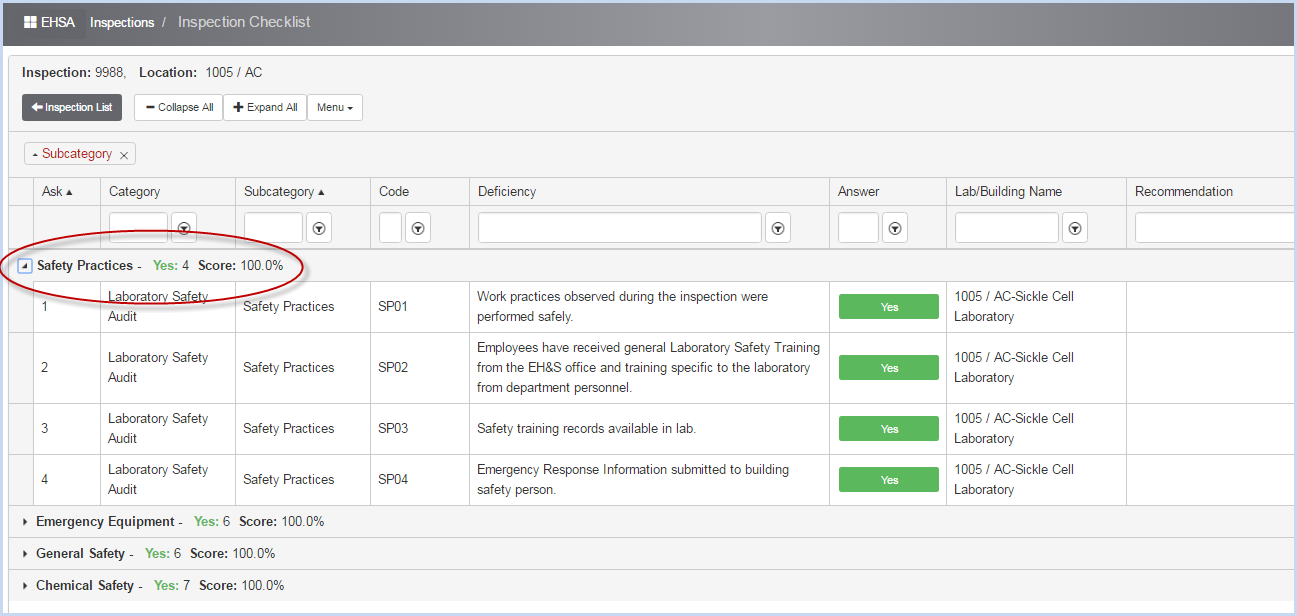
The first subcategory, Safety Practices, is expanded below.
All answers will default to YES for each subcategory, indicating compliance with all of the items. Note that the number of questions in this subcategory is 4.
The answer choices may be different on your program, such as "PASS", or "In Compliance" instead of Yes, but the same process applies.
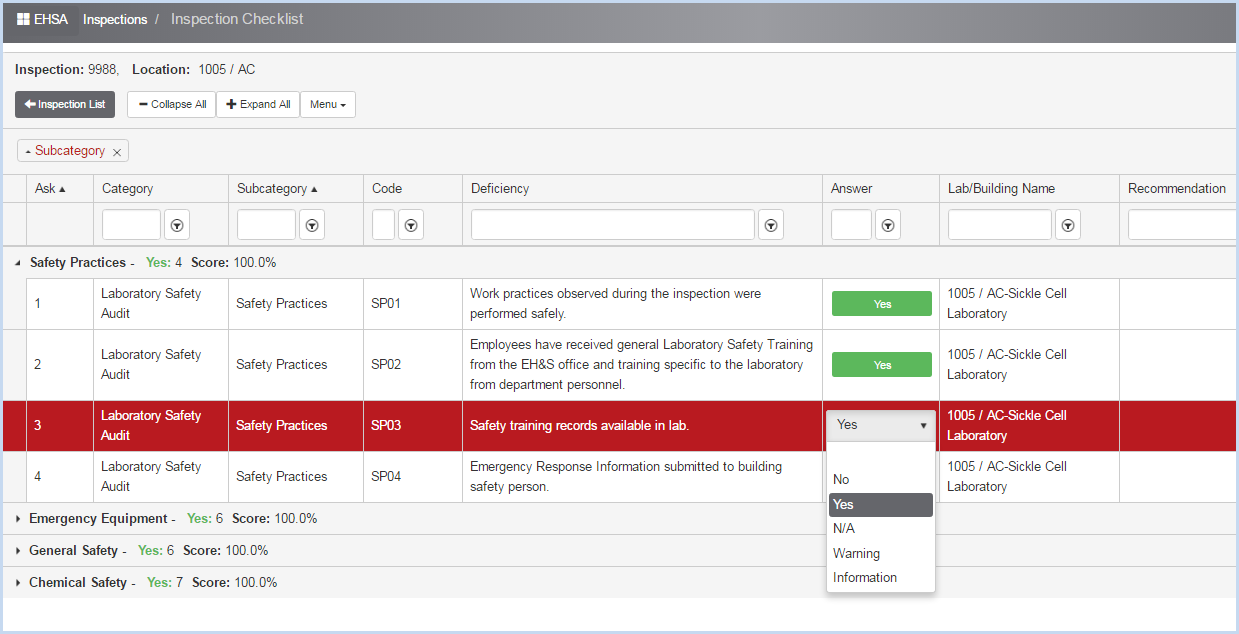
If the lab is deficient on an item, change the answer to No in the dropdown.
Other answer options may be N/A, Warning, or Information.
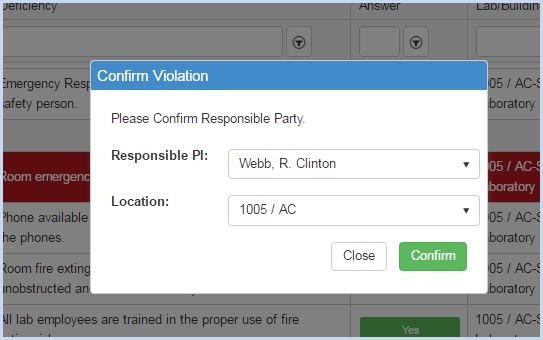
When selecting No to indicate a violation, a Confirm Violation pop-up window will appear.
Select the Responsible Party from the dropdown. If the inspection is for more than one lab, select the location from the dropdown.
Click [Confirm] to confirm, or [Close] to close the window without saving.
After reviewing all of the items/potential deficiencies in each subcategory, click on the [Inspection List] button at the upper left corner of the screen to exit the inspection.
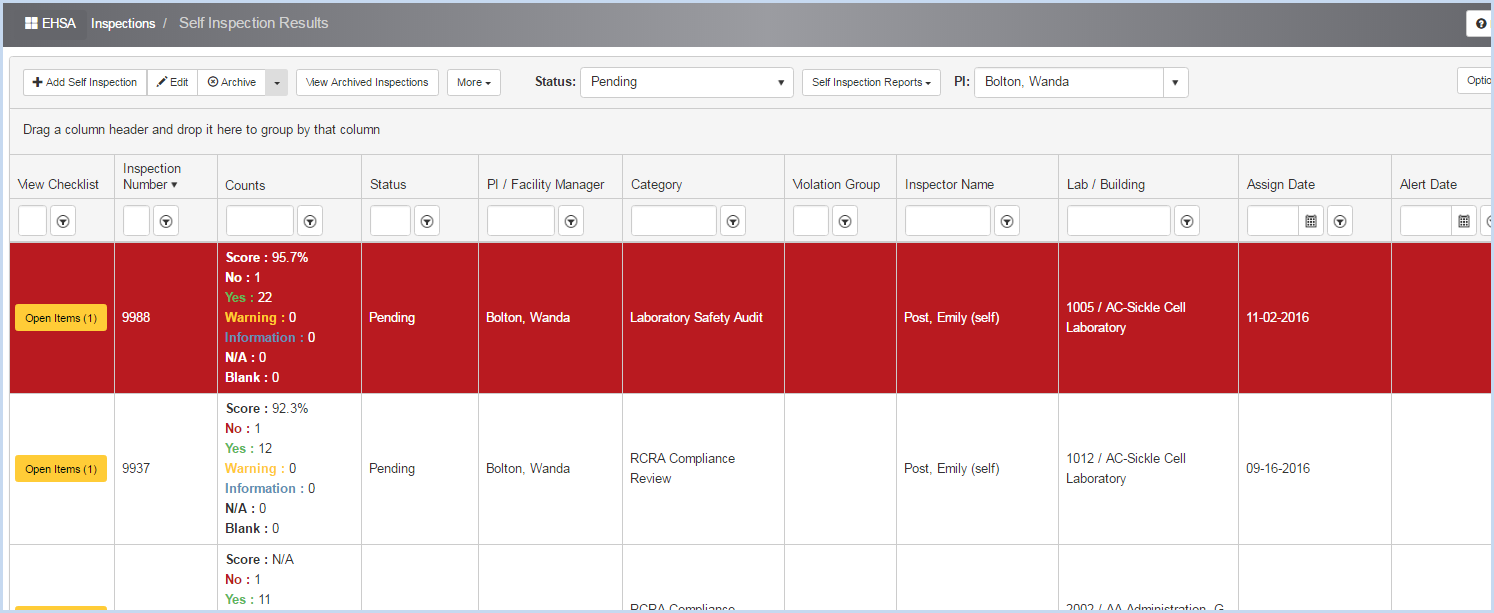
The completed inspection is now listed on the screen as shown below.
To change the status of an inspection, highlight an inspection and click the [Edit] button.
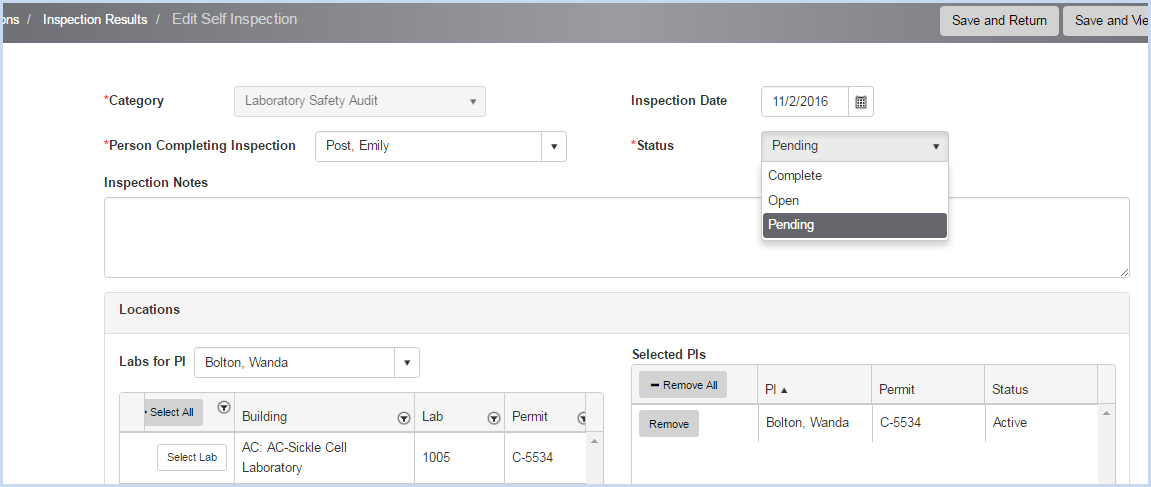
This opens the Inspection in edit mode.
Select the new Status from the dropdown.
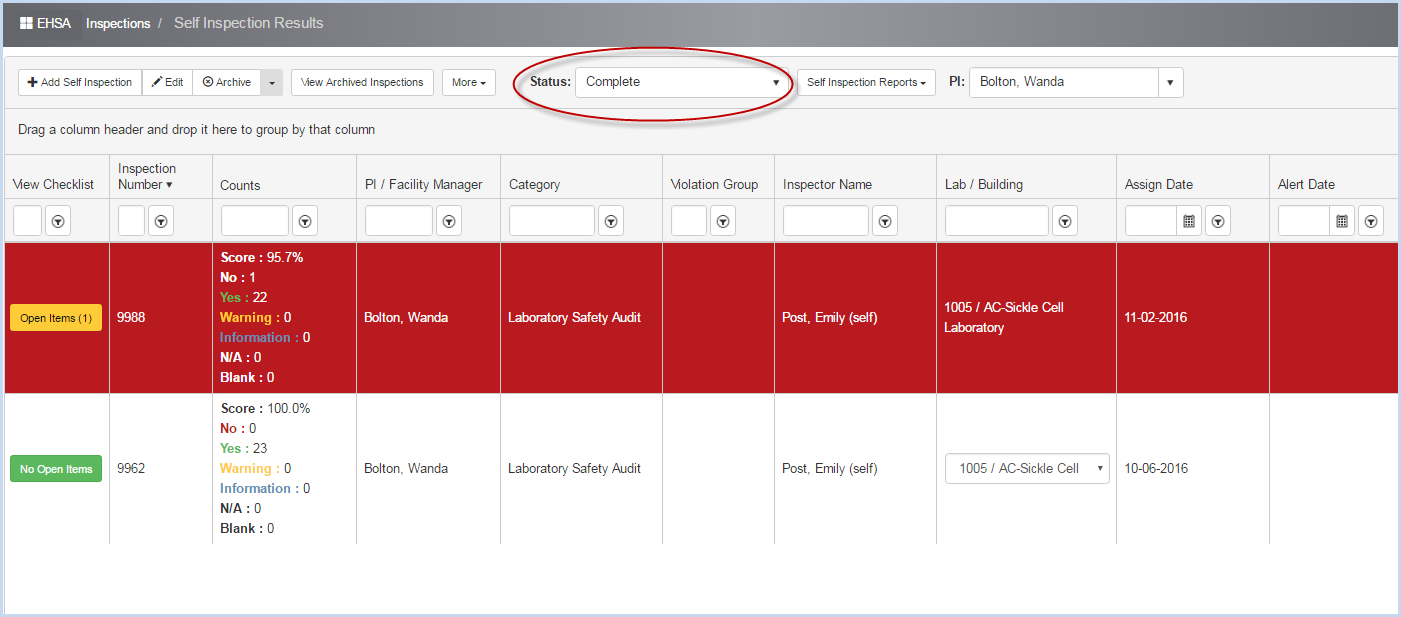
Click [Save and Return] button to go back to the listing screen. Select the Status from the dropdown to choose the status to view.
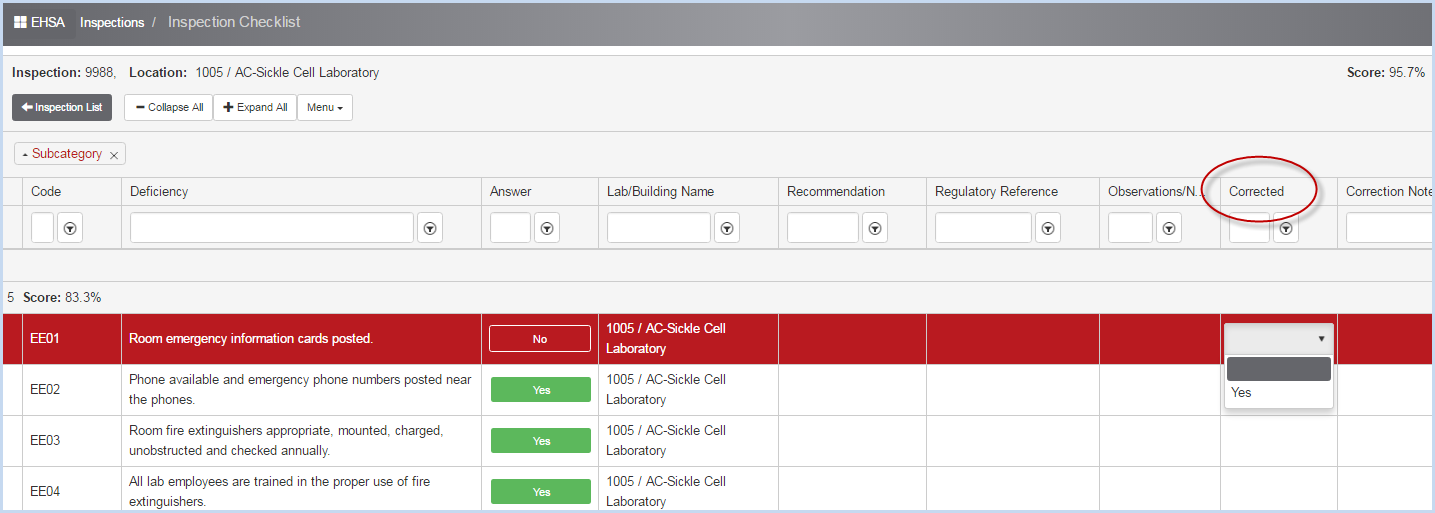
If there are violations that were corrected after the time of the inspection, click on the [Open Items] button for the inspection.
Scroll over to the Corrected column, and select YES.
Enter any notes in the Correction Notes column.
To change the order of the columns, click on a column header and drag it to the desired location. These changes will be saved for future inspections.
After correcting items, exit the Inspection Module by clicking on [Inspection List] and then the EHSA button in the upper left to return to the home screen