Report Manager
Report Manager
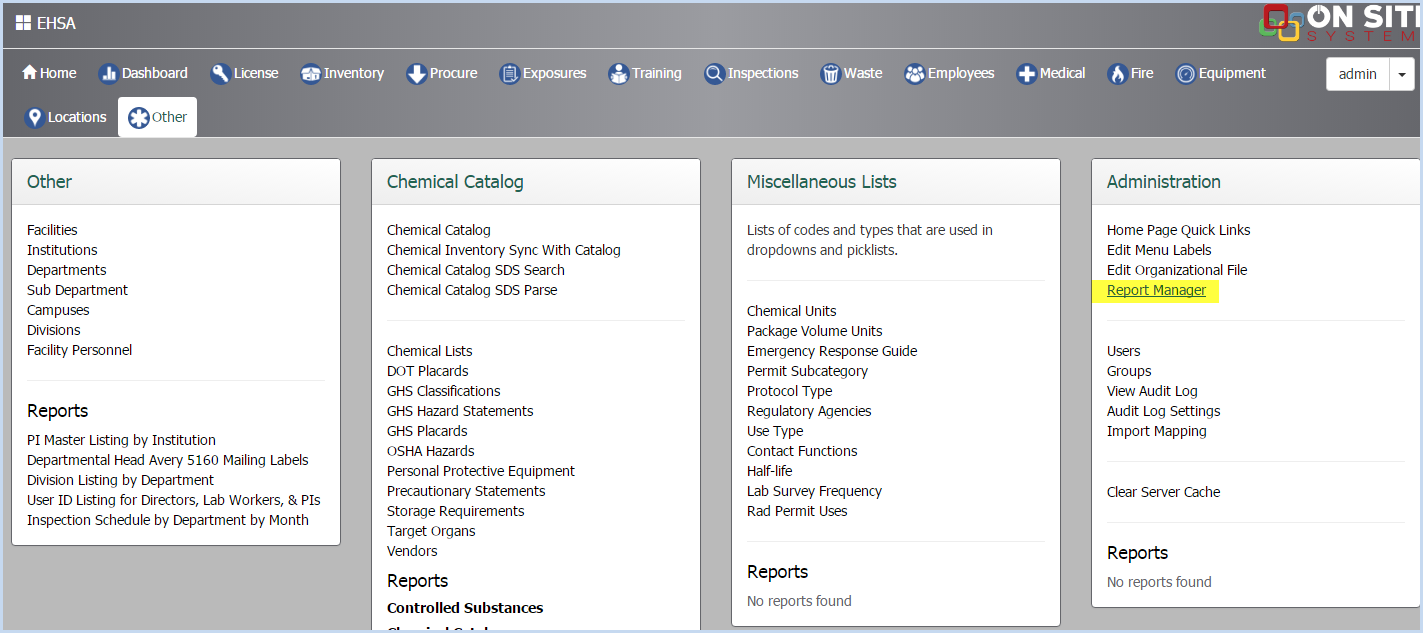
- Click on the Other icon on the Main Menu. Then click/select Report Manager under the Administration menu list.
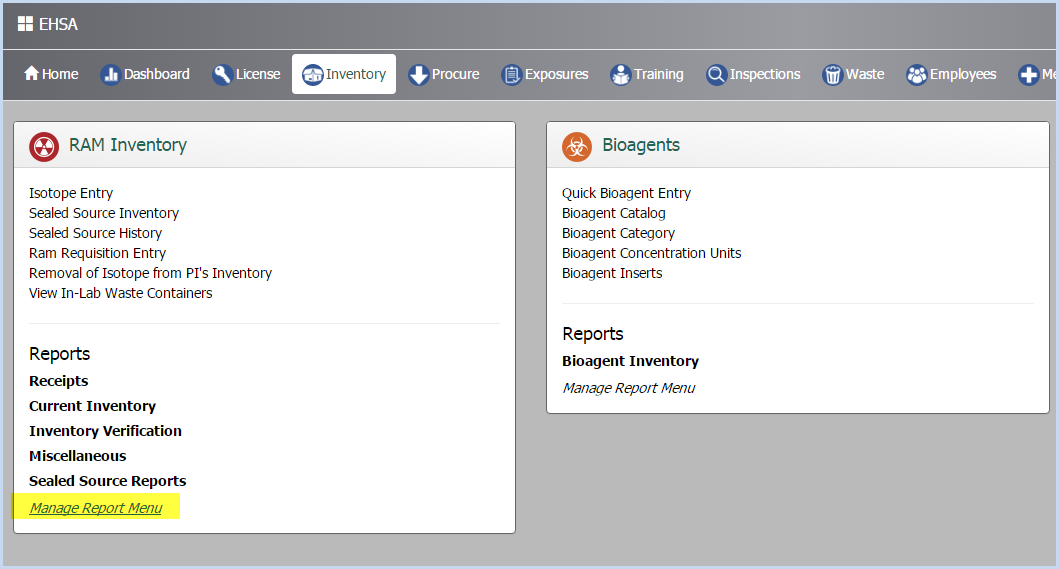
- Administrative users can also click on Manage Report Menu under any main menu reports list as in the example below to go directly to the Report Menu for the reports listed.
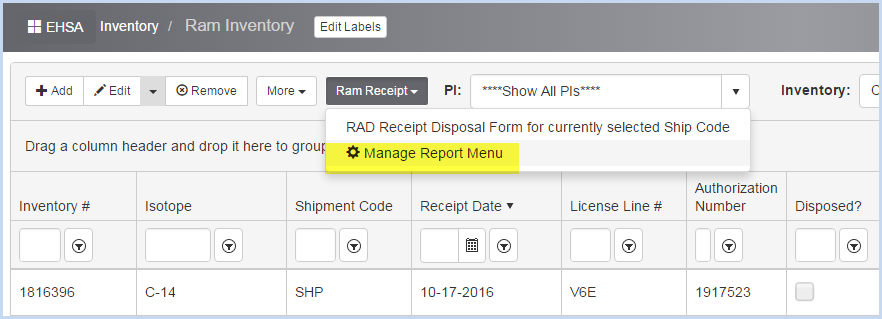
- An example of the direct link for Report Manger for reports found on detail screens is shown below.
- This will open the Report Manager utility screen.
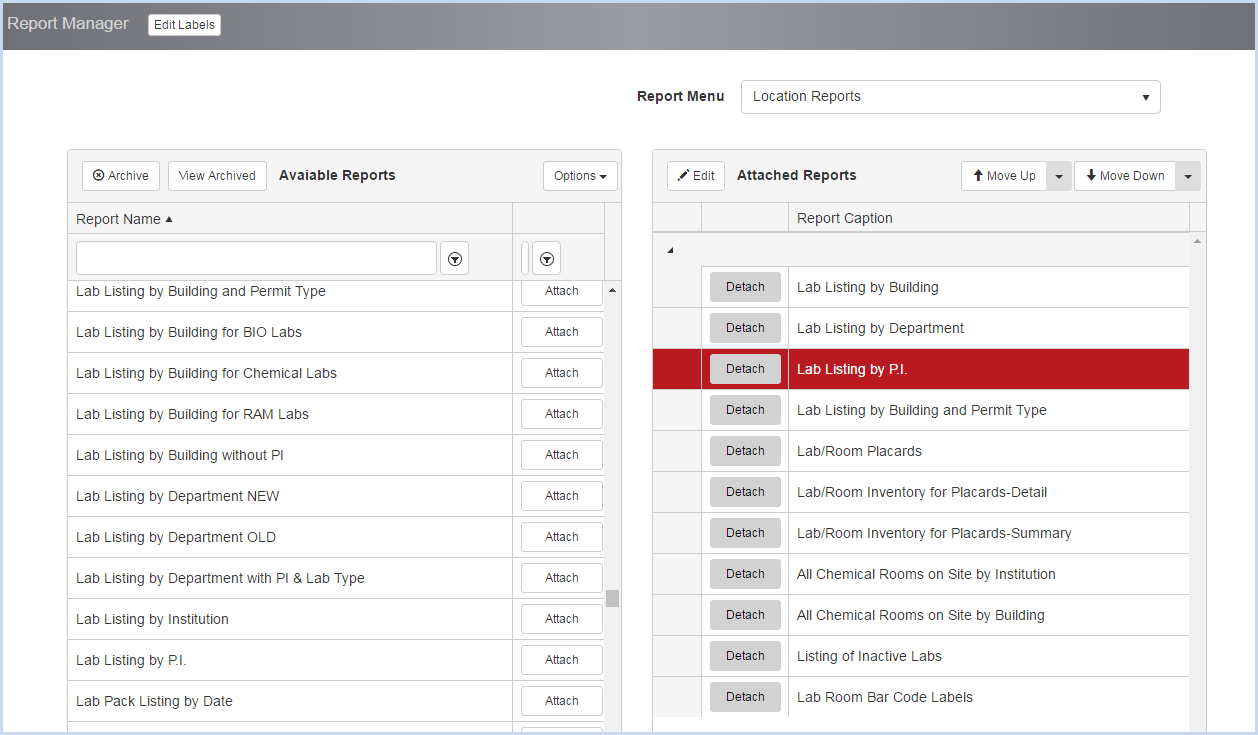
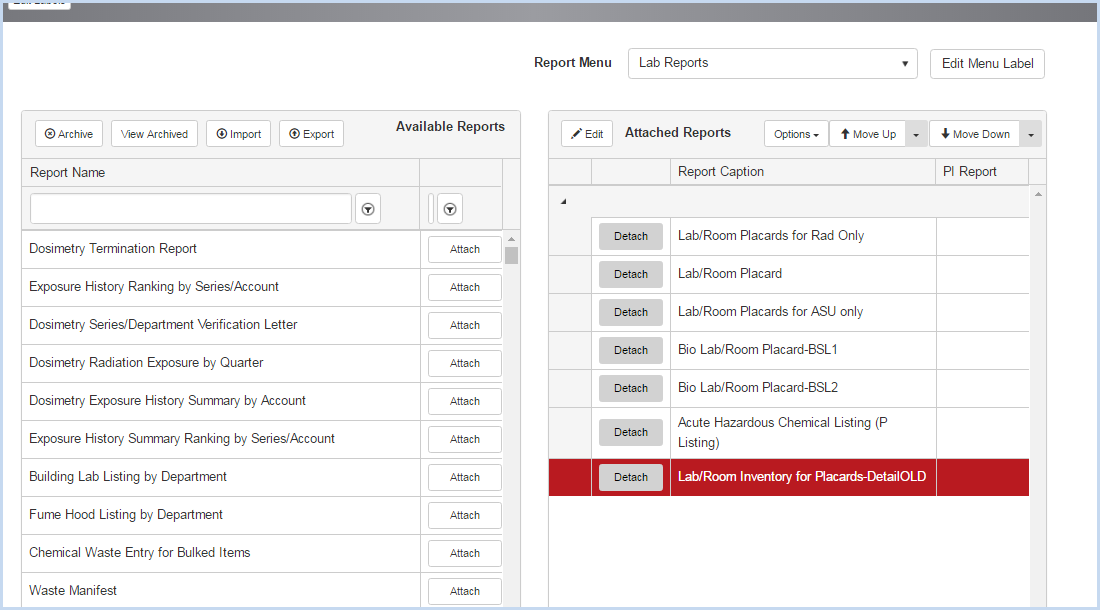
- Available Reports are listed on the left portion of the screen.
- If not already selected when using a report menu link, select a Report Menu from the dropdown on the right side of the screen to view the reports attached to the selected menu.
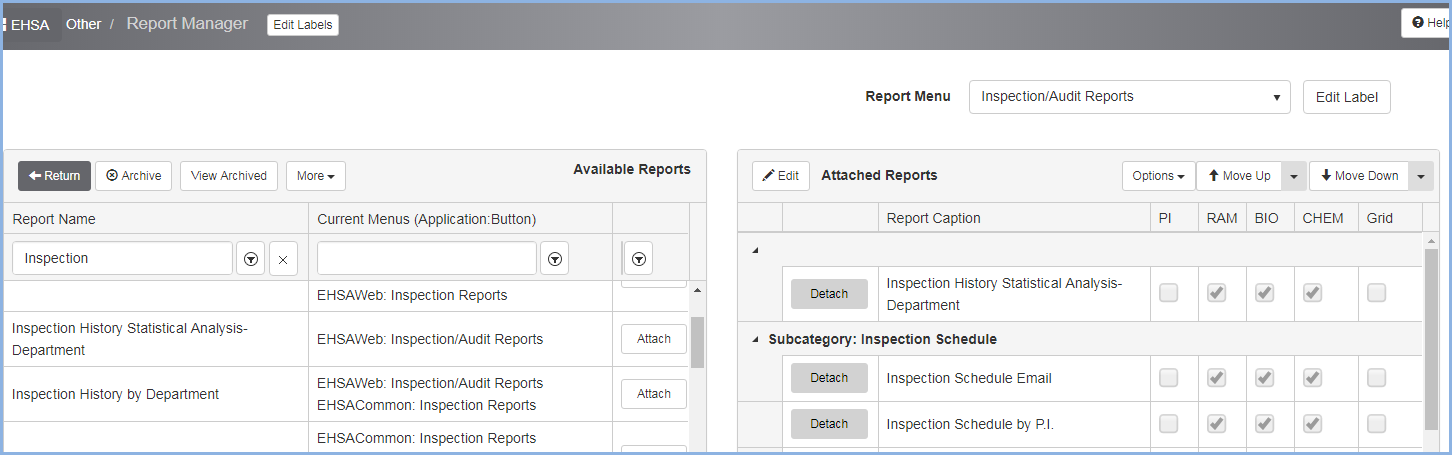
- The Location Reports menu is selected in the example below. Change report order, add or detach a report to selected screens as needed.
- Highlight a report in the Attached Reports list and click the [Move Up] or [Move Down] button to adjust the report's position in the report menu.
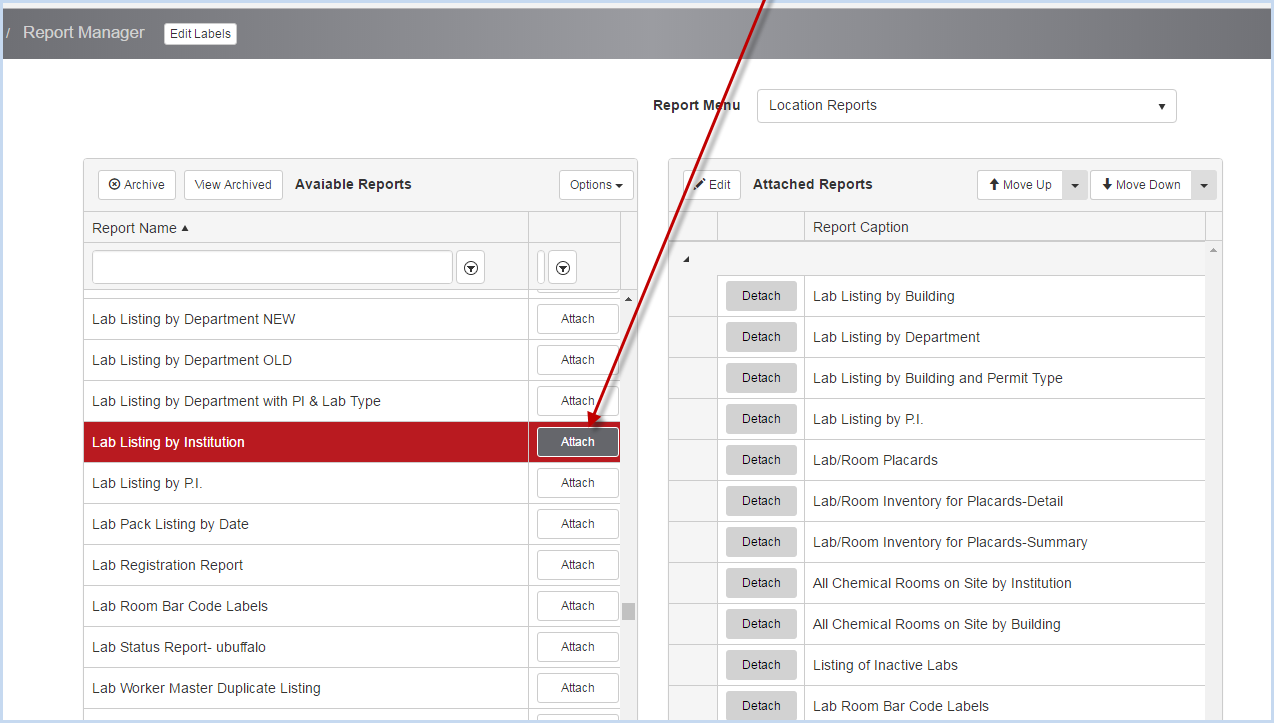
- To add a report, highlight a report in the Available Reports list and click [Attach] button beside the report to attach/move over to the Attached Reports list. Be sure that the Report Menu for placement has been selected.
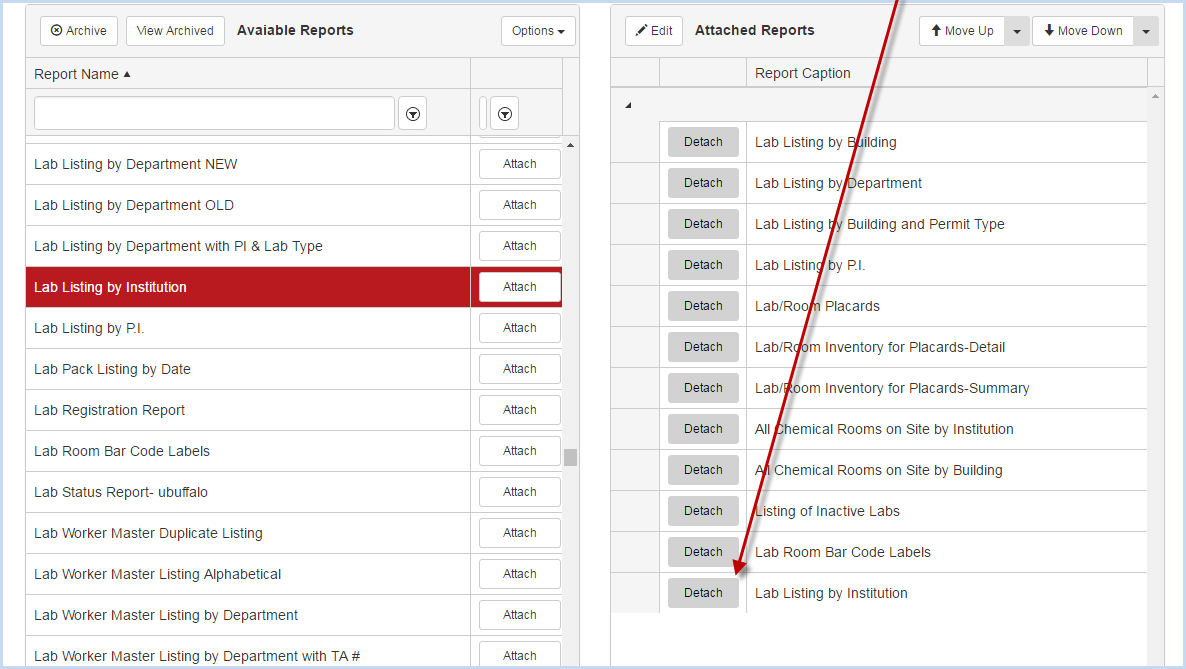
- The newly attached report will appear at the bottom of the Attached Reports list for the menu. Highlight the report and click the [Move Up] or [Move Down] button to reposition in the list as needed.
- Highlight a report and click [Edit] to edit the report caption, or assign a subcategory.
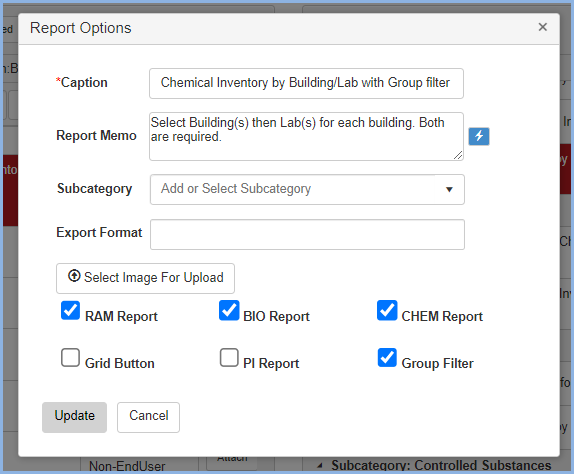
- This opens the Report Options pop-up window.
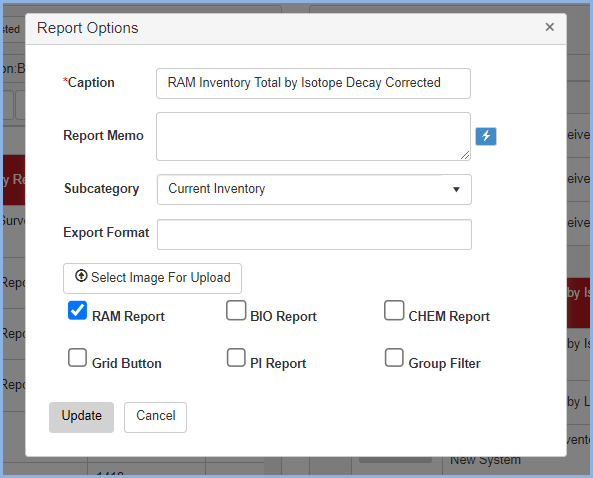
- Edit the Caption to change the on-screen caption for the report.
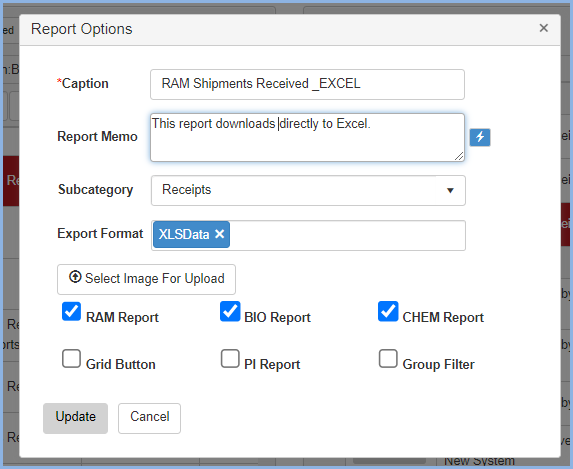
- Add text in the Report Memo field to display additional text above the report criteria.
Sample Report Menu text is shown below.
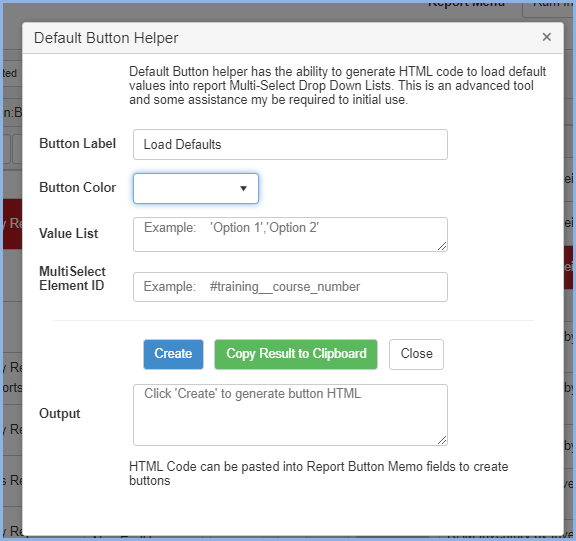
- The blue lightening bolt icon opens Default Button Helper and special HTML features - please contact On Sity Systems for assistance.
- Select the Subcategory, if needed, from the dropdown list. To create new entries in the dropdown, enter the text you'd like to see. Please note, this will add the make the new Subcategory available for all reports on the menu you are working with.
- All reports will default format to PDF files. This option does not need to be selected for PDFs. Use the "Export Format" downdown to select other export formats if needed.
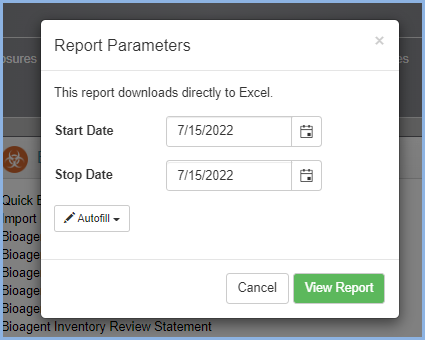
- Please note, selecting XLS (Excel) will send the PDF report to Excel, however; the report will still include all the header rows and groupings from the PDF version of the report. If a report needs to download directly to Excel, the data columns must be specificed in a version of the report that is Excel only. Please contact On Site Systems for assistance. Then the XLSDATA export format can be used.
- Click [Select Image For Upload] to add an image for display above the report criteria.
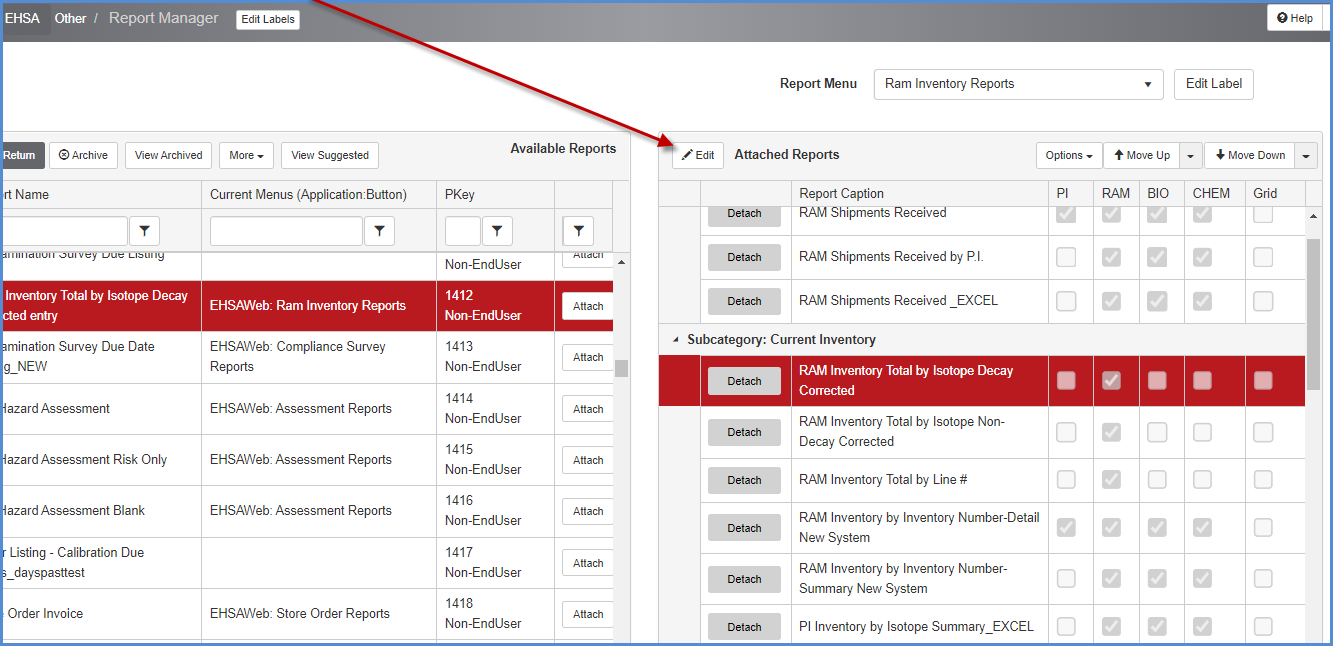
- The RAM, BIO and CHEM report check boxes are checked by default. They only apply to screens on which the report menu needs to limit the reports to specific types. An example is on the Waste Container screen for RAM, BIO, or CHEM. This will allow the report administrator to limit report selection to the type that applies to the line selected/highlighted.
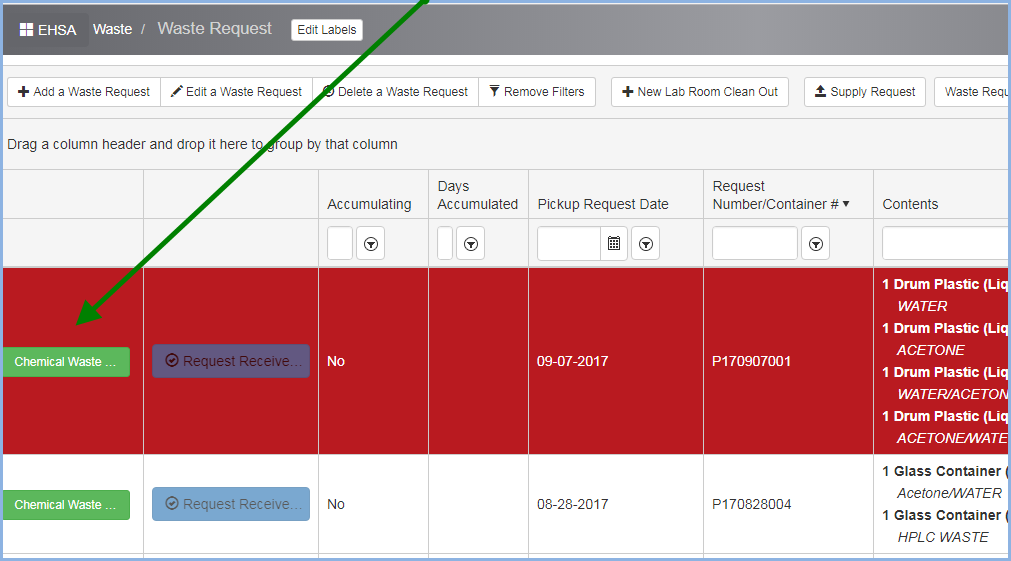
- Checking the "Grid Button" places a report directly on the grid for the Waste Request List, Training List and Inspection List screens. The example below shows the Waste Request screen with a button to print the "Chemical Waste Label-Avery 8163" for the waste request line selected.
- Check to make the report is a PI Report - available from the PI login menu icons.
- Click the "Group Filter" box when setting up grouping options for a report.
- In the example below, the Group Filter box is checked and and instructions noted that the user must first select a Building, and then select Lab(s) within that Building. The search on the report is by Location, but this option splits the location into it's two components, Building and Lab(room). The search must be checked as Required in the report.
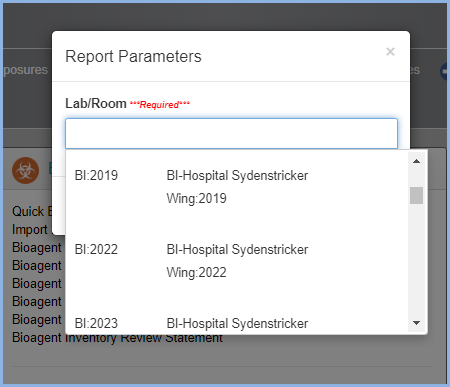
- This is the report criteria when running the report with options shown above. After selecting a Building in the first dropdown, then the labs/rooms in that Building are listed in the second dropdown. If more than one Building is selected, the user will see labs/room for each Building chosen.
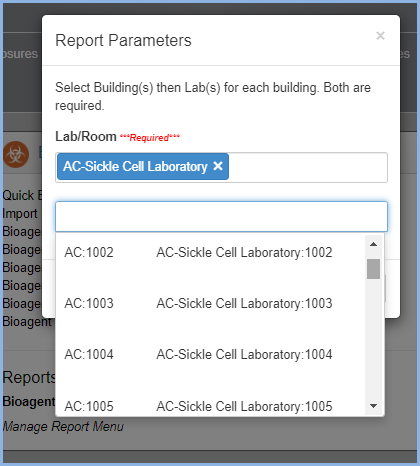
- The Group Filter feature streamlines the selection of muliple locations on this report. The same report without the Group Filter presents the list of all locaions in the dropdown, taking longer to load and more makeing it difficult for users to find the location(s) needed for the report.
- Click [Update] to change Report Options changes, or [Cancel] to discard the edits.
- To delete a report button, highlight a report from an attached reports listing and click the [Detach] button to remove a report from the Attached Reports menu.
- A confirmation pop-up window will appear.
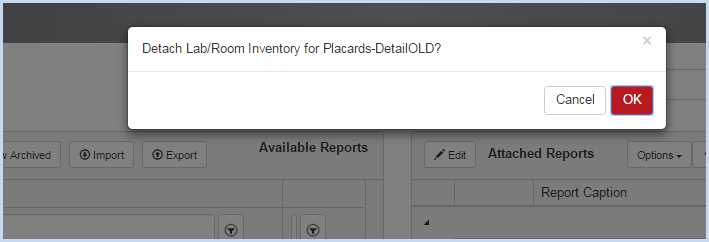
- Click [OK] to detach the report, or [Cancel] to leave the report attached.
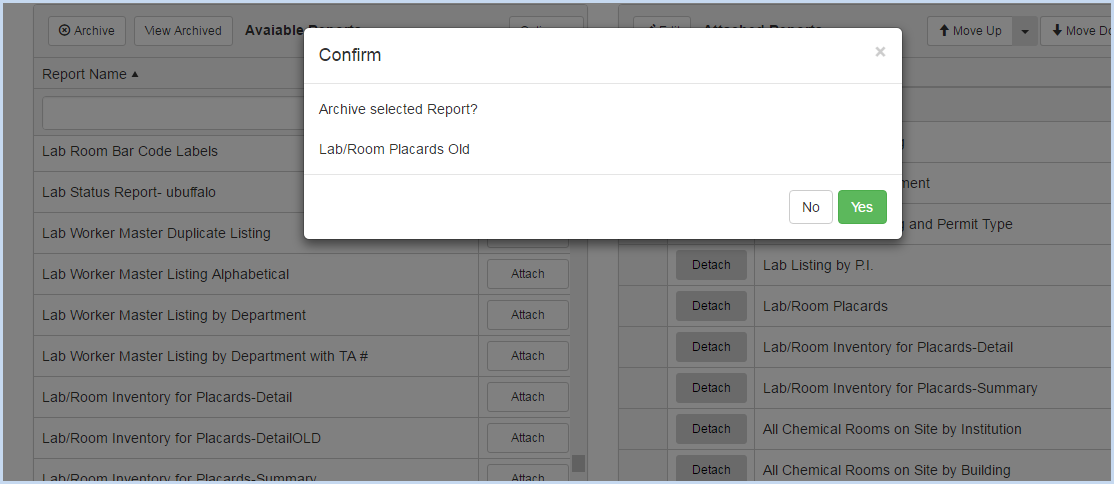
- Highlight a report in the Available Reports list and click [Archive] to remove the report from the available list.
- A Confirm pop-up box will appear. Click [Yes] to confirm archiving, or [No] to cancel.
- Click [View Archived] to view the archived reports. Archived reports can be Activated if needed.

- The [More] menu dropdown feature allows administrative users to transfer report templates to and from Onsite Systems. The options are Get New Templates, Submit to Onsite, Import RDT, and Export RTD. The RTD are the report templates.
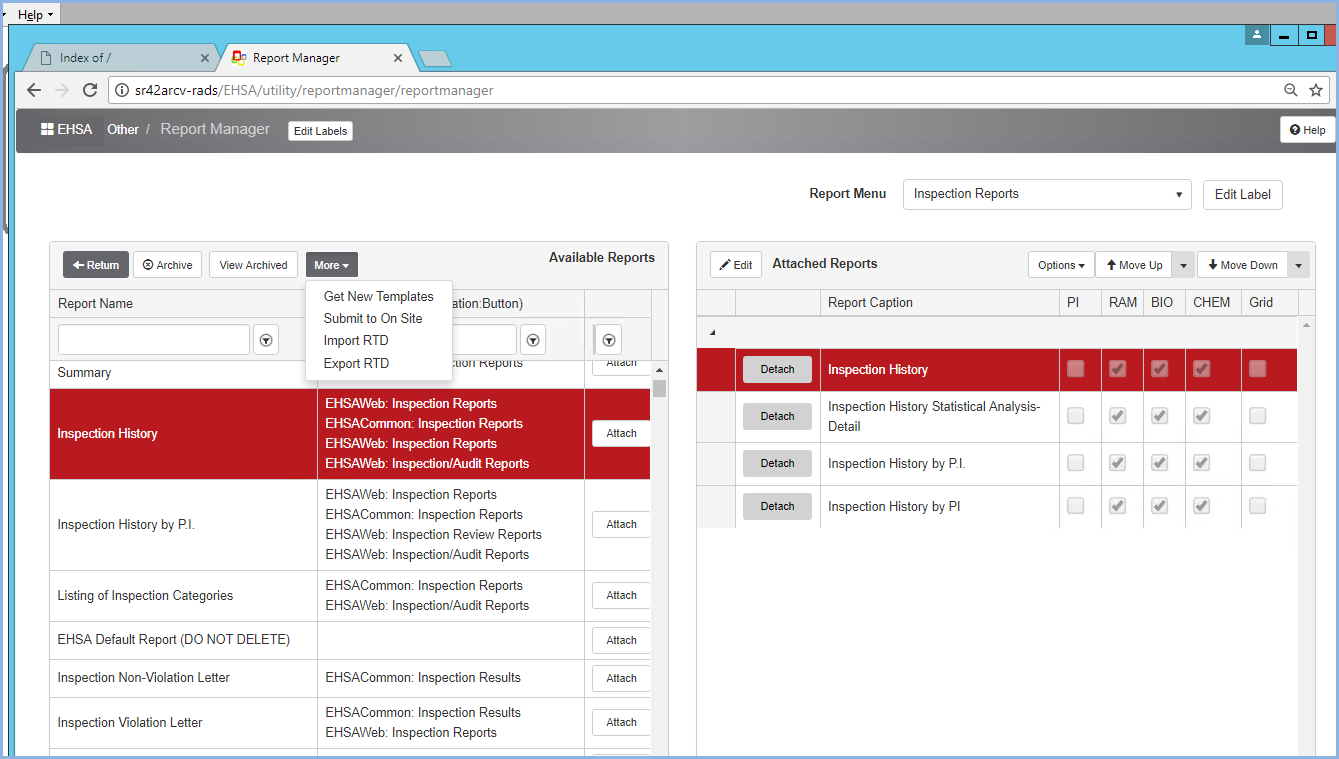
- Select [Get New Templates] to bring up the list of report templates that Onsite has published and made available to add to the client report menus. These reports are in the a folder on the Onsite ftp site. Onsite personnel place the report templates in this folder for clients to download and publish to their EHSA program. If this is a new report, the administrative user may need to attach the report to a menu. If overwriting an existing report, the download action will also overwrite the old report on the report menu.
- Select [Submit to On Site] to send a report template on your database to the onsite ftp uploads folder. This allows clients to submit report templates to Onsite for review and editing.
- Select [Import RTD] to import report templates from a local folder on the user’s machine or server.
- Select [Export RTD] to export report templates to a local folder on the user’s machine or server.