Edit Organizational File
Edit Organizational File
- Edit the Organization File Information by selecting [Edit Organizational File] from the Administration menu under the [Other] Main Menu icon.

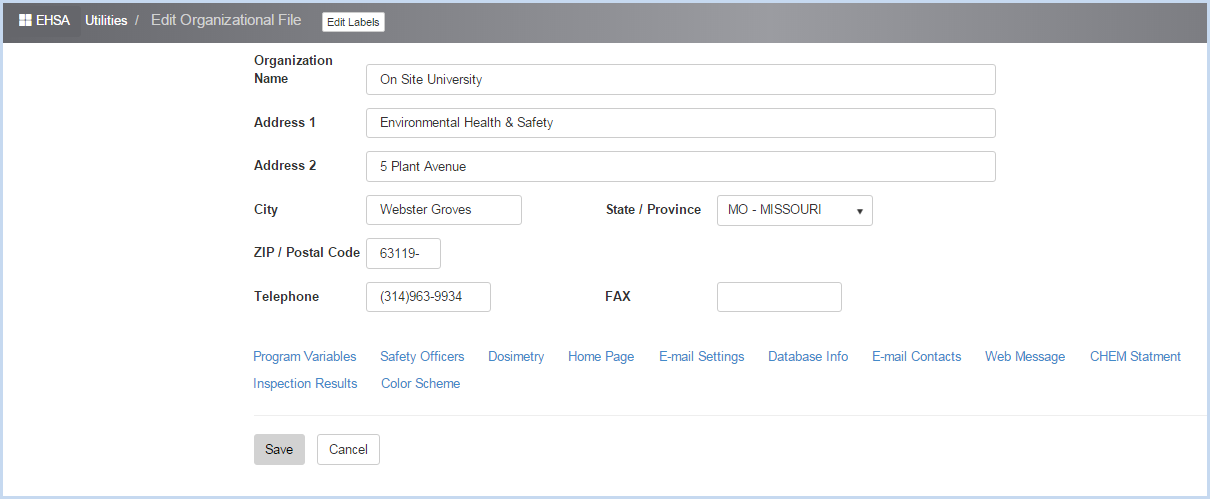
- This opens the edit Edit Organizational File screen. The information displayed is the standard default information for reporting purposes. It contains the organization name and address along with the Safety Committee information.
- The screen opens in Edit mode.
- Add or Edit the Organizational Name, Address, City, State/Provence, ZIP/Postal Code, Telephone and Fax. These fields are used in various reports through the system.
- Click [Save] to save any edits, or [Cancel] to discard changes and go back to the previous screen.
- Click/select the tab for [Program Variables] to view and add/edit the Program Variables as shown in the screen below. There are many variables in the Organizational FIle section. These allow clients to customize options and defaults to fit their needs.
- The screen defaults to open on the RAM tab. Note that the selected tabs/screen label is black for the selected tab, blue for the unselected tabs.
RAM Variables - Inventory:
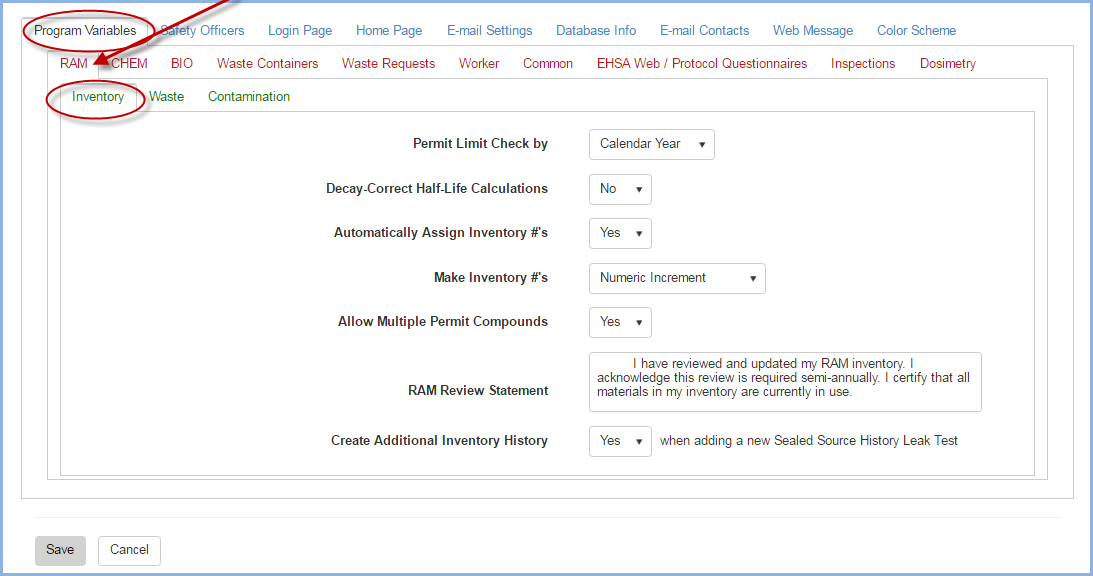
- Select Permit Limit Checks by Calender Year or Permit Year from the dropdown .
- Select Yes/No to Decay-Correct Half-Life Calculations.
- Select Yes/No to Automatically Assign Inventory #'s.
- Select if you wish to make Inventory #'s date-based or Numeric Increment.

- Select Yes/No to Allow Multiple Permit Compounds.
- Enter the Ram Review Statement for PI's.
- Select Yes/No to Create Additional Inventory History when adding a new Sealed Source History Leak Test.
RAM Variables - Waste:
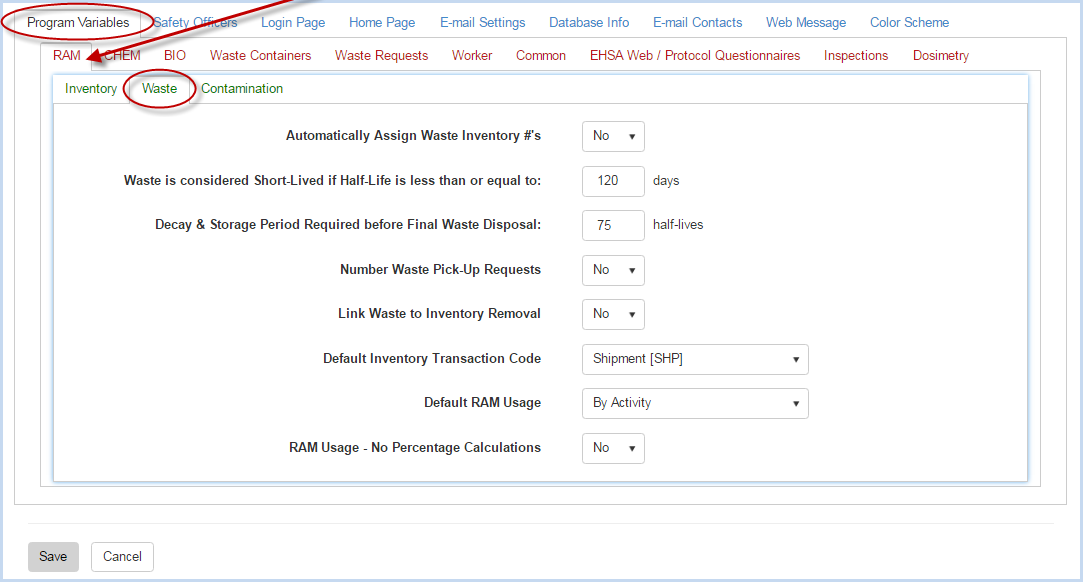
- Select Yes/No to Automatically Assign Waste Inventory #'s.
- Enter/edit the appropriate number of days Waste is considered Short-Lived for your organizational license.
- Enter/edit the appropriate number of half-lives for the Decay & Storage Period Required before Final Waste Disposal.
- Select Yes/No to Number Waste Pick-Up Requests.
- Select Yes/No to Link Waste to Inventory Removal
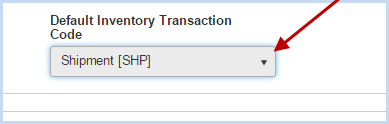
- Select the Default Inventory Transaction Code from the dropdown.
- Select By Activity or By Usage for Default RAM Usage.
- Select Yes/No for RAM Usage - No Percentage Calculations.
RAM Variables - Contamination:
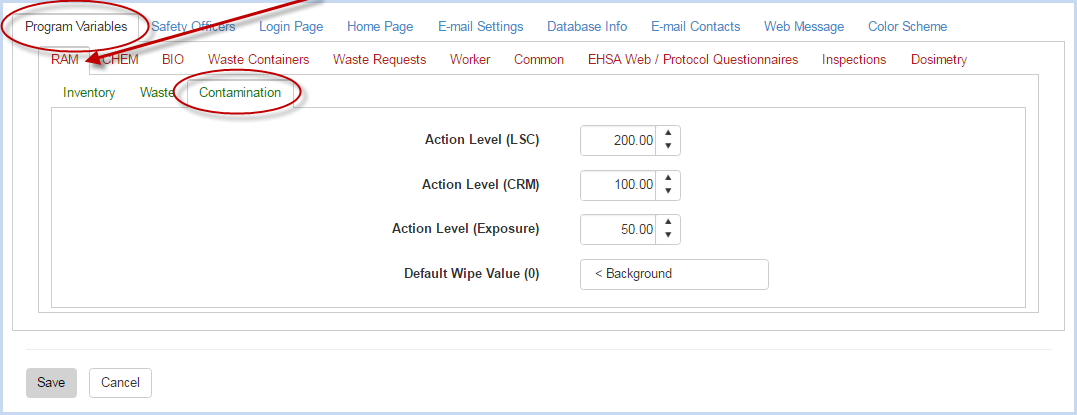
- Enter Action Level (LSC)
- Enter Action Level (CRM)
- Enter Action Level (Exposure)
- Enter Default Wipe Value(0).
CHEM Variables - Inventory:
- Select the CHEM tab.
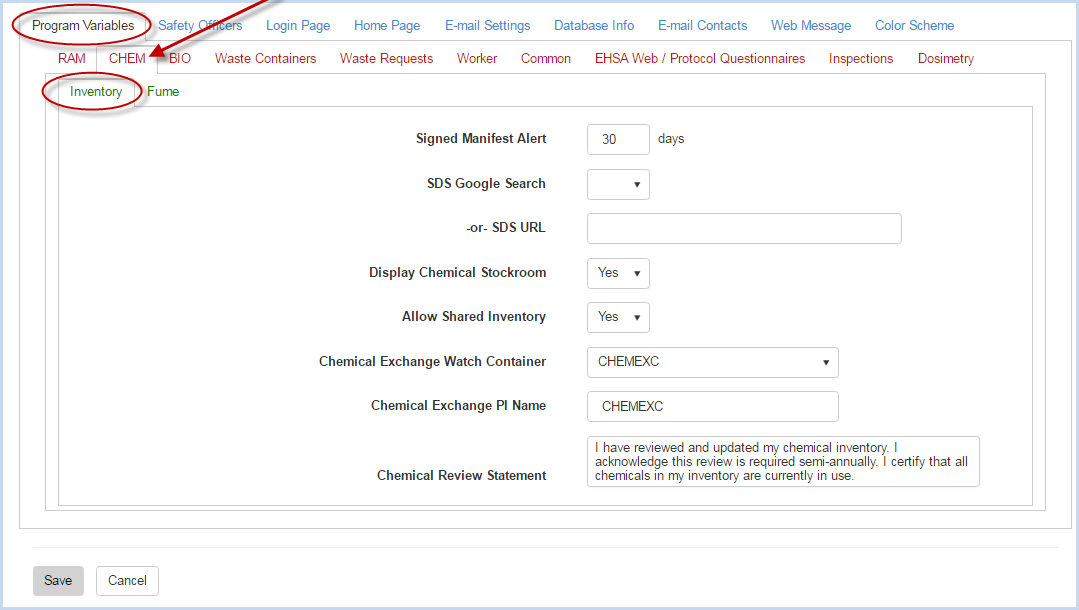
- Enter/edit the Signed Manifest Alert in number of days.
- Select Yes/No to use Google Search for SDS.
- Enter SDS URL if using an SDS service.
- Select Yes/No to Display Chemical Stockroom.
- Select Yes/No to Allow Shared Inventory.
- Select the Chemical Exchange Watch Container from the dropdown.
- Enter the Chemical Exchange PI.
- Enter the Chemical Review Statement for PIs.
CHEM Variables - Fume:
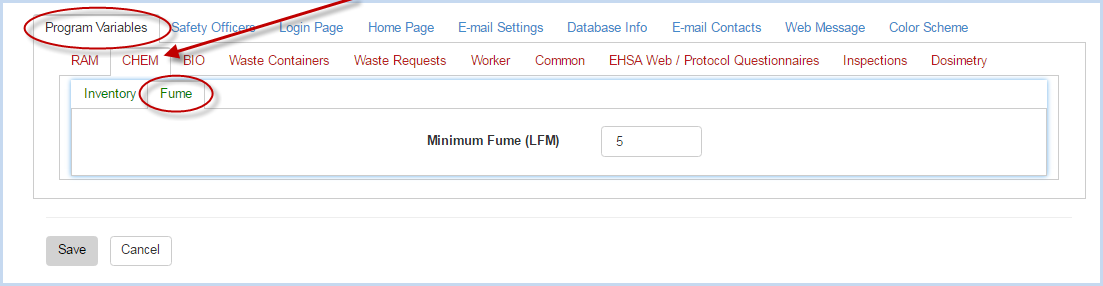
- Enter the Minimum Fume (LFM).
BIO Variables:
- Select the BIO tab.
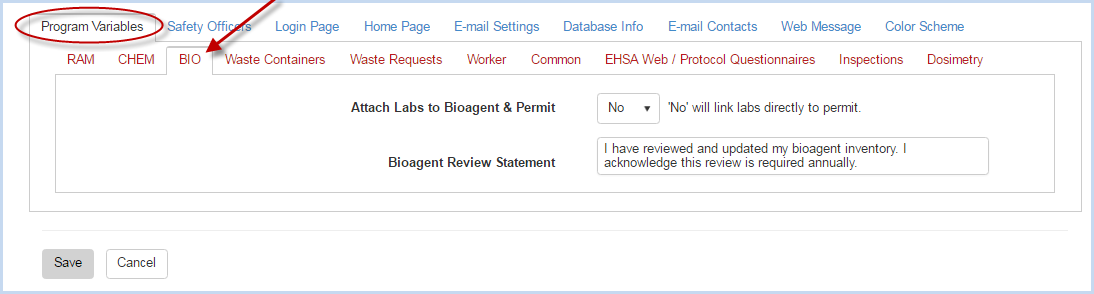
- Select Yes/No to Attach Labs to Bioagent & Permit.
- Enter the Bioagent Review Statement for PIs.
Waste Containers Variables:
- Select the [Waste Containers] tab.
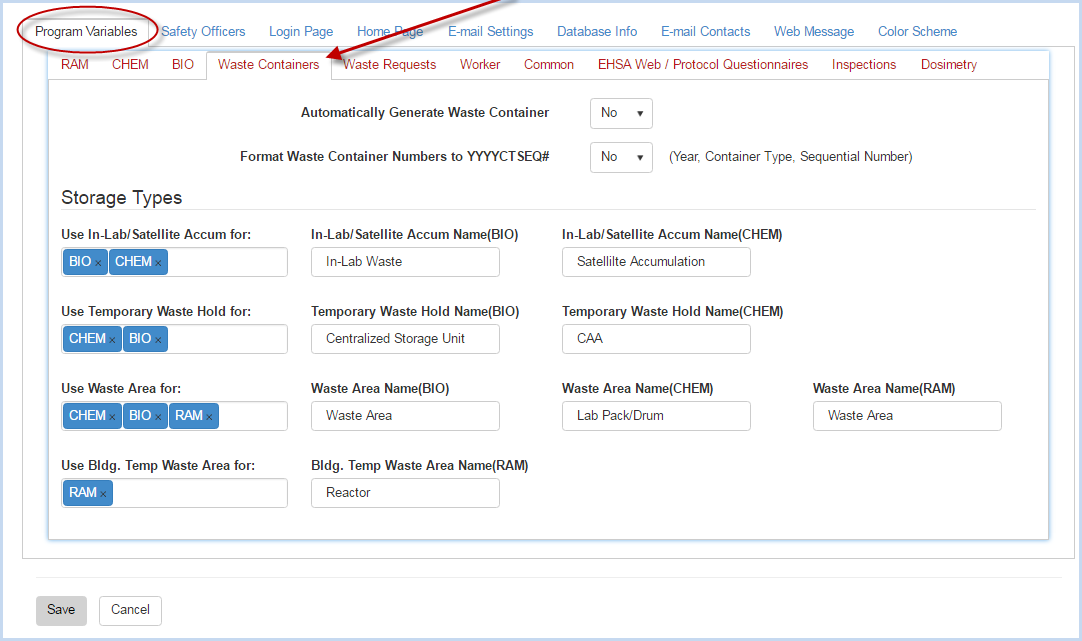
- Select Yes/No to Automatically Generate Waste Container.
- Select Yes/No to Format Waste Container Numbers to YYYYCTSEQ# (Year, Container Type, Sequential Number).
- Select/Enter details for Storage Types.
- Use In-Lab Satellite Accum for: - add if used for BIO, CHEM, RAM. Click on the field to select/add/delete the Storage Type(s). As each is selected, the fields to enter the corresponding In-Lab Satellite Accum Name will be shown. In the example above, BIO and CHEM are listed, thus, name fields for BIO and CHEM are displayed.
- If RAM is added to Use In-Lab Satellite Accum list, then you will see the RAM name field as shown below:
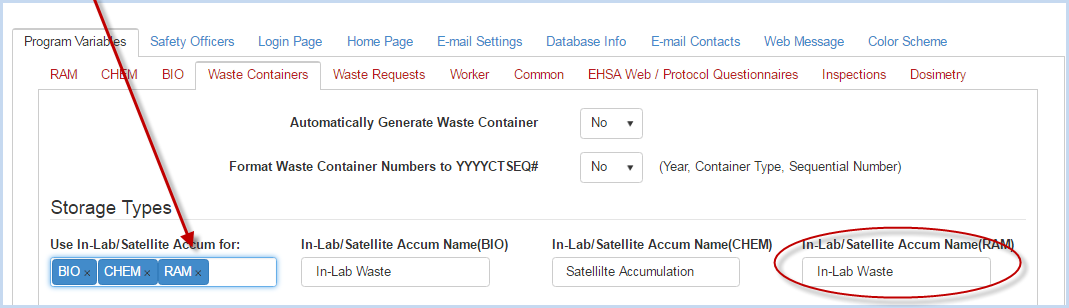
- Enter the Names for each of the In-Lab/Satellite Accum as needed.
- Select [Use for Waste Temp Hold for:], [Use Waste Area for:], and [Use Bldg. Temp Waste Area for:] in the same manner.
- Enter the corresponding information for the Temporary Waste Hold Names, Waste Area Names, and Bldg. Temp Waste Area Names.
Waste Request Variables:
- Select the [Waste Requests] tab.
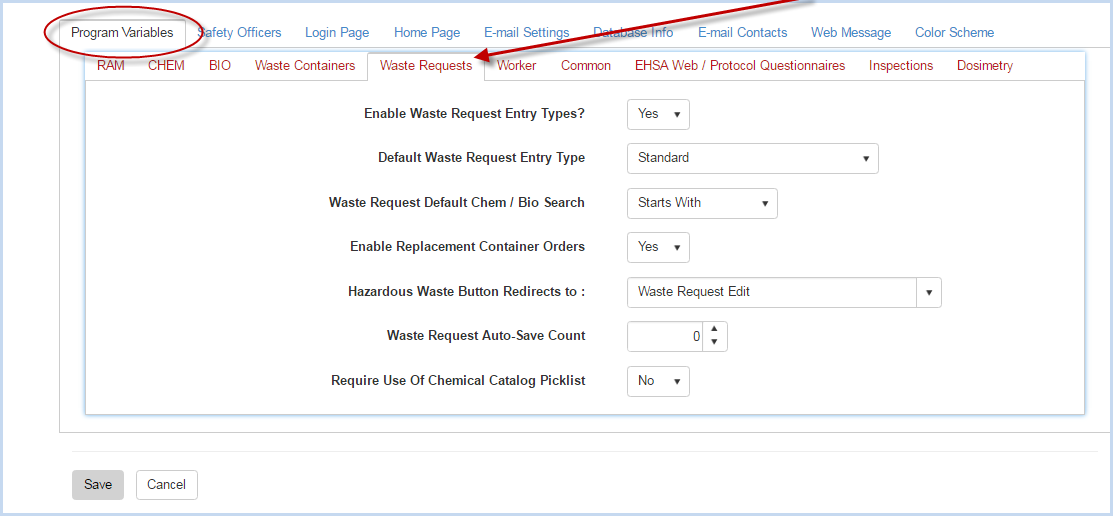
- Select Yes/No for Enable Waste Request Entry Types? from the dropdown.
- Select the Default Waste Request Entry Type from the dropdown list shown below.

- Select the Waste Request Default Chem/Bio Search option from the dropdown.
- Select Yes/No for Enable Replacement Container Orders from the dropdown.
- Select the Hazardous Waste Button Redirects to option from the dropdown.
- Enter/select the Waste Request Auto-Save Count.
- Select Yes/No for Require Use of Chemical Catalog Picklist.
Worker Variables:
- Select the [Worker] tab.
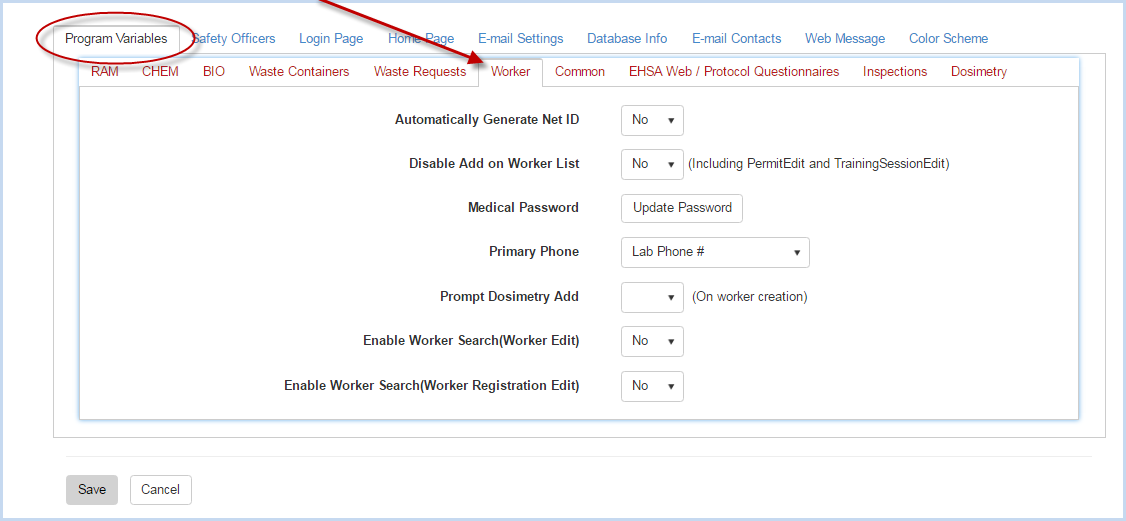
- Select Yes/No for Automatically Generate Net ID.
- Select Yes/No for Disable Add on Worker List.
- Medical Password - Click on [Update Password] button to update the password for access to the Medical module features.
- Select the Primary Phone type from the dropdown list.
- Select Yes/No for Prompt Dosimetry Add.
- Select Yes/No for Enable Worker Search (Worker Edit).
- Select Yes/No for Enable Worker Search (Worker Registration Edit).
Common Variables:
- Select the Common tab.
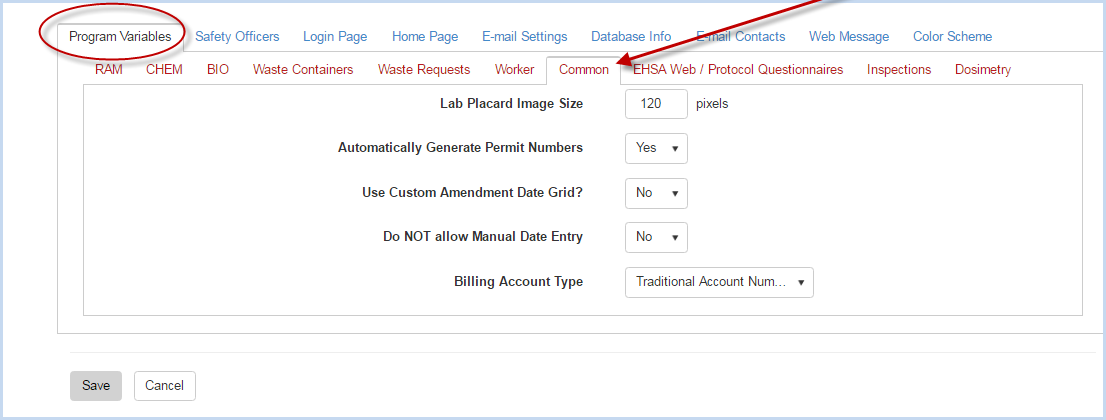
- Enter/edit the Lab Placard Image Size in pixels.
- Select Yes/No to Automatically Generate Permit Numbers.
- Select Yes or No to Use Custom Amendment Date Grid.
- Select Yes or No to Do NOT allow Manual Date Entry. (If yes, would only allow date entry with calendar date pickers.)
- Select Billing Account Type from the dropdown.
EHSA Web/Protocol Questionnaires Variables:
- Select the EHSA Web/Protocol Questionnaires tab.
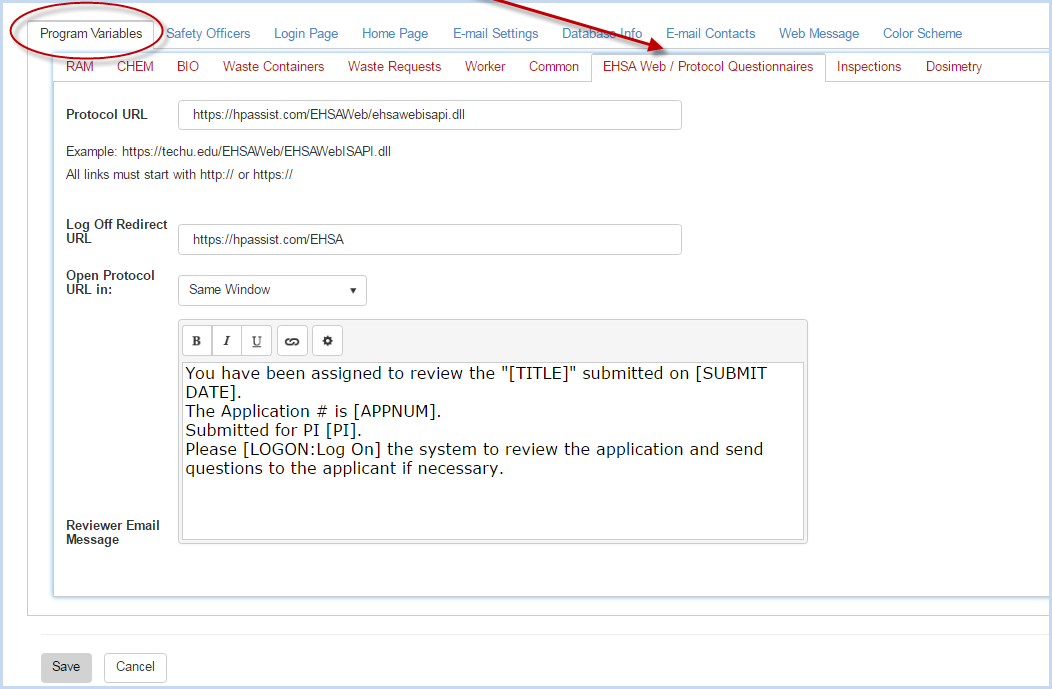
- Enter the Protocol URL link.
- Enter the Log Off Redirect URL.
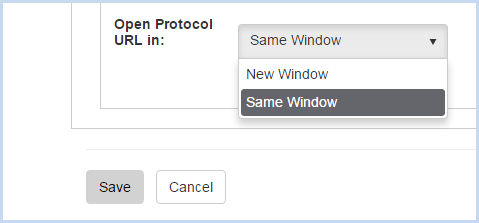
- Select the Open Protocol URL option from the dropdown - choose open in Same Window or New Window.
- Enter/Edit the Reviewer Email Message.
- Click [Save] to save changes/edits to the EHSA Web/Protocol Questionnaires variables, or [Cancel] to discard edits.
Inspections:
- Select the Inspections tab.
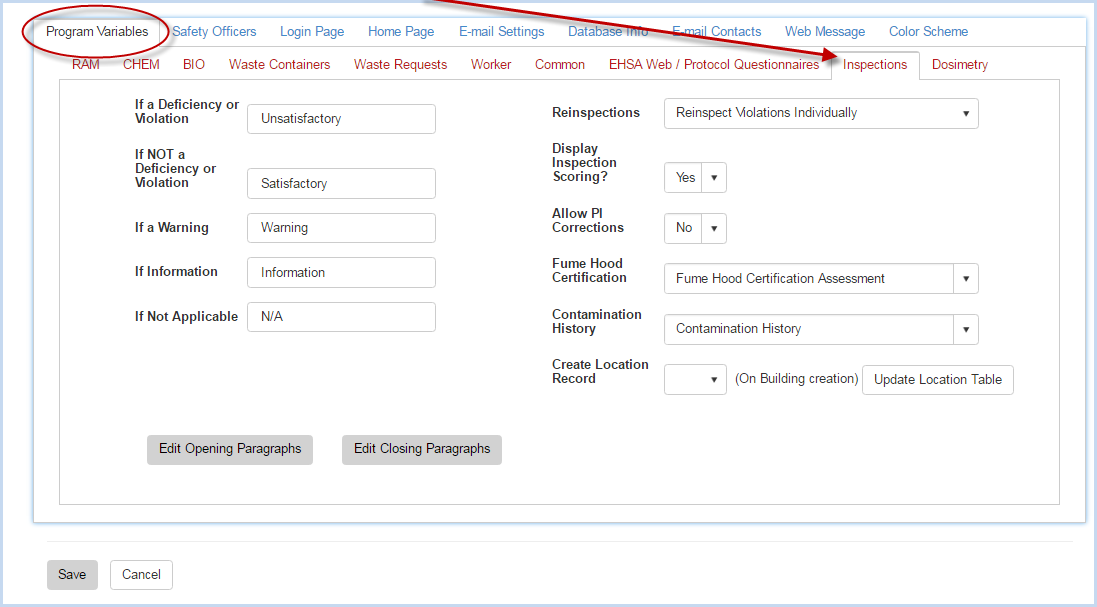
- Enter/Edit the Inspection Violation terms to use for If a Deficiency or Violation, If NOT a Deficiency or Violation, If a Warning, If Information, and If Not Applicable.
- Select option for Reinspections from the dropdown.
- Select Yes/No for Display Inspection Scoring.
- Select Yes/No for Allow PI Corrections.
- Select Inspection Category for Fume Hood Certification from the dropdown.
- Select Inspection Category for Contamination History from the dropdown.
- Select Yes/No for Create Location Record.
- Click [Edit Opening Paragraphs] to edit the opening paragraph verbiage used in inspection reports.

- An Inspection Category from the dropdown of Categories be selected for each Opening Paragraph.
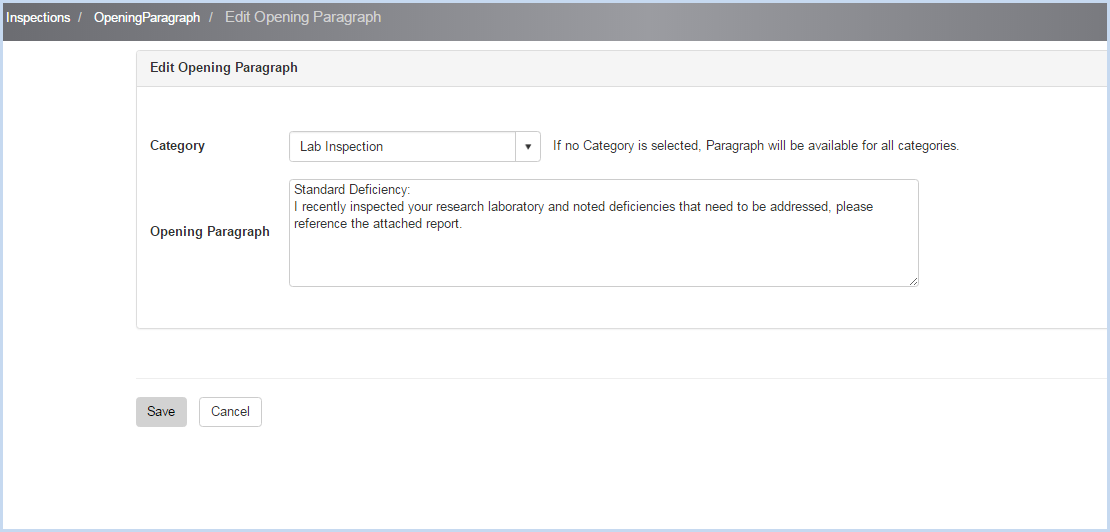
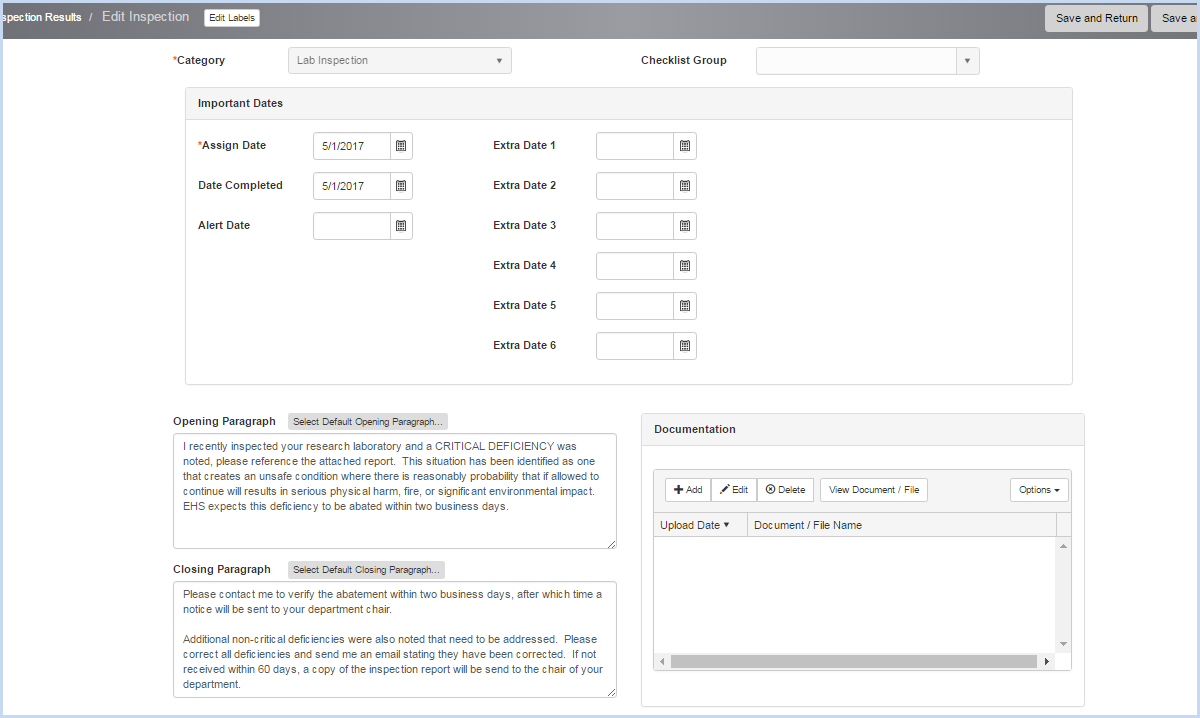
- This feature allows the administrators or inspectors to select the Opening (and Closing) Paragraphs to be used in the Violation Letter for a selected inspection.
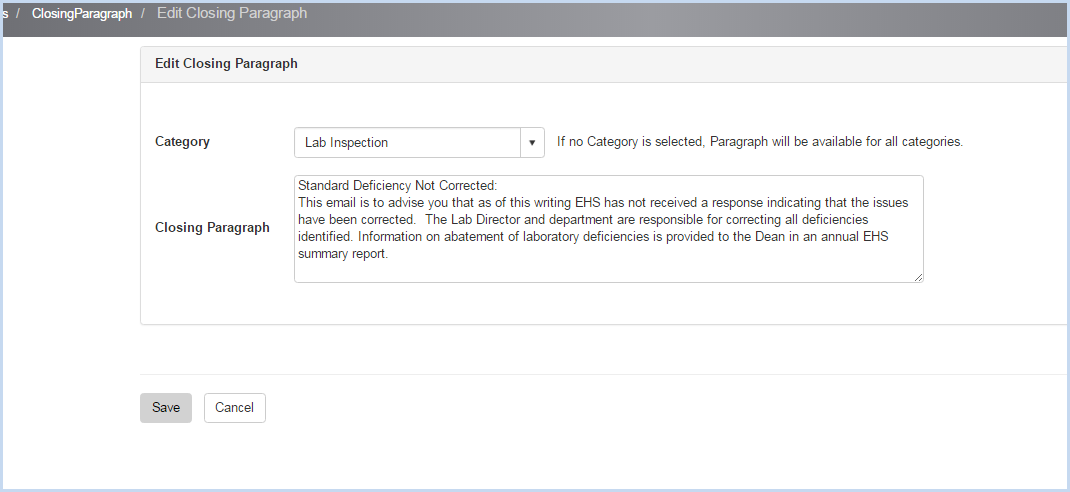
- Click [Edit Closing Paragraphs] to edit the closing paragraph verbiage used in inspection reports.

- An Inspection Category from the dropdown of Categories be selected for each Closing Paragraph.
Dosimetry:
- Select the Dosimetry tab.
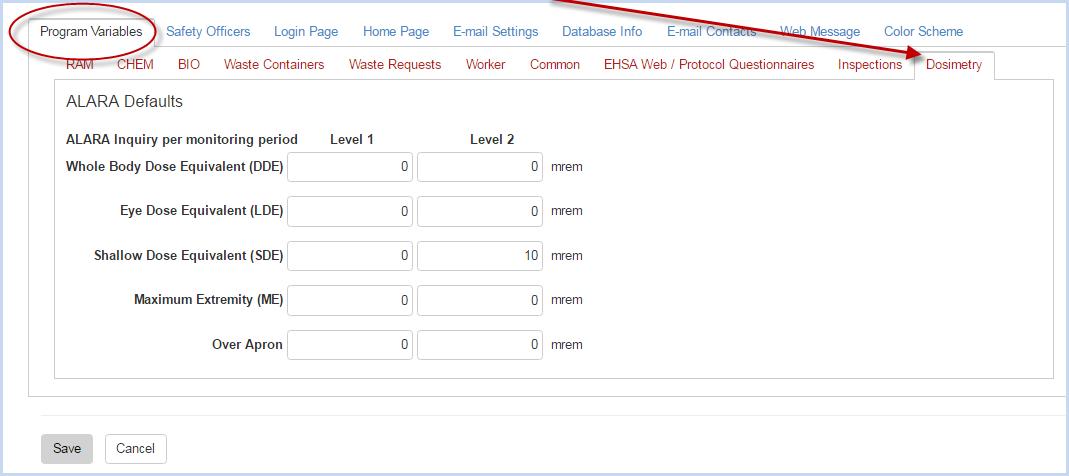
- Enter the ALARA Defaults for Levels 1 and 2.
- Click [Save] to save entries, or [Cancel] to discard the changes.
Safety Officers:
- Select the Safety Officers tab to view and add/edit the details for the Safety Officers at your organization. These fields are used in various reports. The screen defaults to open on the RSO tab.
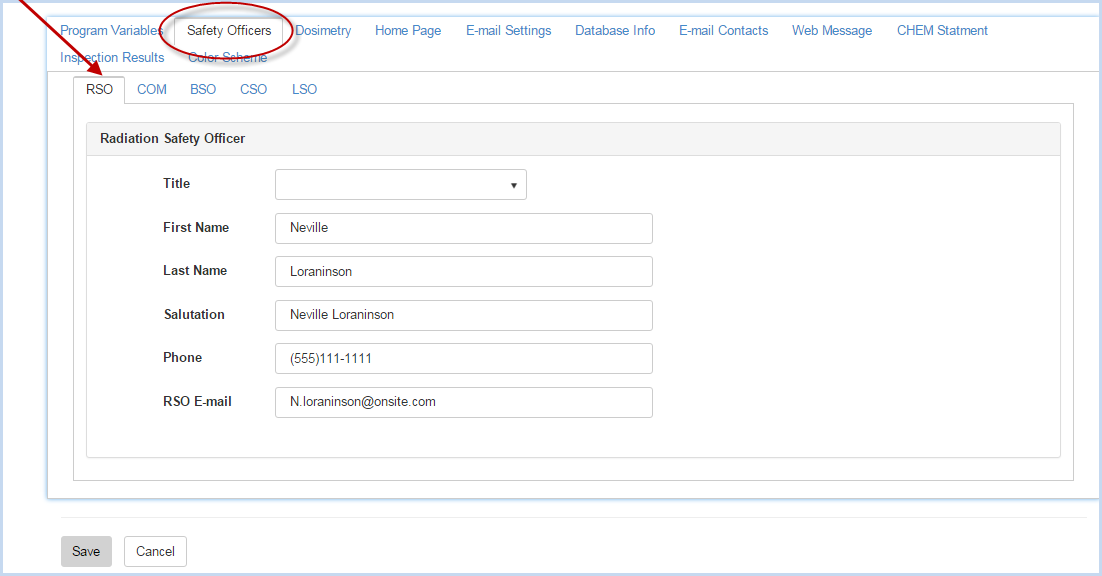
- Enter the Radiation Safety Officer details in the fields shown above.
- Select the COM tab to view and add/edit the Safety Committee Chairperson details.

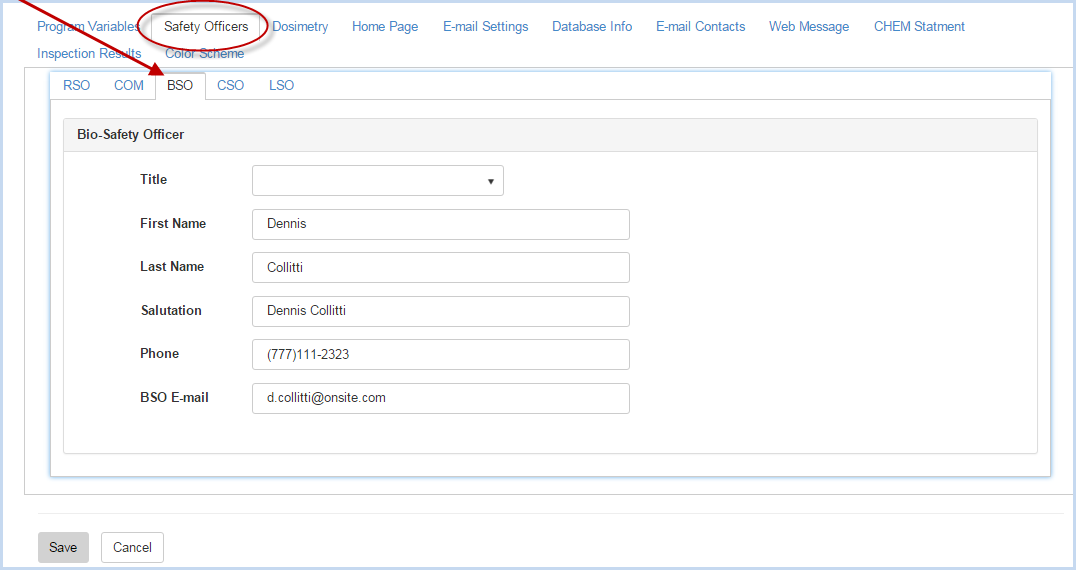
- Select the BSO tab to view and add/edit the Biosafety Officer details.
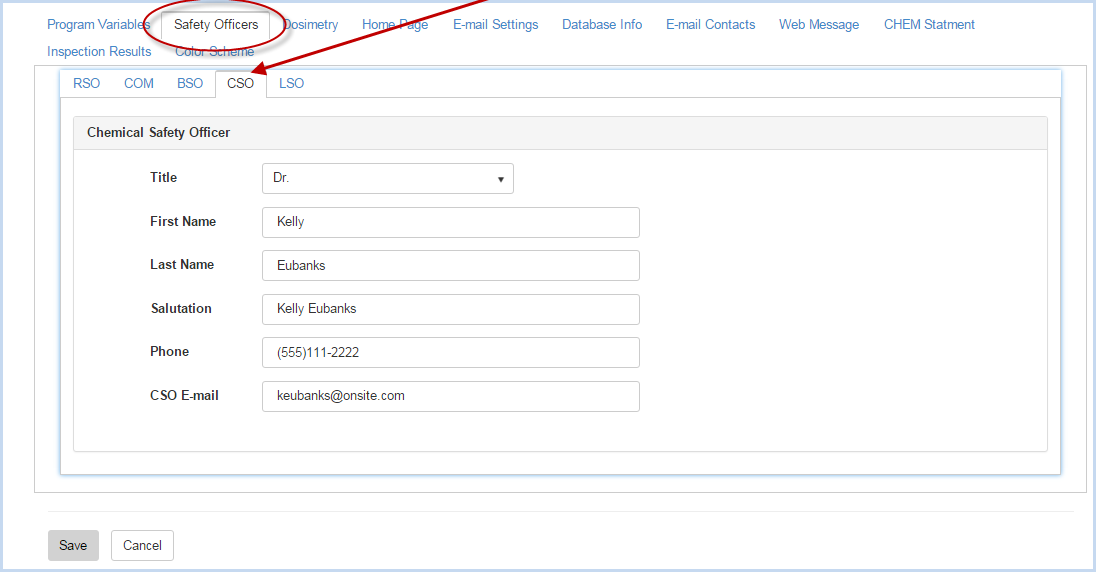
- Select the CSO tab to view and add/edit the Chemical Safety Officer details.
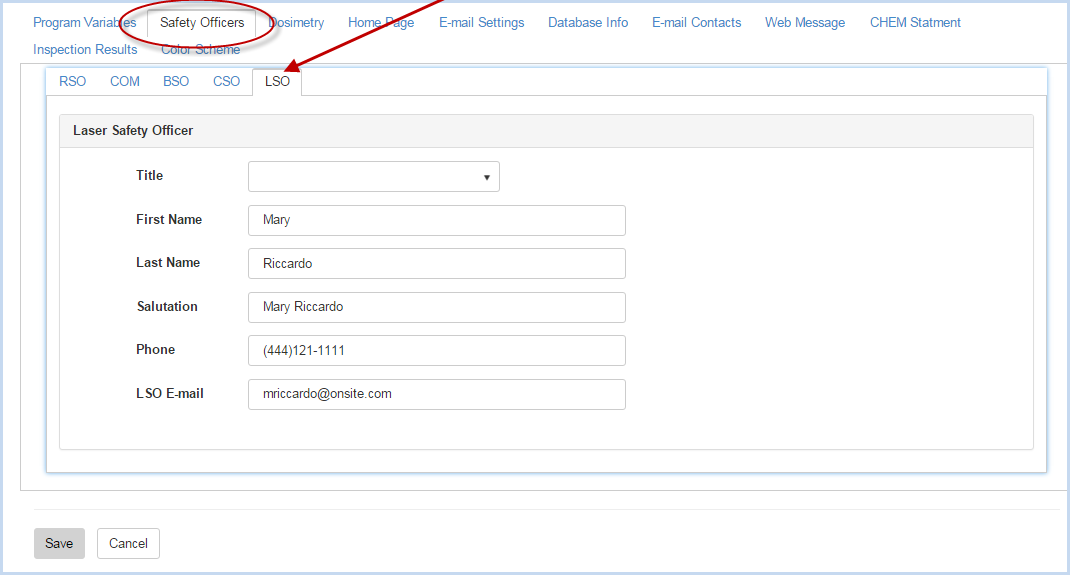
- Click the LSO tab to view and add/edit the Laser Safety Officer details.
Login Page
- Select the Login Page tab to view and edit the Login variables.
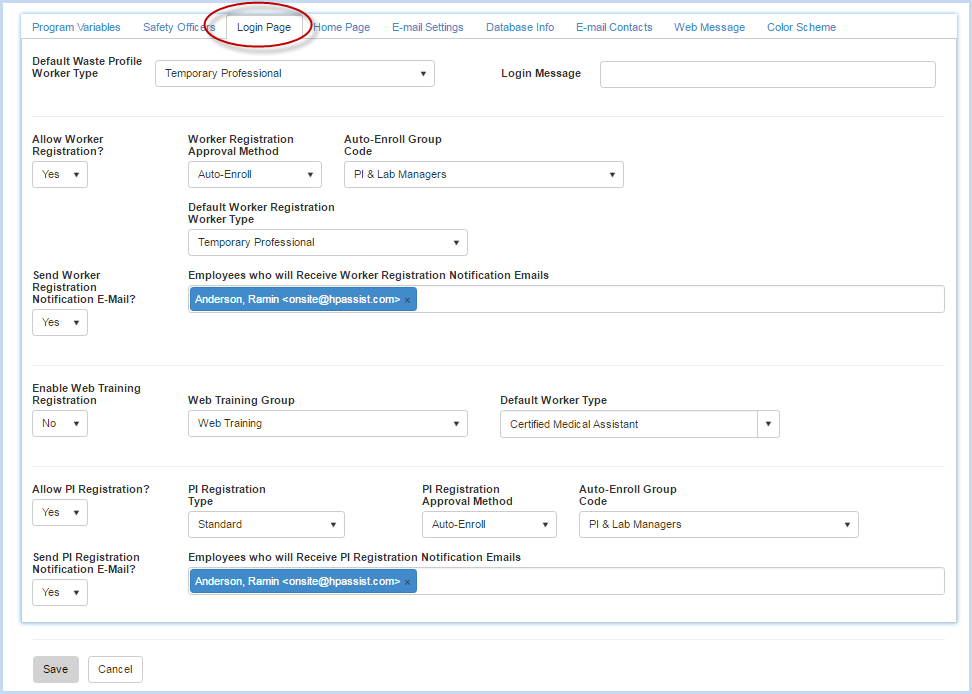
- Select the Default Waste Profile Worker Type from the dropdown of worker types.
- Enter the Login Message (if needed).
- Select Yes/No for Allow Worker Registration.
- Select Worker Registration Approval Method from the dropdown.
- If Auto-Enroll is selected in Worker Registration Approval Method, select the Auto-Enroll Group Code from the dropdown. If not Auto-Enroll is not selected, this field will not appear.
- Select Default Worker Registration Worker Type from the dropdown. If not Auto-Enroll is not selected, this field will not appear. I
- Select Yes/No for Send Worker Registration Notification E-Mail.
- If Yes is selected for Send Worker Registration Notification Email above, select the Employees who will Receive Worker Registration Emails.
- Select Yes/No for Enable Web Training Registration.
- Select the Web Training Group from the dropdown.
- Select the Default Worker Type (for web training group) from the dropdown.
- Select Yes/No for Allow PI Registration.
- Select PI Registration Type from the dropdown.
- Select PI Approval Method from the dropdown.
- If Auto-Enroll is selected for PI Approval Method, select the Auto-Enroll Group Code from the dropdown.
- Select Yes/No for Send PI Registration Notification E-Mail.
- If Yes is selected for Send PI Registration Notification E-Mail, select the Employees who will Receive PI Registration Notification Emails from the dropdown.
Home Page
- Select the Home Page tab to view and modify the home and welcome screen.
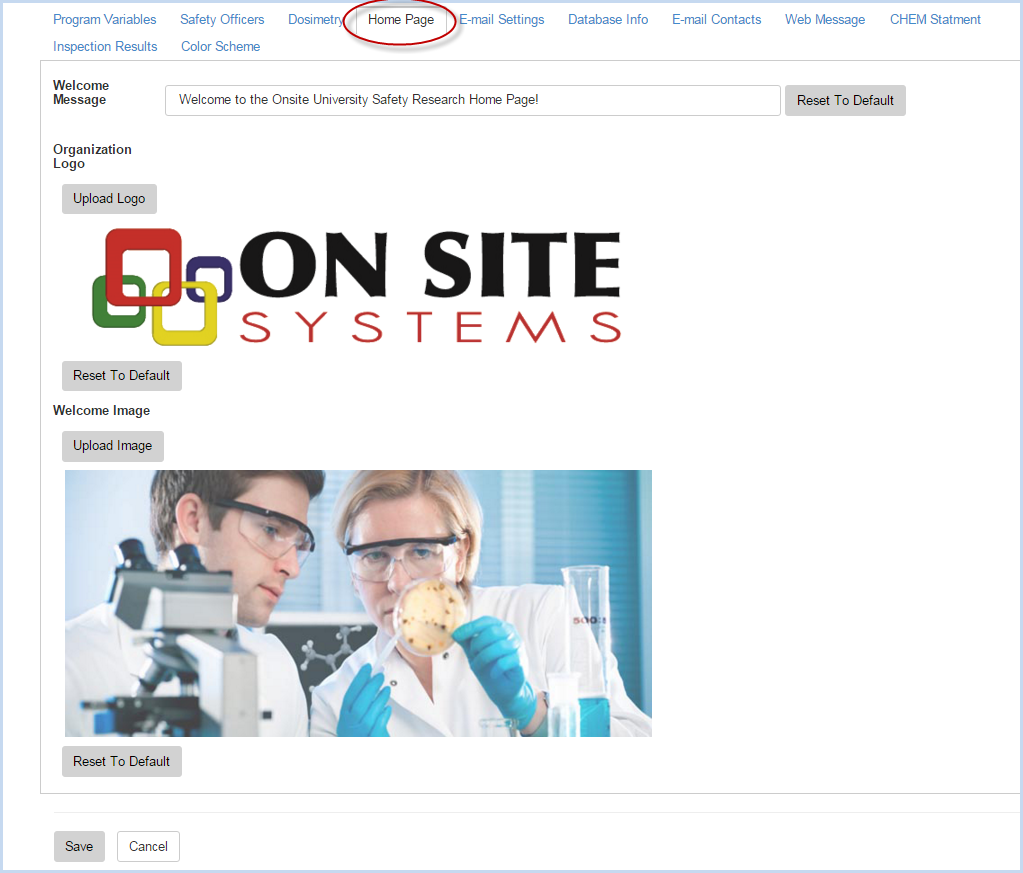
- Edit the Welcome Message as needed.
- Upload the Organzational Logo to display on the login screen.
- Upload the Welcome Image for the Home screen.
- The [Reset to Default] button will set the logo, image, etc. to the EHSA default.
E-mail Settings
- Select the E-mail Settings tab to view and enter/edit the e-mail settings for EHSA.
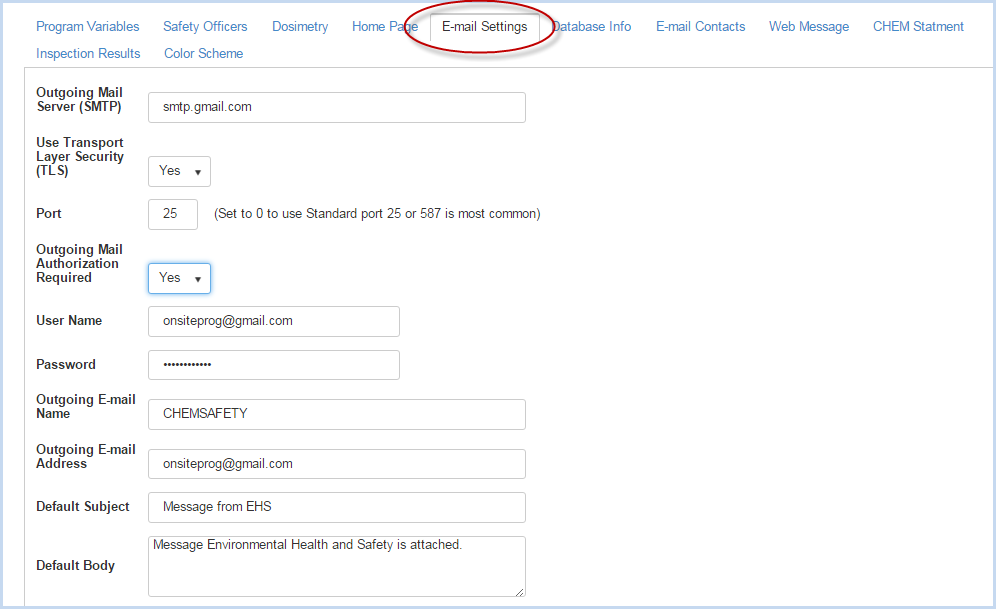
- The e-mail information is necessary for the e-mail functions of outgoing e-mail reports. Consult your IT Department for infomation/settings for Outgoing Mail Server, use of TLS, Port, if Outgoing Mail Authorization is Required.
- Enter the User Name, Password, Outgoing E-Mail Name, and Outgoing E-Mail Address.
- The Default Subject and Default Body will be used on all e-mails sent from EHSA. Edit if you would like a different default subject or body.
This section needs additional fields added.
Database Info
- Select the Database Info tab to view the Database Info information and settings.
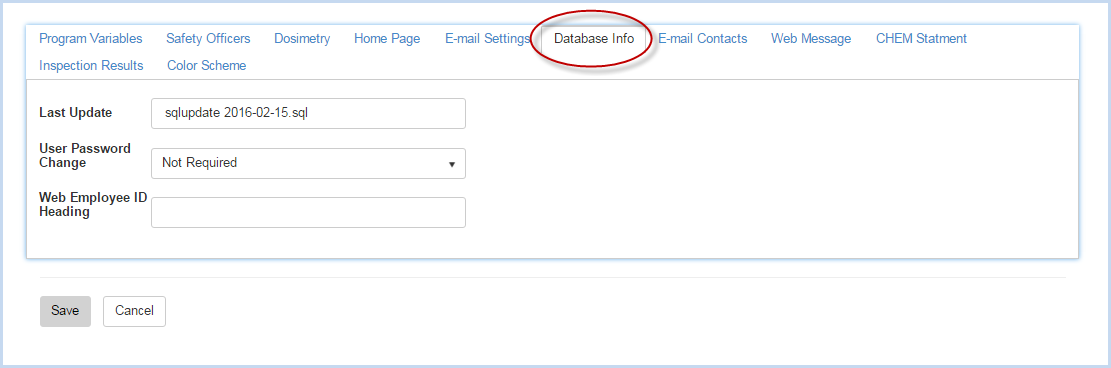
- The Last Update field displays the last update applied to the EHSA program. This field is view only.
- Set any requirement for User Password updates in the User Password Change field. Select Not Required if password changes are not required.
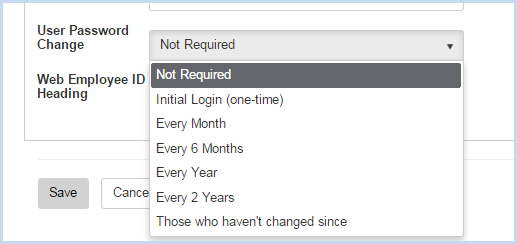
- Enter/edit the Web Employee ID Heading as needed.
E-mail Contacts
- Select the E-mail Contacts tab to view and edit the Worker Registrant, BIO, CHEM and RAM Procurement E-mail information.
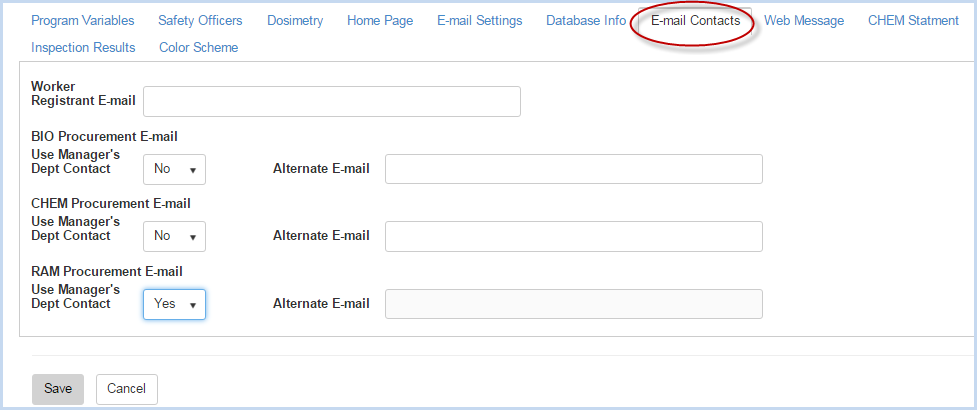
- Enter Alternate E-mails if Manager's Deptment Contact is not used.
Web Message
- Select the Web Message tab to Turn on the Web Message and edit/enter.
- Select the Background Color for the web message from available color options.

Chem Statement
- Select CHEM Statement tab to view and modify the Annual Chemical Review Statement.
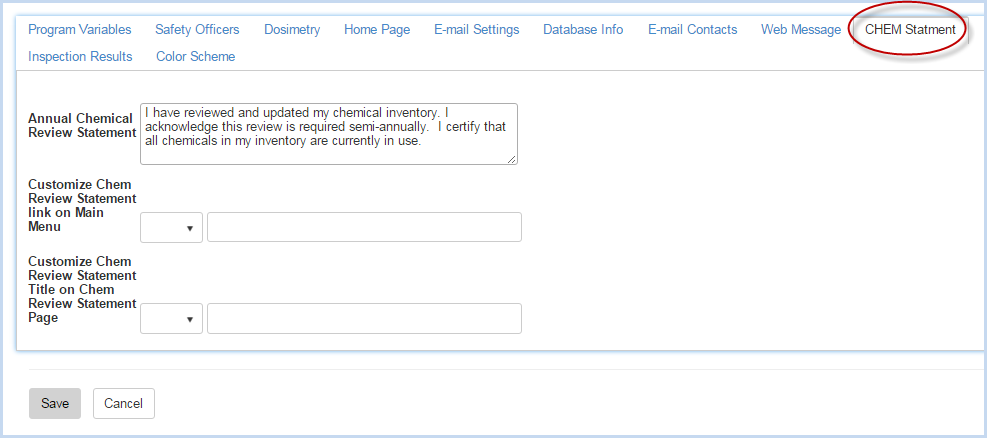
- Customize the Chem Review Statement Link and Chem Review Statement Title if needed. Select Yes or No from the dropdown and enter any custom statements.
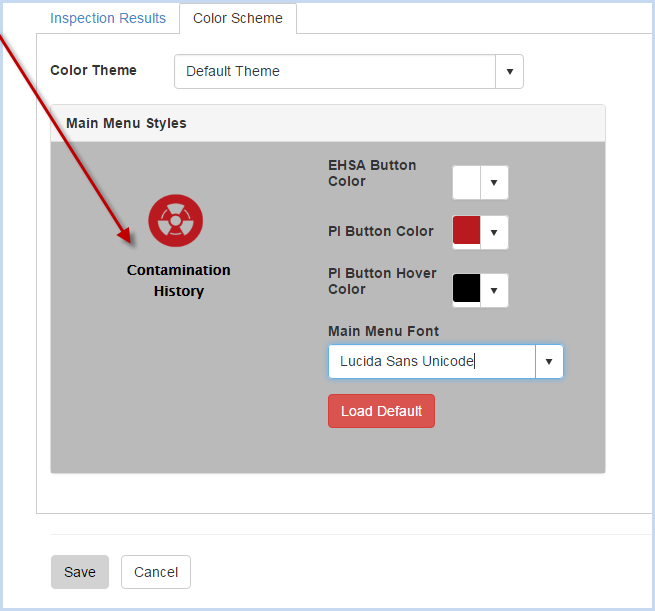
Color Scheme
- Select the Color Scheme tab to view and modify the Color Scheme for the EHSA program, Main Menu button colors and Font.
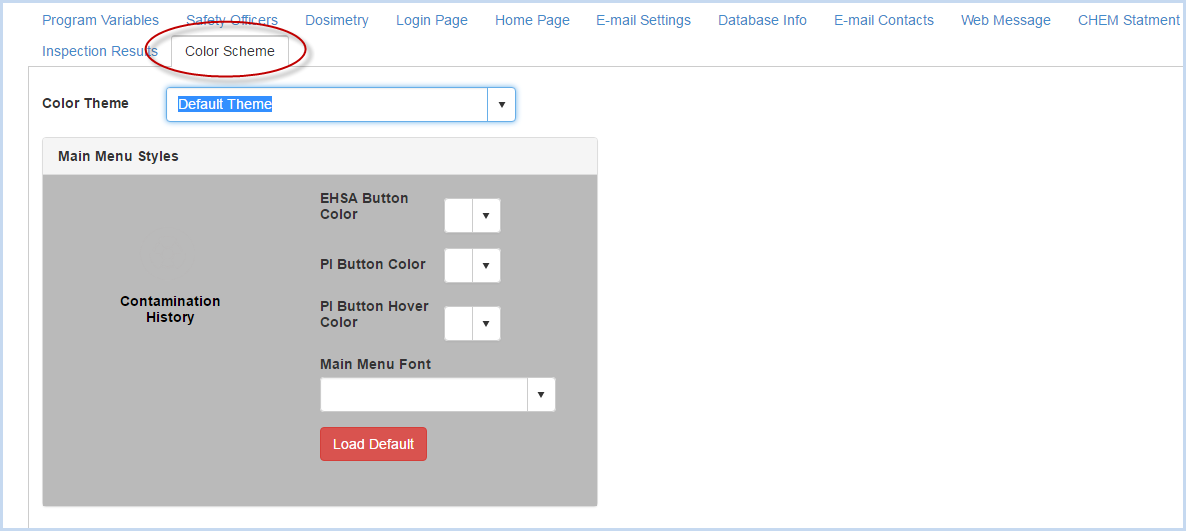
- Select the Color Theme from the dropdown listing.
- Select the Button Color options using the Color Picker dropdown to choose a color.
- Users can use slide the color selector along the bar, then click and drag the "dot" below to fine tune the color hue. Or, enter the HTML color code in the box.
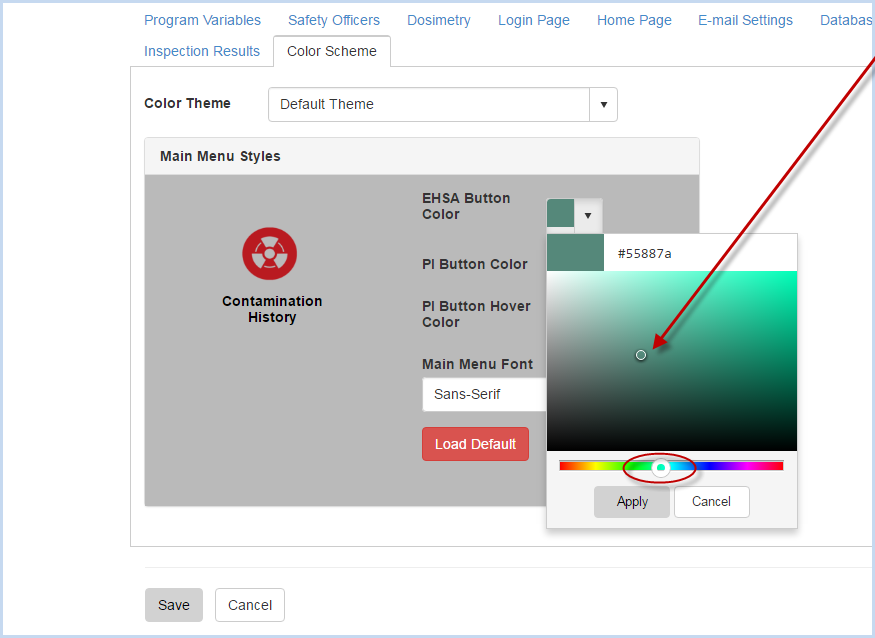
- Click [Apply] to save each color selection.
- Then click [Save] to save all edits/changes, or [Cancel] to discard the color scheme changes.
- The new EHSA Button Color is shown below:

- Select/Edit the PI Button Color from the dropdown - example shown below.
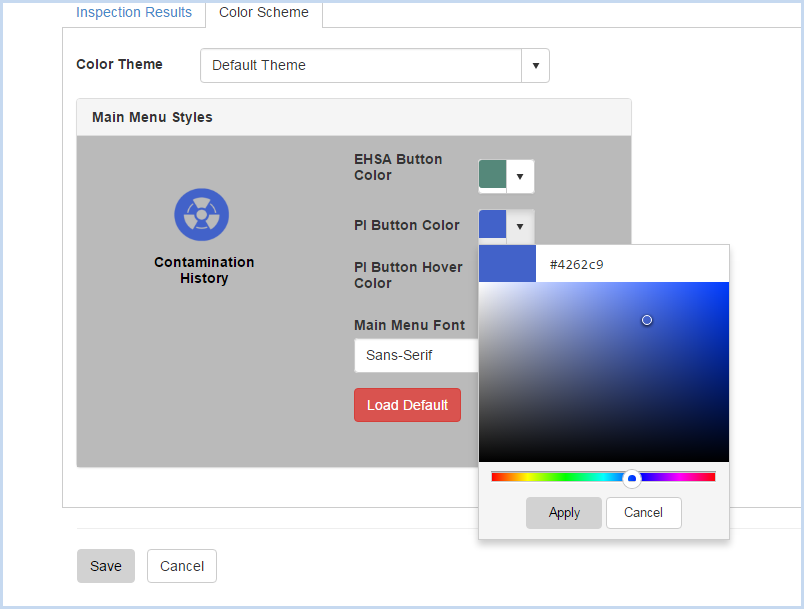
- The new PI Button Color selected above as shown on the Home Screen:

- Select the PI Button Hover Color from the dropdown - example shown below.
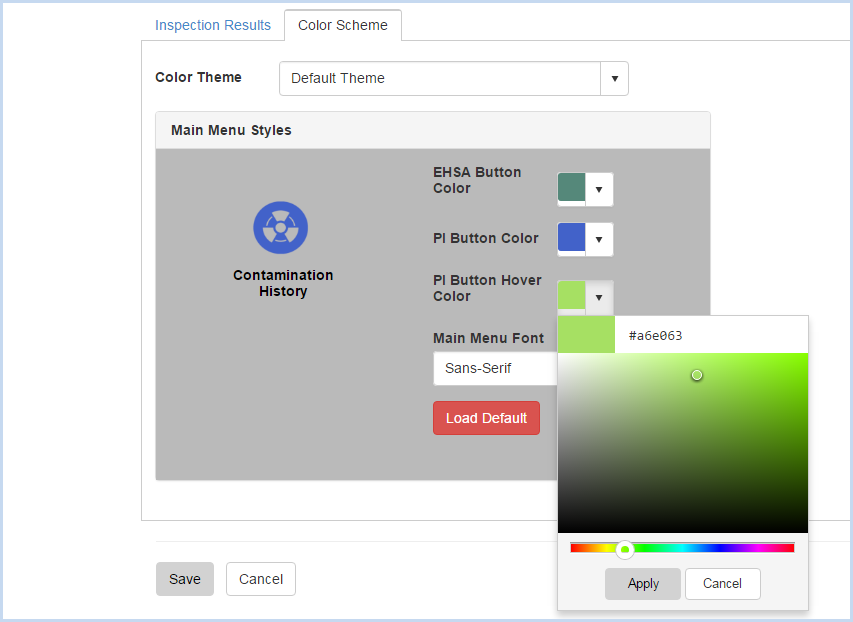
- The new PI Button Hover Color as shown on the Home Screen for "Hazardous Waste" selection:

- Click [Load Default] to set all the button colors to the default color selections.
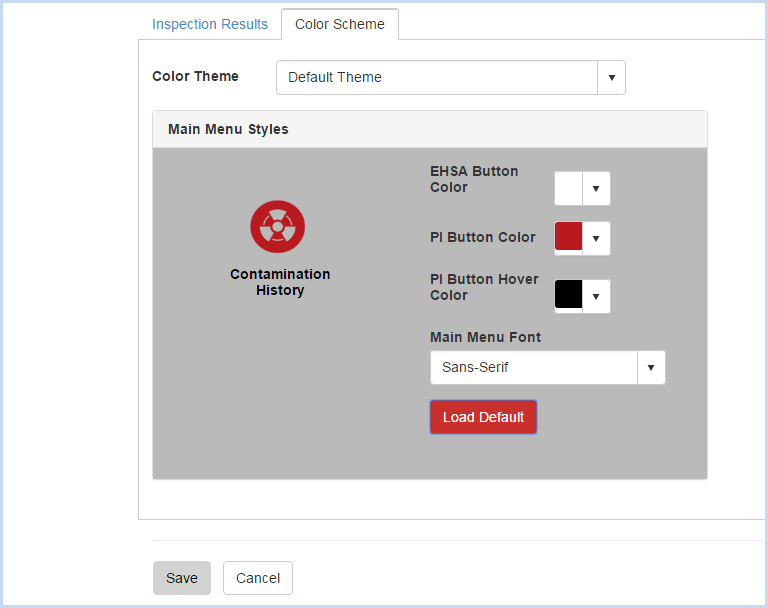
- Click [Save] to save the default Button Colors above.
- Click the dropdown to select from the Main Menu Font listing.
- When a new font is selected, the example Button Text below previews the new font.
- Click [Save] to save the new Main Menu Font, or [Cancel] to discard the change.