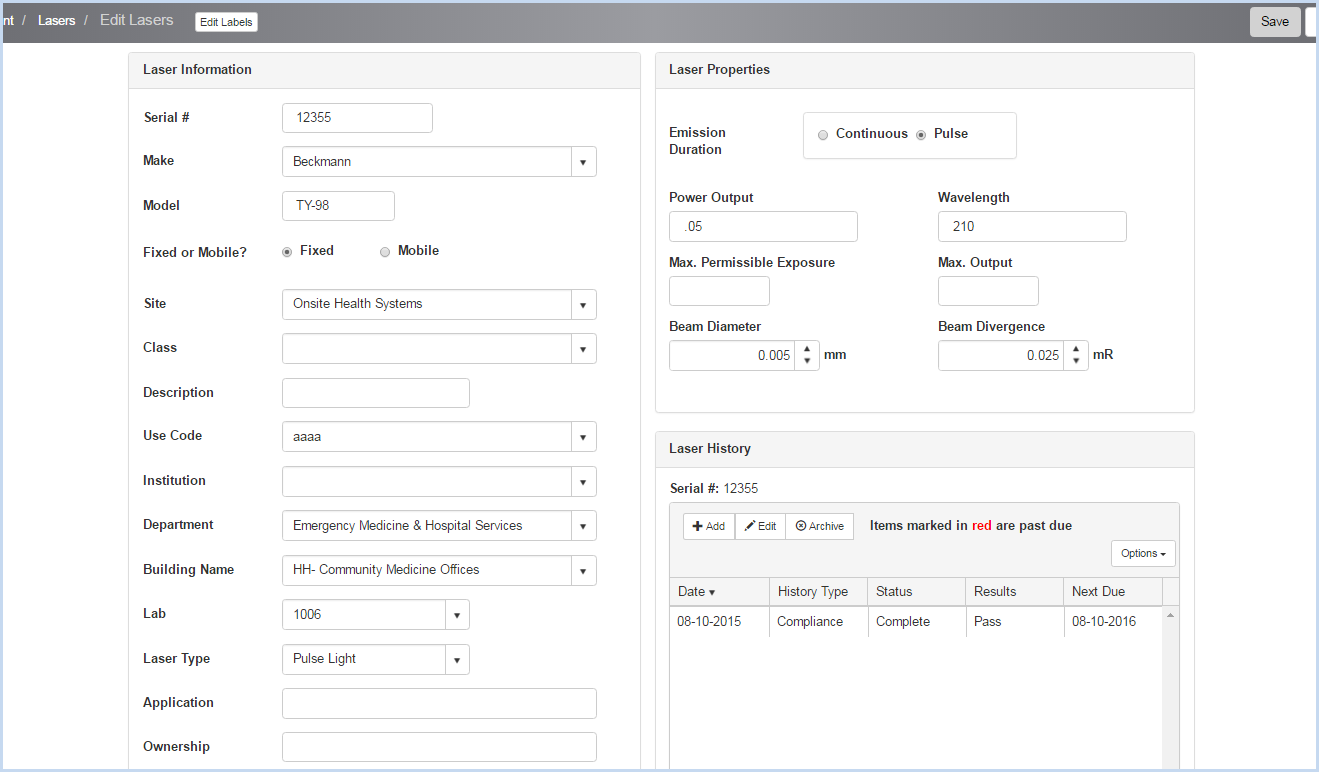
Click [Add] to add a new Laser, or [Edit] to modify an existing Laser. This opens the Laser entry/edit screen. The upper portion of the screen is shown below.
Enter the Serial #. This field is required and is a unique identifier.
Select the Make from the dropdown list.
Enter the Model.
Select if the laser is Fixed or Mobile.
Enter a Description if needed.
Select the Use Code from the dropdown.
Select the Institution, Department, Building Name, and Lab (location) from the dropdown lists as needed.
Enter the Application and Ownership field information as needed. (Note: field labels can be modified to suit your organization's needs. See Edit Labels for details.)
Enter the Laser Properties detail fields.
Laser History entry/edit can be accessed by clicking [Add] to add a history, or highlighting a record and clicking [Edit].
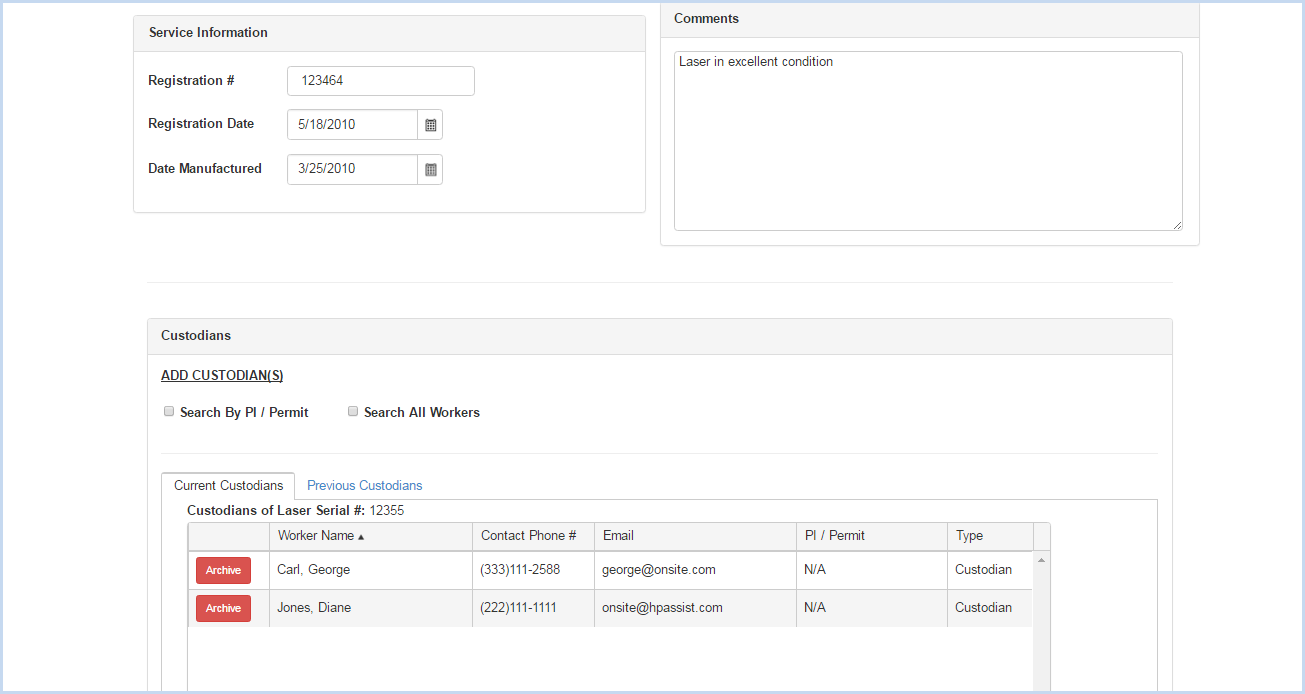
Scroll down to view the Service Information, Comments, and Custodians sections as shown below.
Enter Registration #, Registration Date, and Date Manufactured.
Enter any Comments as needed.
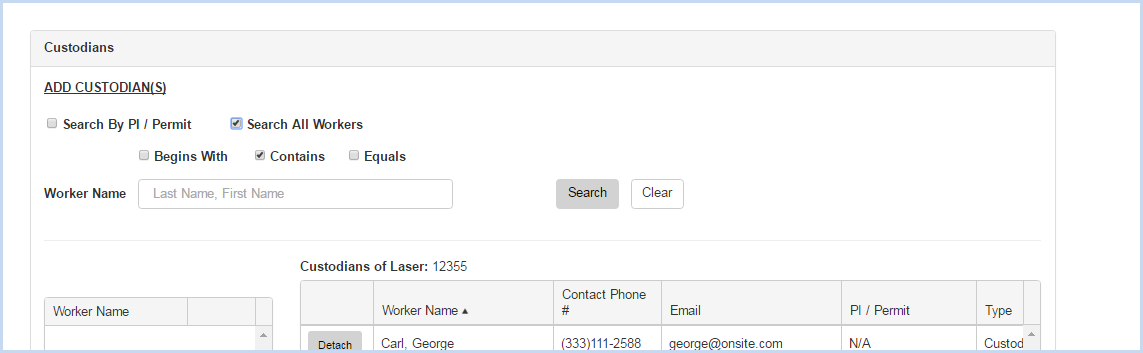
Adding Custodians
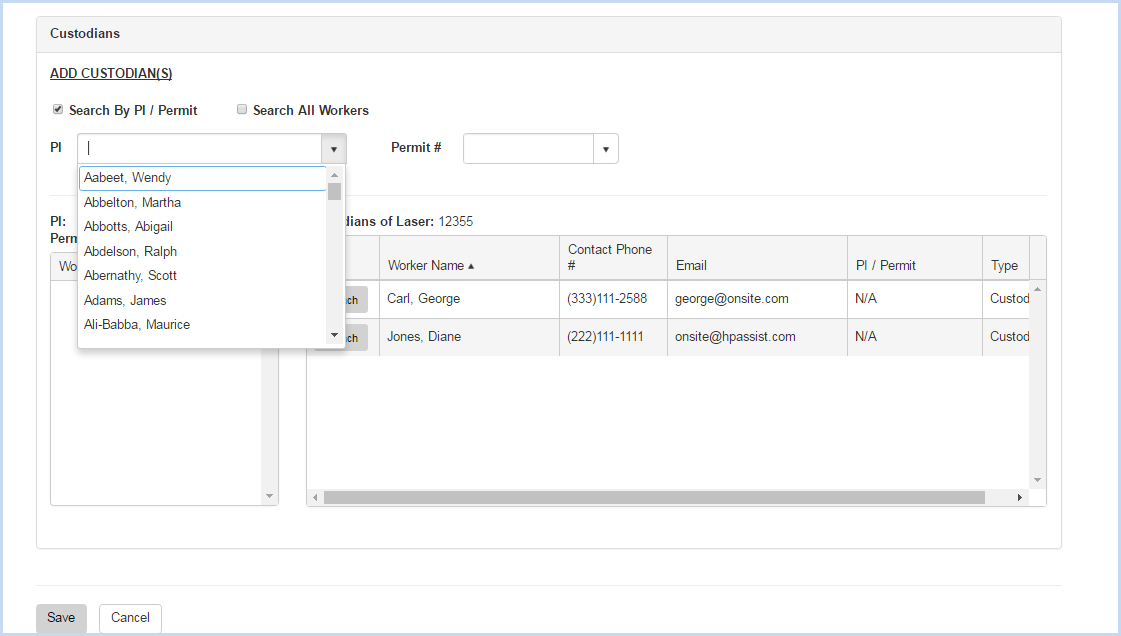
Click the radio button for Search by PI/Permit or Search All Workers to search for and add a custodian.
Search by PI/Permit is shown below. Select the PI from the dropdown list.
After the PI is selected, choose one of the Permits attached to the PI from the Permit # dropdown.
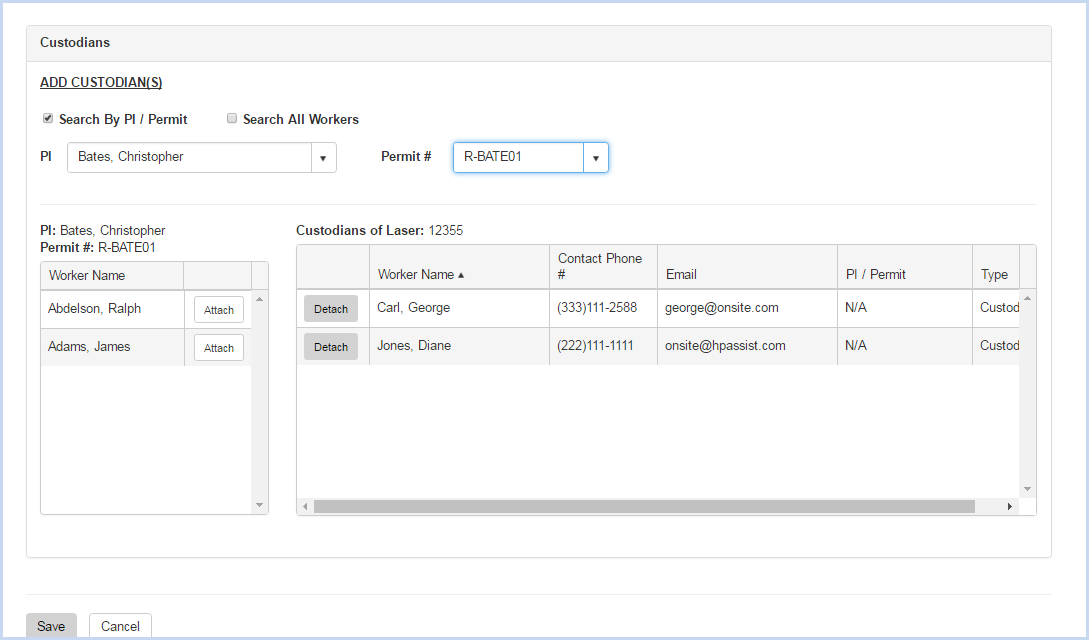
After the PI and Permit are selected, the list of Workers attached to the permit will be available for attaching.
Click on the [Attach] button to attach each custodian needed.
When the "Search All Workers" option is chosen, enter filter criteria (Begins With, etc.) and click the [Search] button.
Click [Save] to save the entries, or [Cancel] to discard any entry/edit and return to the previous screen.