Inspection Results
Click on the [Inspections] menu icon, then select Inspection Results from the Inspections Menu.

Inspection Results – Overview and Navigation
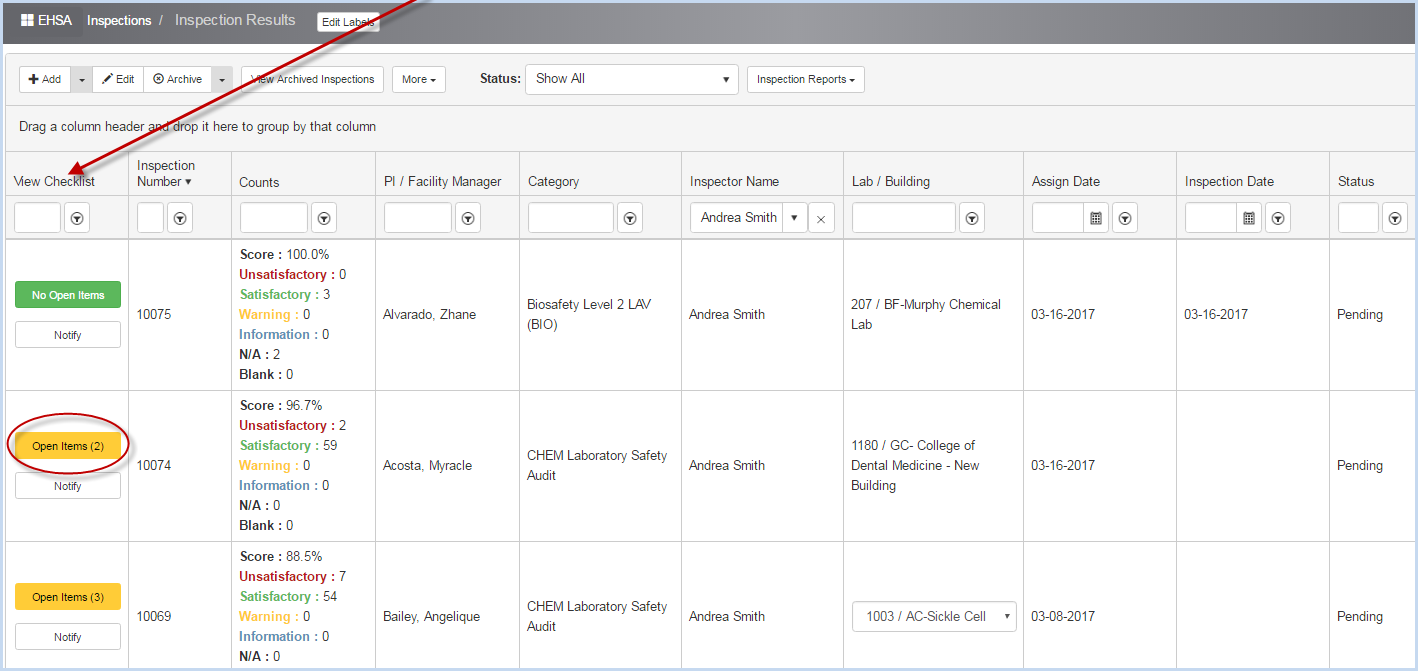
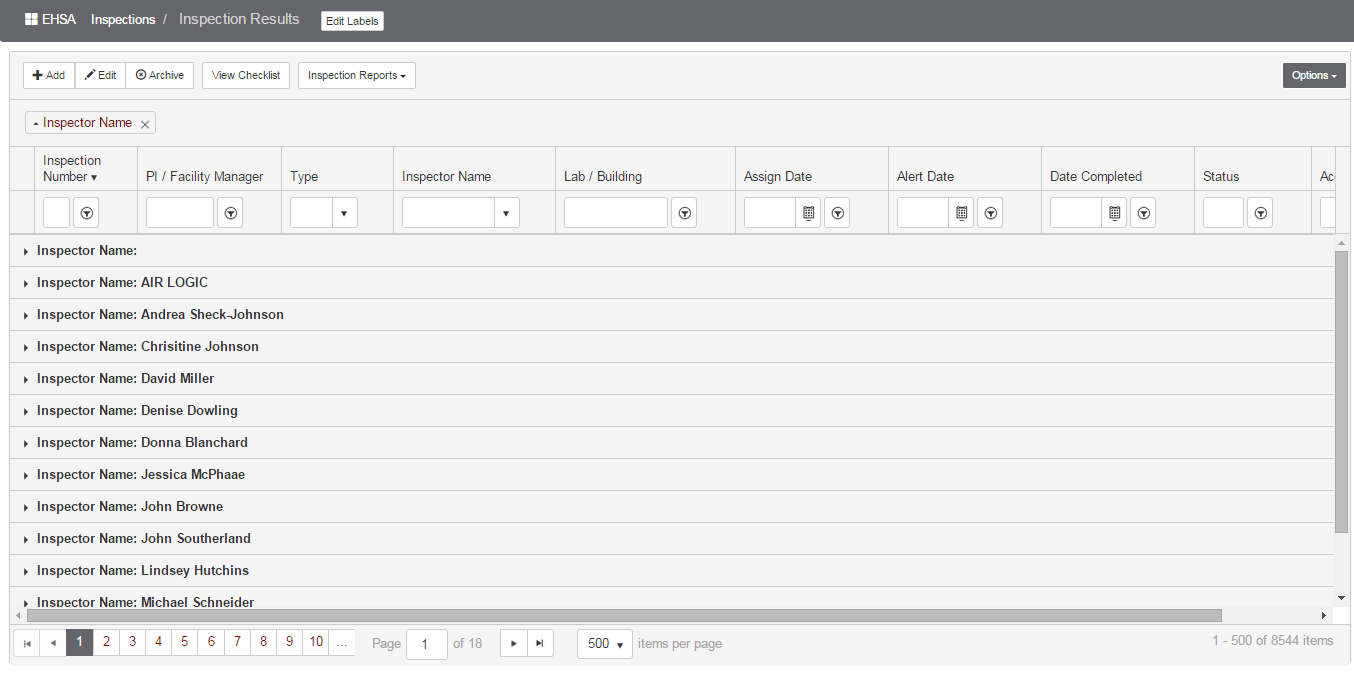
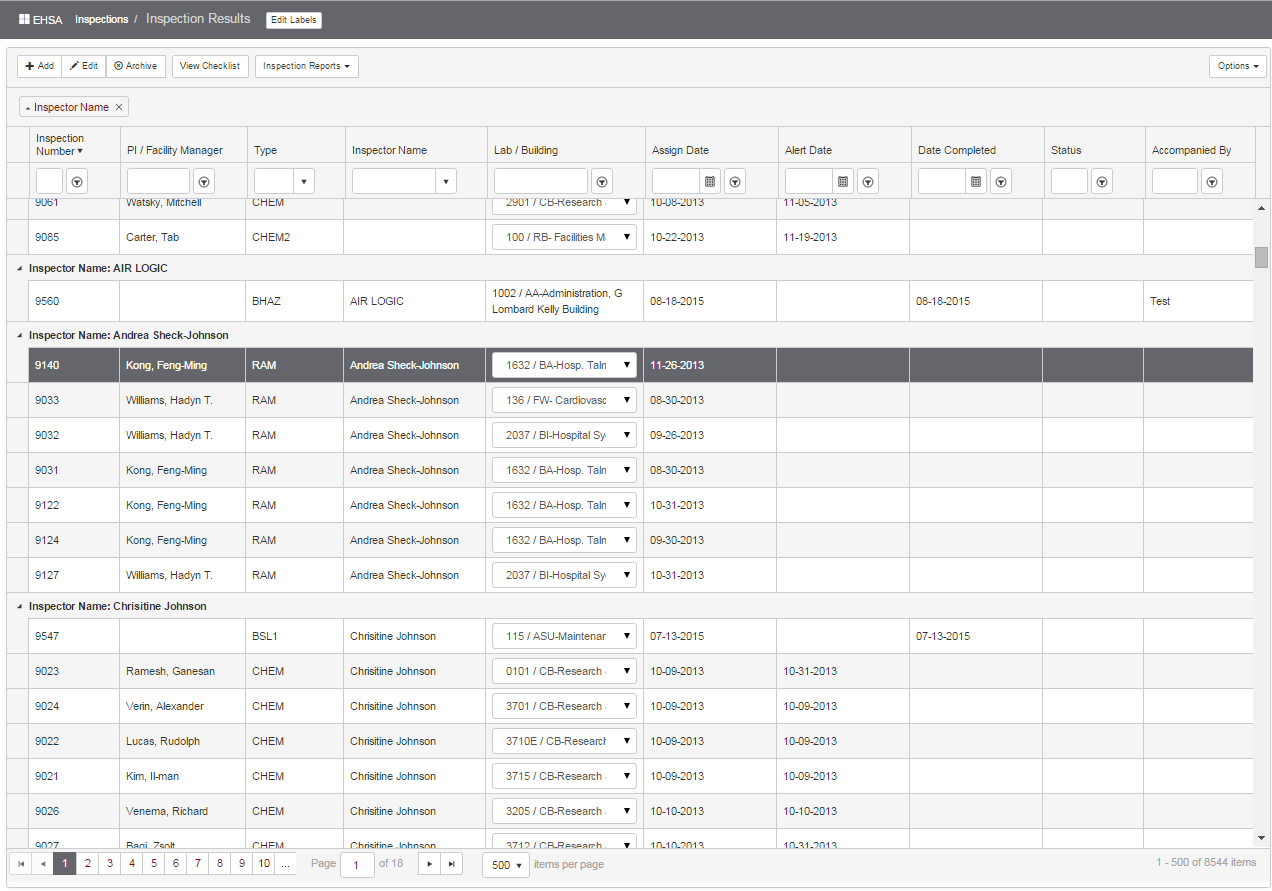
Users can view or edit inspection results in this screen. Reports for a selected (highlighted) inspection are available from the [Inspection Reports] button.
The View Checklist column shows at a glance the number of Open Items on an inspection.
There are various ways to make the data easier to view. Any on-screen list can be sorted by clicking on the column header. Click and drag a column header to the left or right to rearrange the horizontal view order. The data can also be grouped by the column header fields. Use filters for column data in columns to view specific
Sorting: Click on any column in the header row to sort by that column.
An upward arrow indicates the sort is A-Z, oldest to newest, 1 to 10, etc. 
A downward arrow indicates Z-A, newest to oldest, etc. 
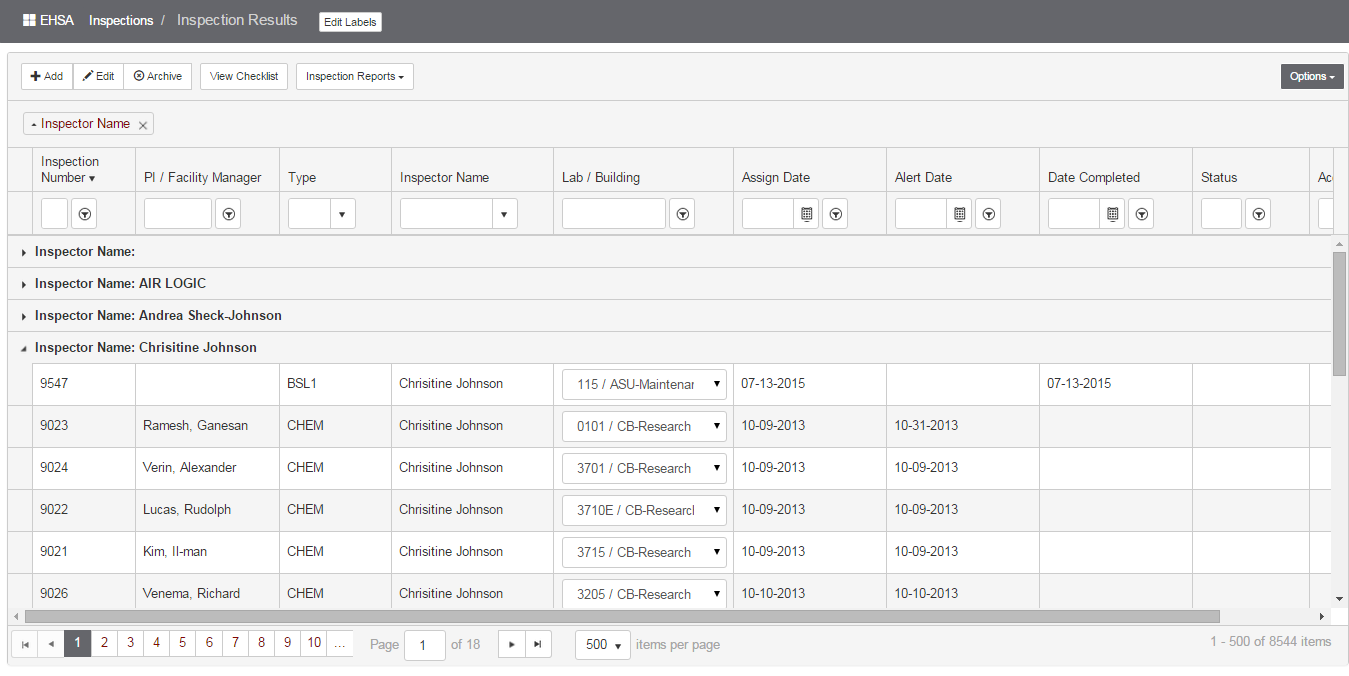
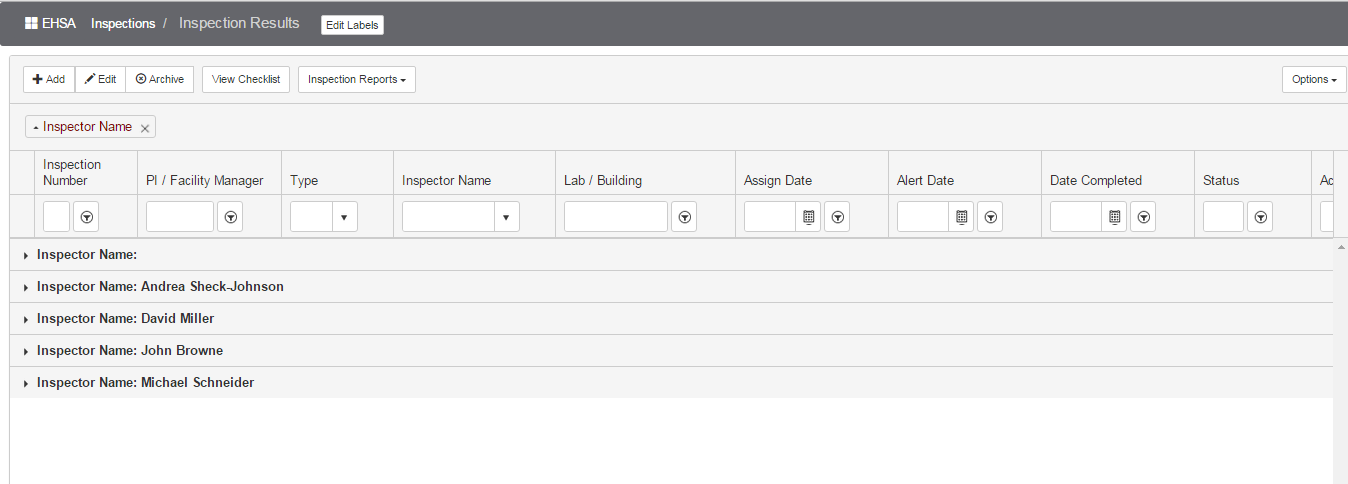
Drag a column header to the area above the header row to group by that column. The inspection list below is sorted by Inspector Name.
Click the right arrow beside an Inspector Name to view all inspections for a selected inspector.
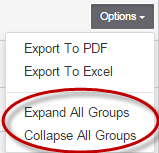
The Options dropdown in the upper right corner of the screen allows Export to PDF, Export to Excel, Expand All Groups, or Collaspe All Groups:
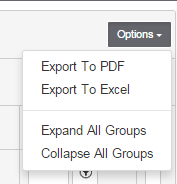
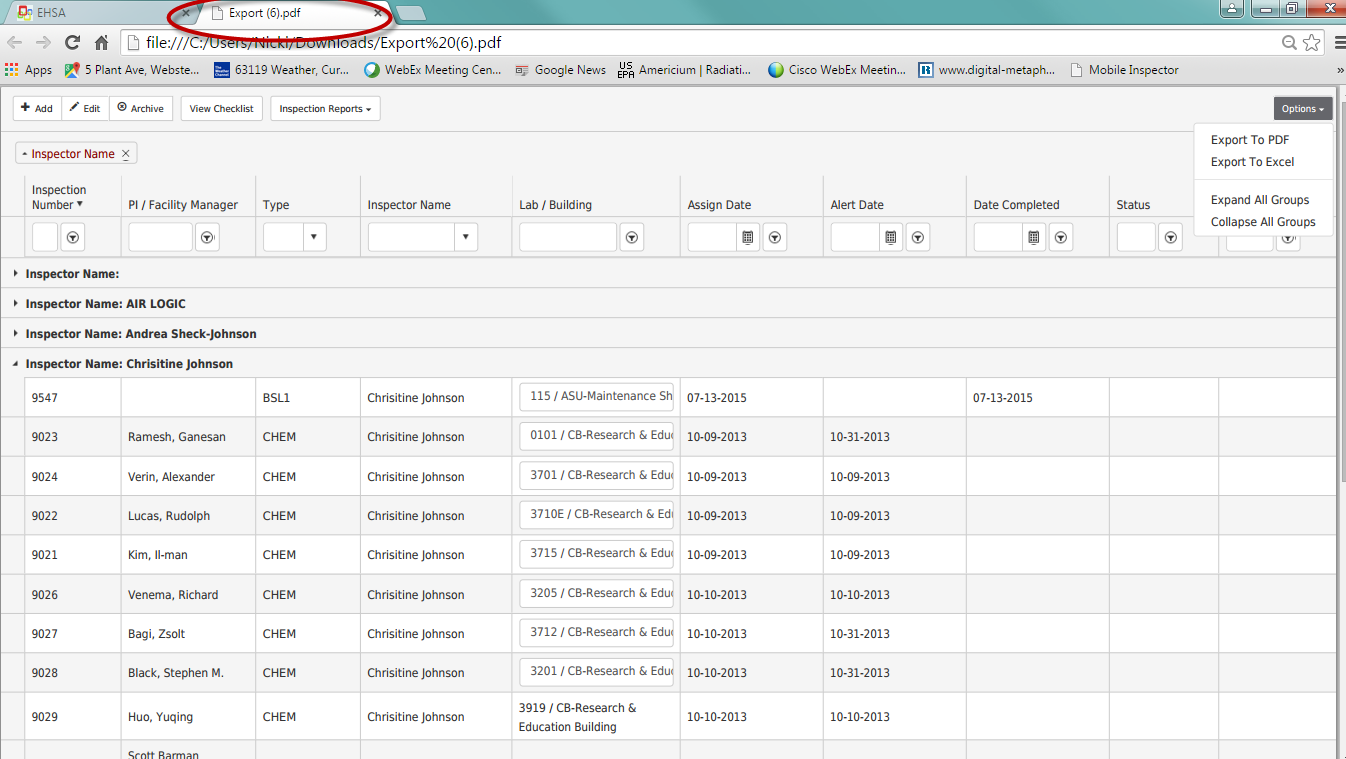
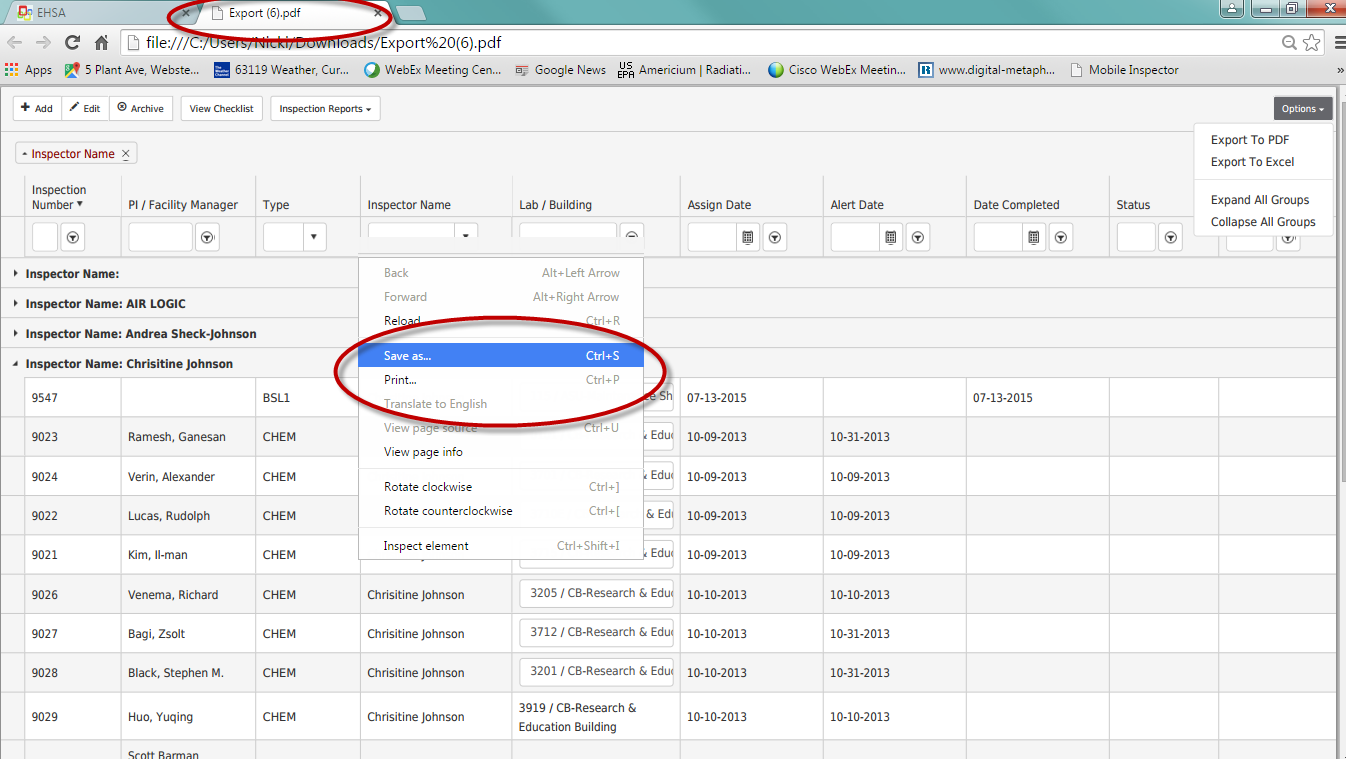
Export to PDF sends the data as shown on the screen to a PDF file. The data downloads to a PDF file and shows at the lower left corner of the screen.

This action functions as a screen shot of the data view shown. Click on the file to open the file in a new window.
While on the PDF Export screen, right click and select Save as to save the PDF file, or Print to print. Users can also click [Contrl+P] to print.
Export to Excel will download the screen data to an Excel file. Click on the file to open.
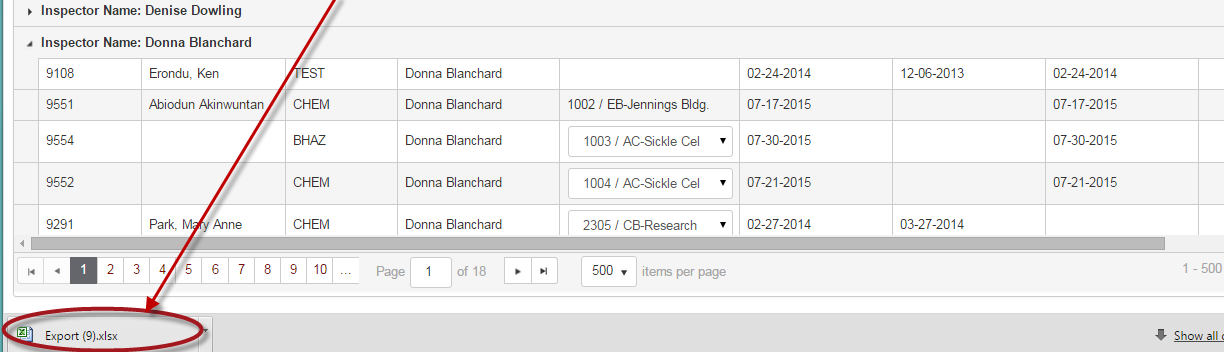
This will open the file in Excel – the user can save the file to their computer or network and modify as needed.
Use Expand All Groups or Collapse All Groups to view details or groups.
Expand all Groups example:
Collapse all Groups example:
Click the “x” on the label to remove the sort: 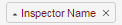
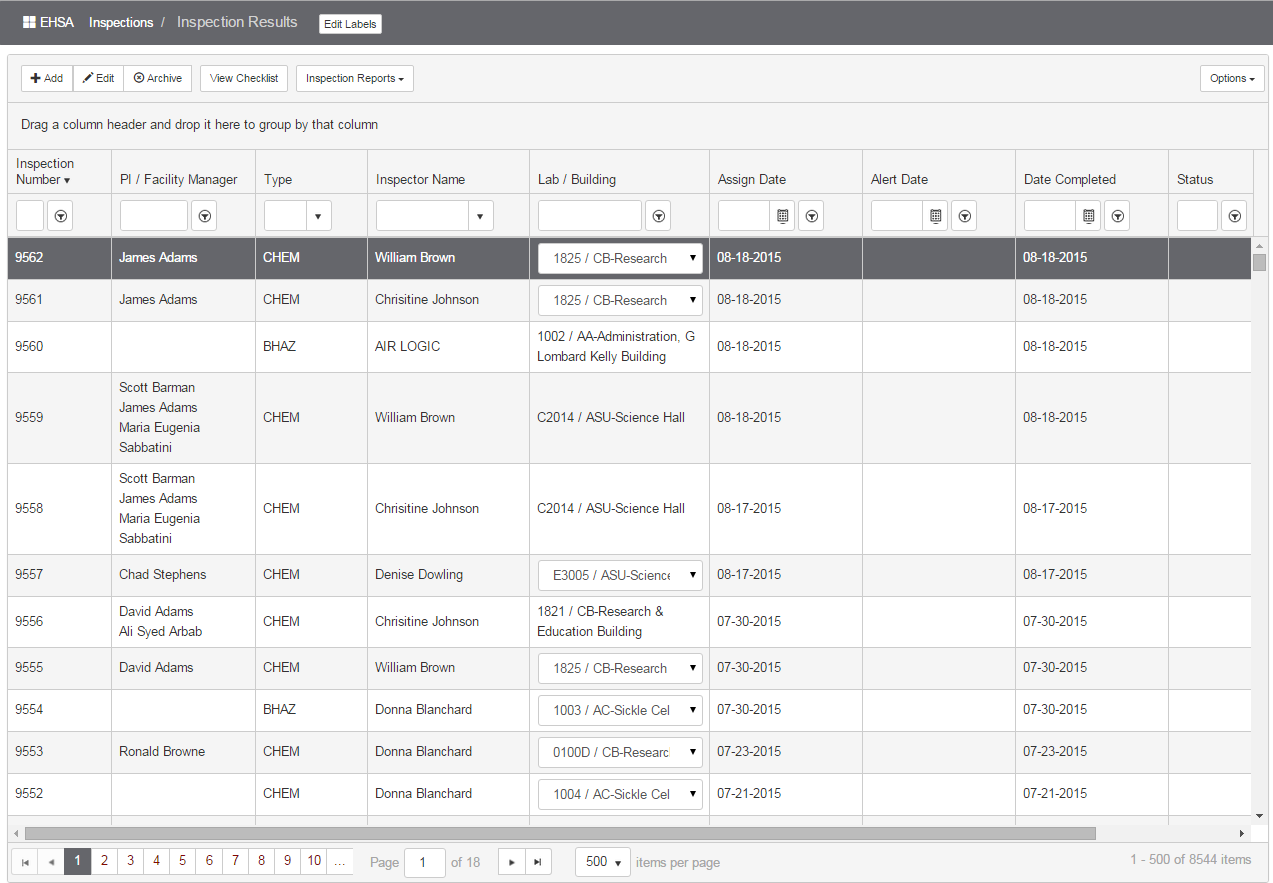
Use a Dropdown or Filter to narrow down the results on screen. Dropdown lists are available for fields such as Type:
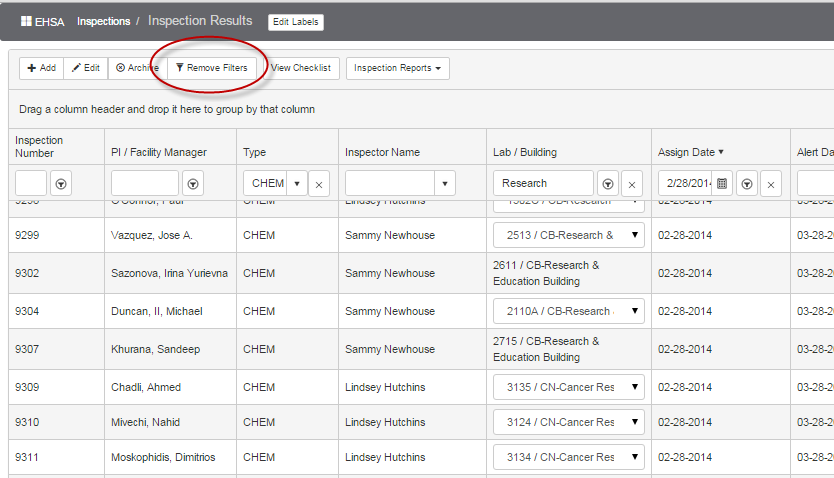
For example, select CHEM in the dropdown to view CHEM inspections below.

Click the “x” to remove the filter: 
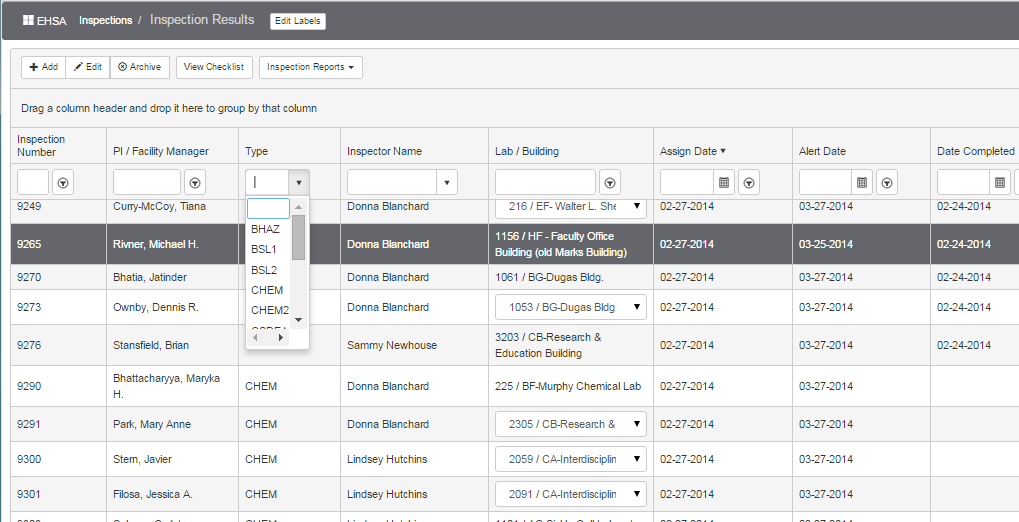
Use Filters to locate an inspection. Filter options will be available when the user clicks the down arrow on the Filter box. The default filter option is “Contains”.
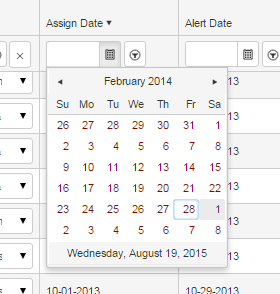
For date filters, the user selects a Date:
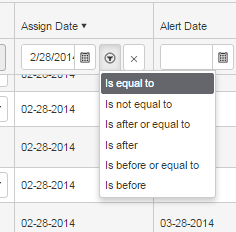
The default for a date filter is “equal to” – additional options are shown below:
If there is more than one Lab Location for the inspection, click the dropdown arrow to view the locations:

To group by column, click and drag a header label such as “PI/Facility Manager” to the area above the header row.
Click [Remove Filters] to remove all filters:
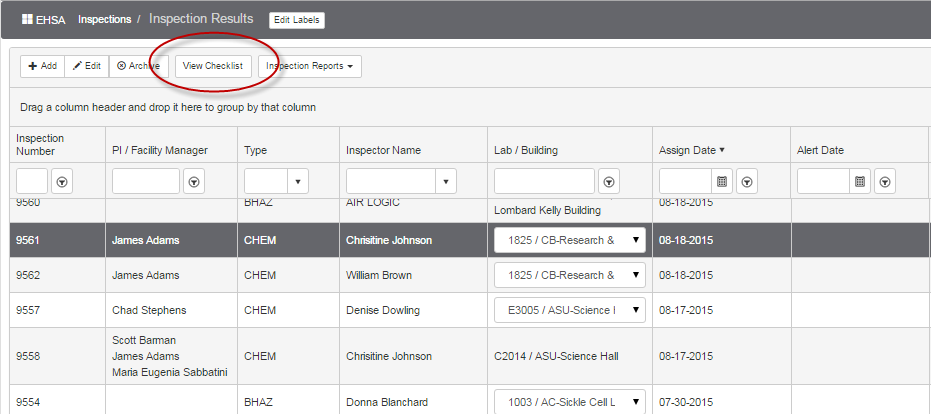
Click [View Checklist] to view the list of Violations/Deficiencies for a highlighted inspection.
The list is defaulted to “Subcategory” filter.
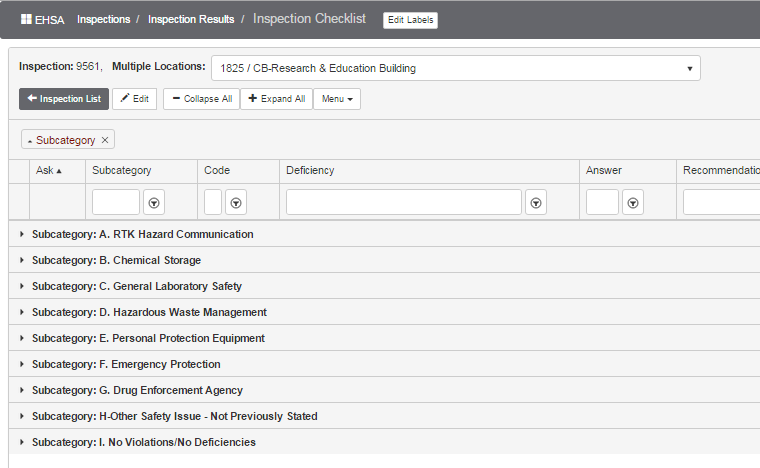
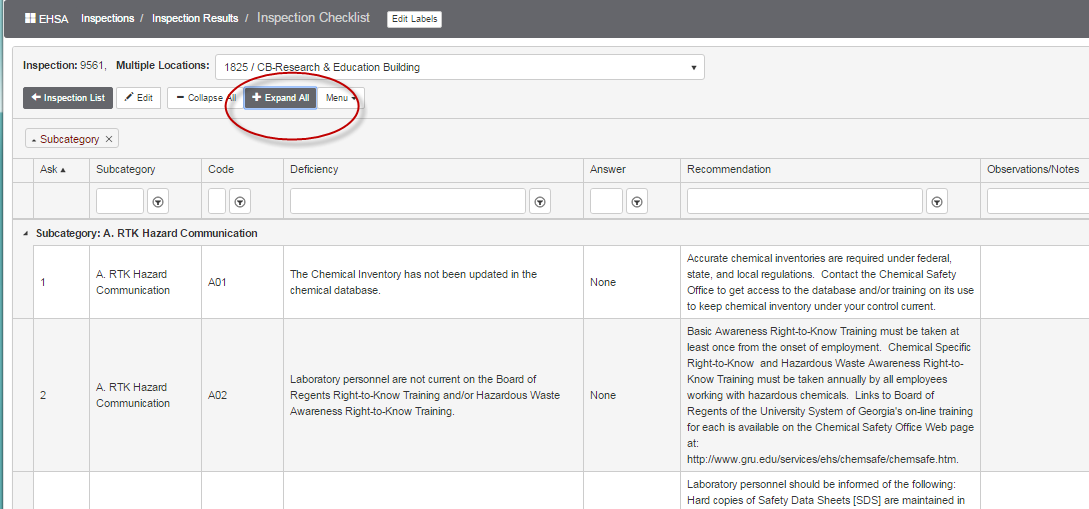
Click [+Expand All] to open the list or [-Collapse All] to close the list.

[+Expand All] has been selected:
Click the [< Inspection List] button to return to the Inspection List.

Viewing/Editing Inspection Results
Menu options for the Inspection Checklist are Duplicate, Delete Row, Set Answers to Default, Set Category to N/A and Clear All Answers.
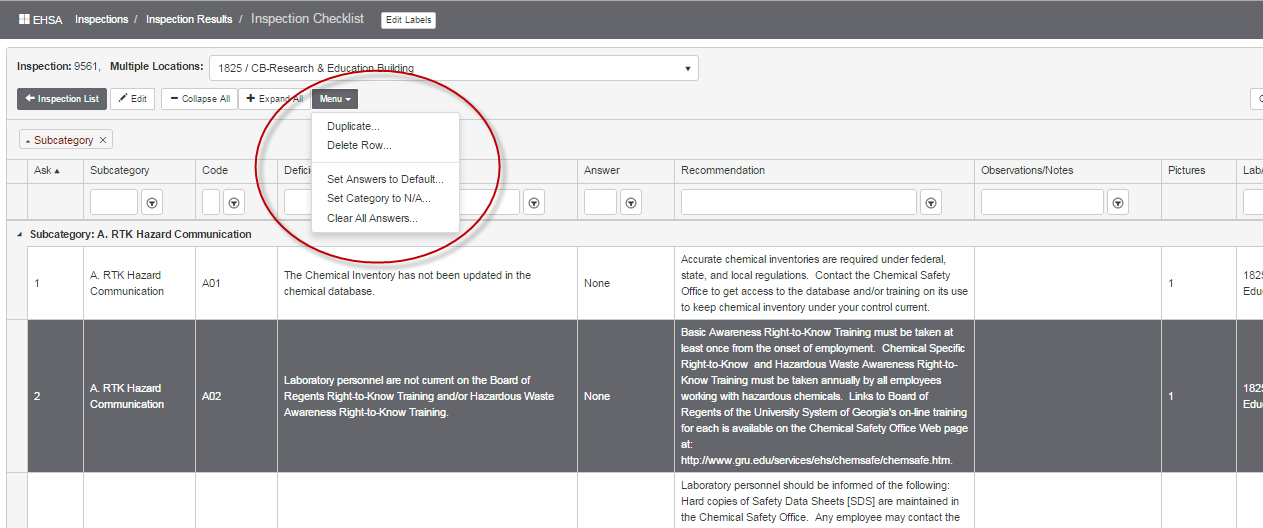
After selecting any of these options, a Confirm Box will appear. For example:

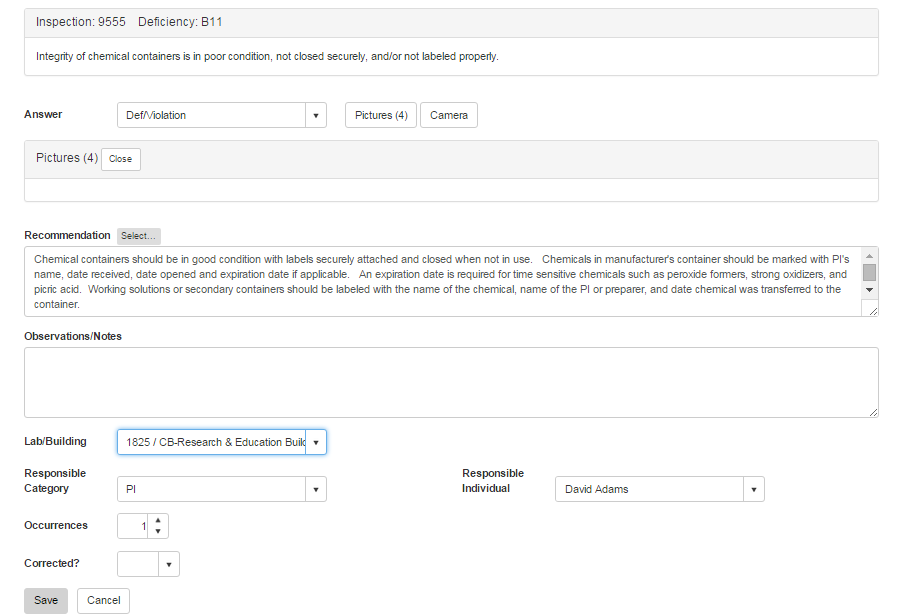
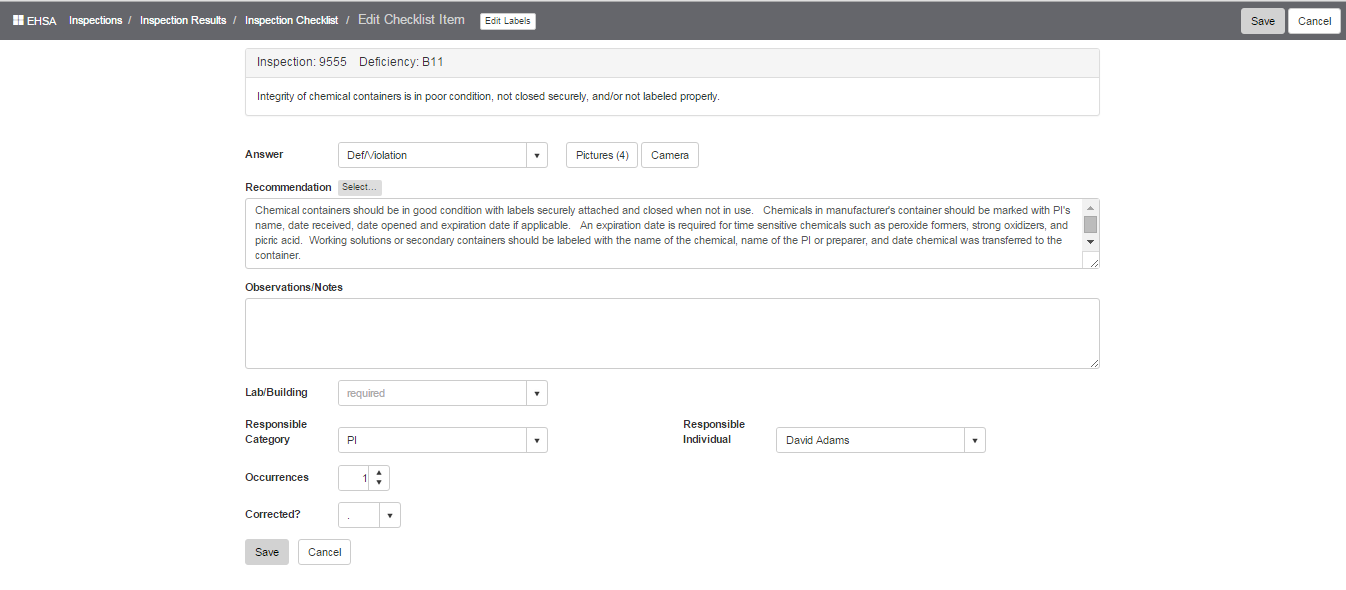
Highlight/select a violation/question and click [Edit]
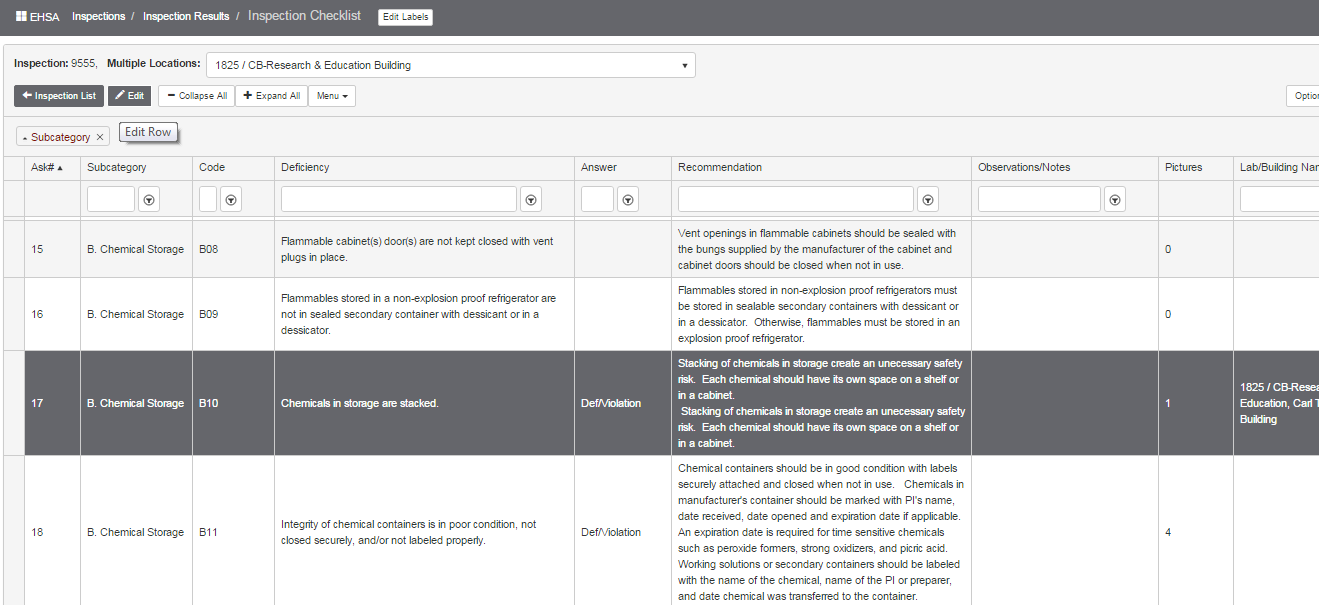
Edit or view the Violation/Question. Click on [Pictures] to view any photos. The number of photos is shown:  Click on [Camera] to take a photo.
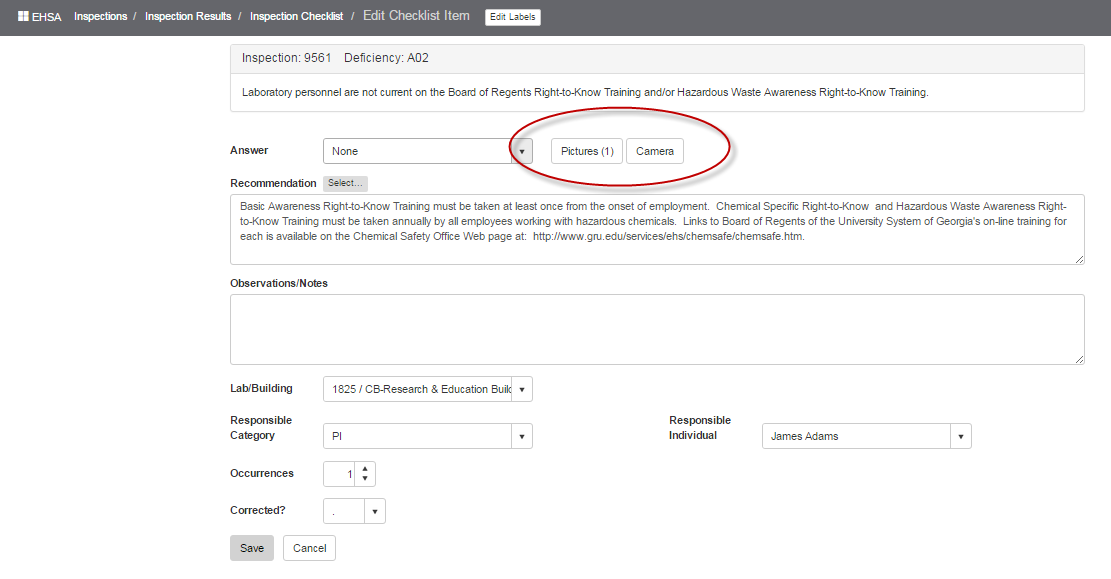
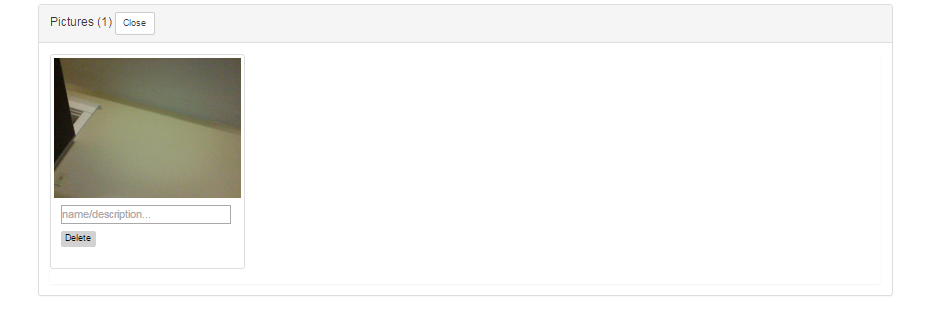
Photo view – a name/description may be entered under each photo.
Select the Recommendation from those available.

Enter any Observations/Notes
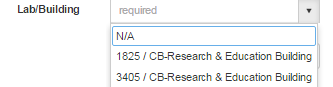
Select the Lab/Building where the violation occurred.
Pick the Responsible Individual:
Click [Save] when all edits are complete.