Chemical Inventory Verification
Inventory - Chemical Inventory - Chemical Inventory Verification
Users can scan and verify Chemical Inventory for PI's from this screen.
- Select the Inventory icon from the Main Menu bar.

- PI users will select Inventory from the icons shown on the Home Page.
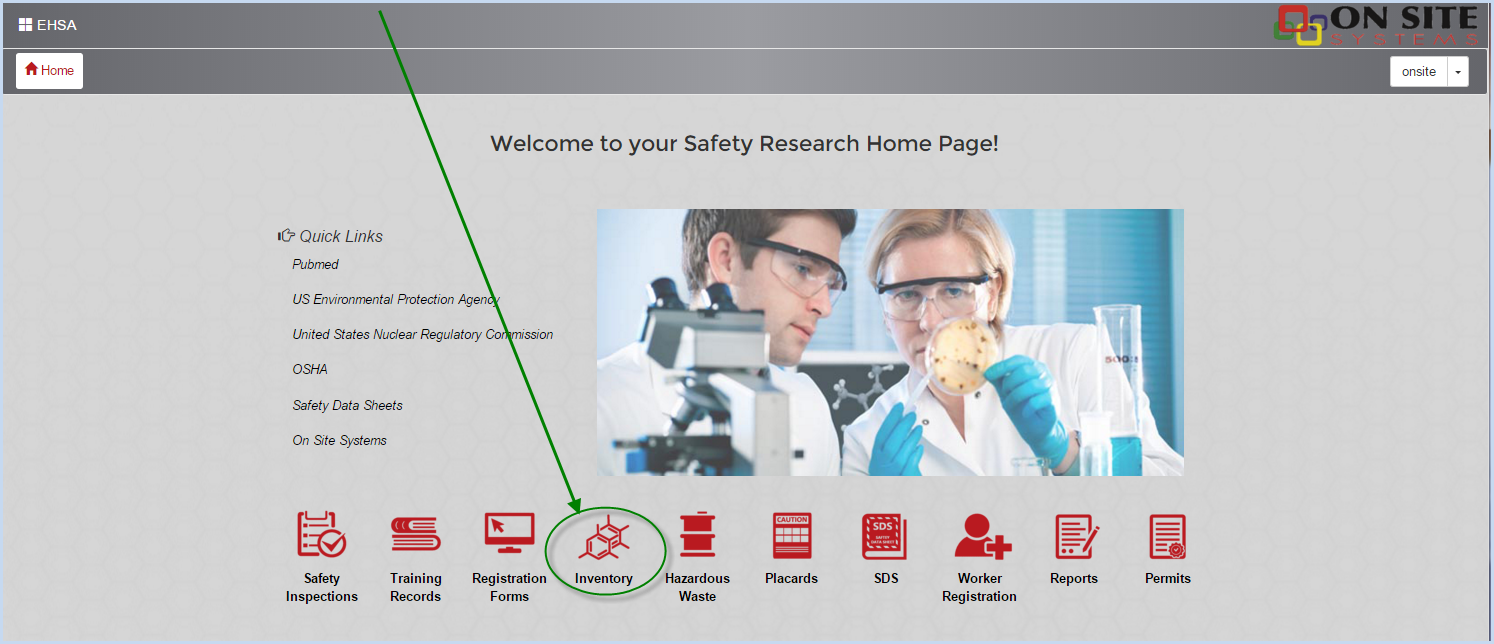
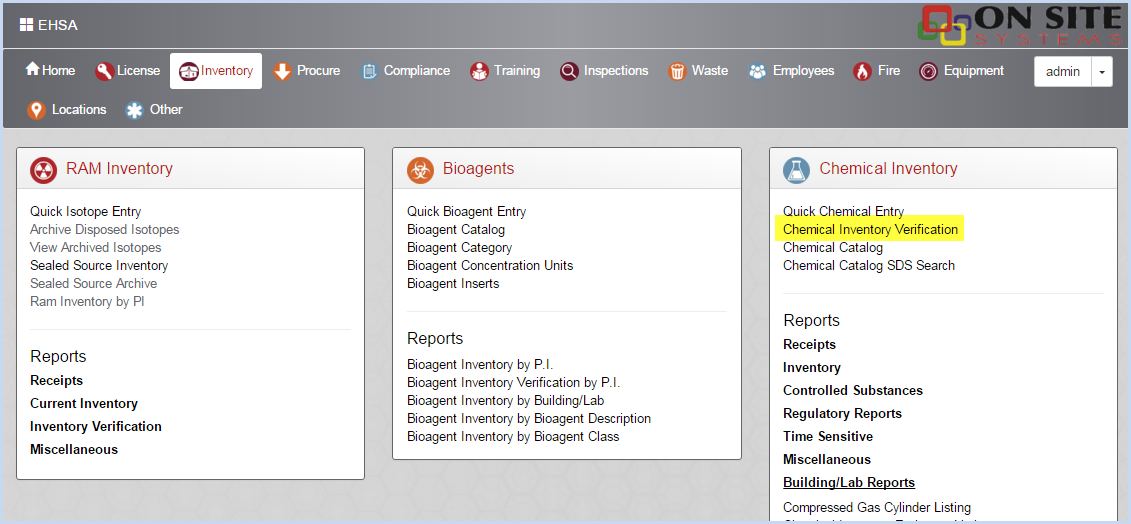
- Select Chemical Inventory Verification from under [Chemical Inventory].
Scanning Inventory Items
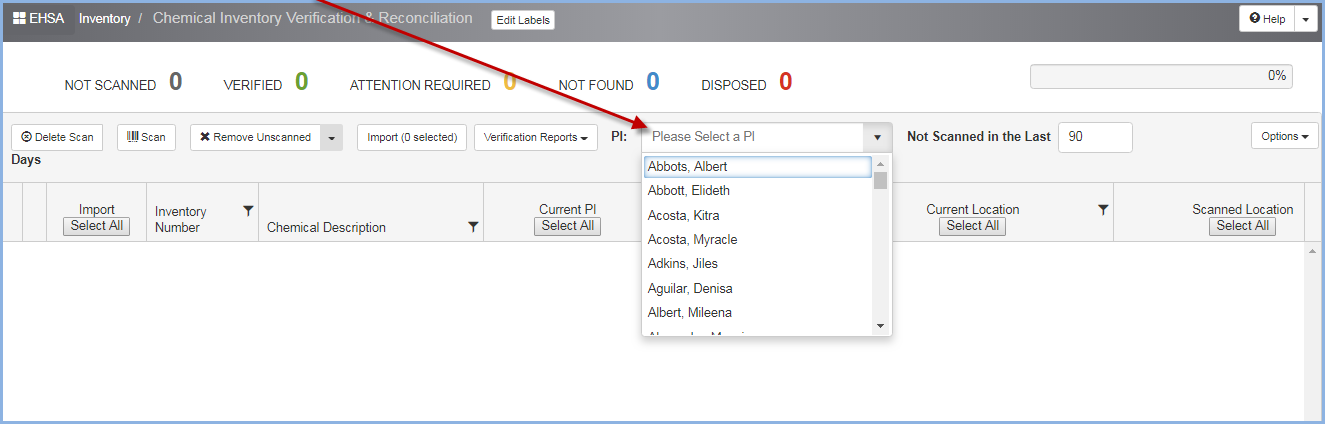
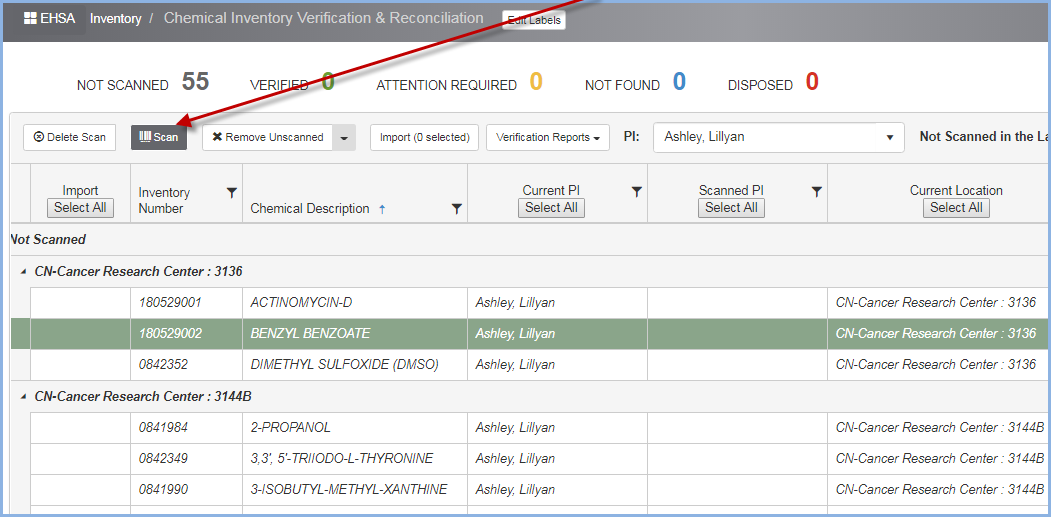
- The Chemical Inventory Verification screen will open. Select the PI that you are doing the inventory scan for from the dropdown list.
- The selected PI's inventory will be displayed.
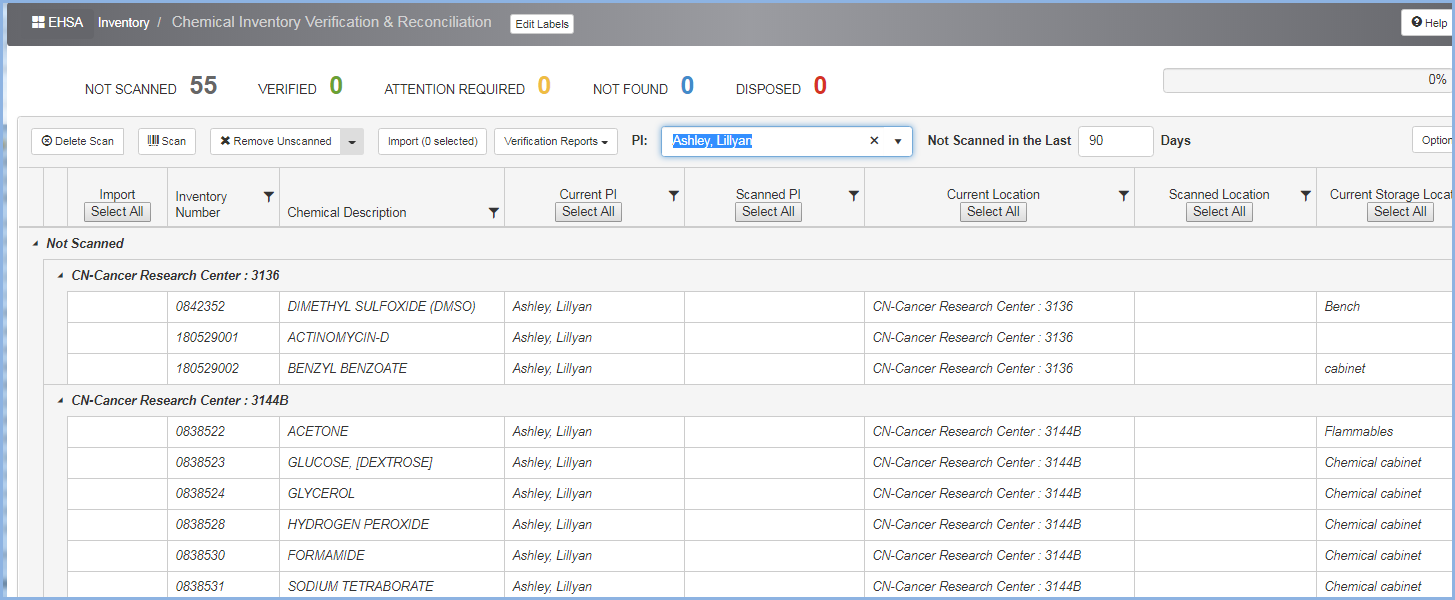
- Click the [Scan] button to begin.
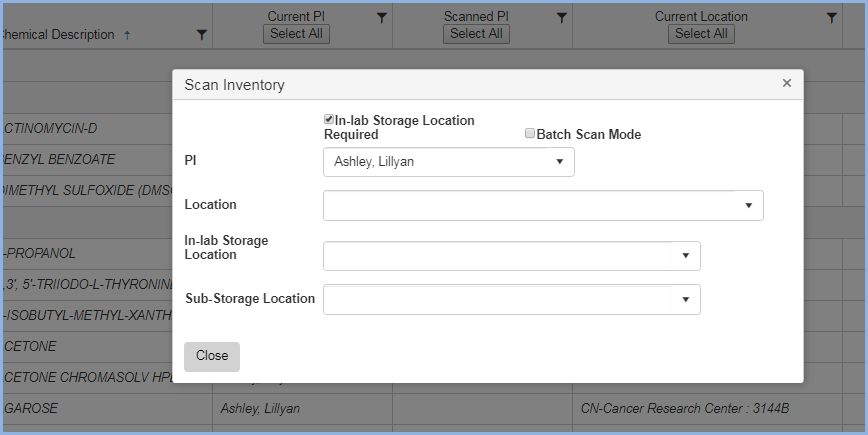
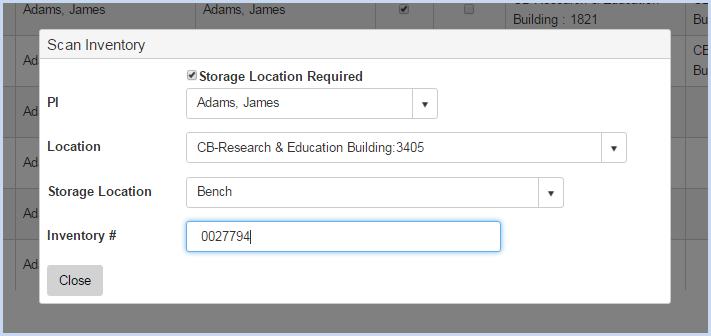
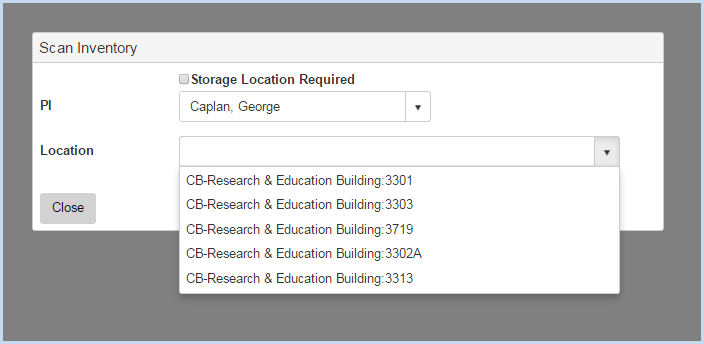
- The Scan Inventory pop-up box will appear as shown below. Verify/select the PI from the dropdown.
- Scan the bar code for the location field, or select from the dropdown of Locations for the selected PI.
- Uncheck the "In-lab Storage Location Required" box if this is not required.
- Check "Batch Scan Mode" box is recommended if scanning a large quantity of items in the same location to allow quicker scanning with a scanning device before uploading data.
- After you enter/select the location for the scan, you'll see an Inventory # field appear as shown below.
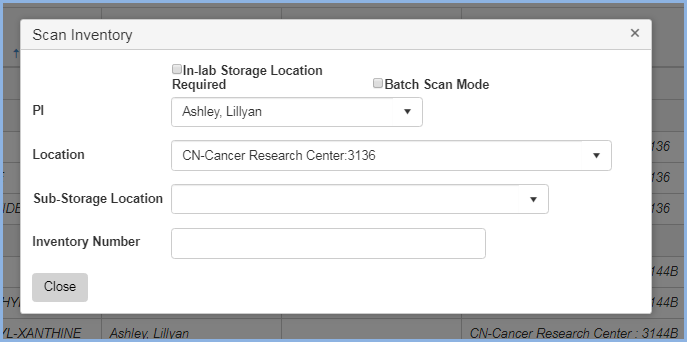
- Be sure that the cursor is in this field and begin scanning the inventory items.
- Depending on the connection and speed for your scanner/machine, you'll want to make sure the scanner is ready for each inventory number. If you go too fast it may not separate the two scans and will read two separate scans as one long inventory number. Checking "Batch Scan Mode" should prevent this issue.
- In the beginning, watch the scans to get a feel for how long it takes your scanner to register a single scan. The scanned inventory number is shown below.
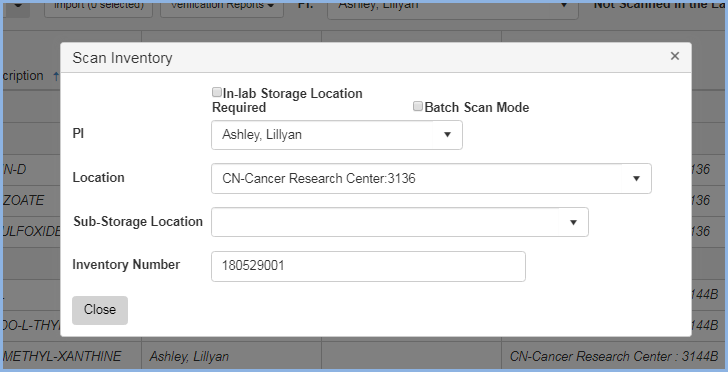
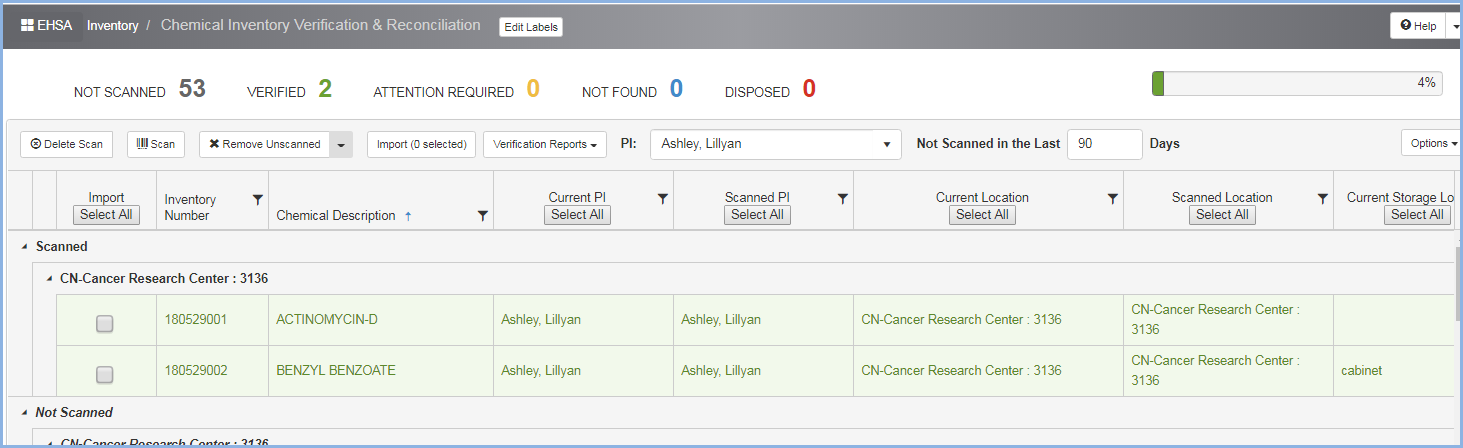
- After you scan, you'll see the inventory item shown in Scanned section.
- The numbers for Not Scanned and Verified will update to show an item has been scanned/verified.

- The inventory number will clear out of the field and you can continue scanning at your device's pace. The scanned items will continue to load onto the screen.
- If a Storage Location is required, check the "Storage Location Required" box. This will open the Storage Location field and a dropdown list will appear. Scan or select the applicable Storage Location for the inventory item. In the example below, "Bench" has been selected as the storage location, which indicates that all the items being scanned are on/at a bench in the lab location shown below.
- Users can also type in the Storage Location as needed if not found on the list.
- After completing the scan and Storage Location, you'll see the Inventory Item on the Scanned list section.
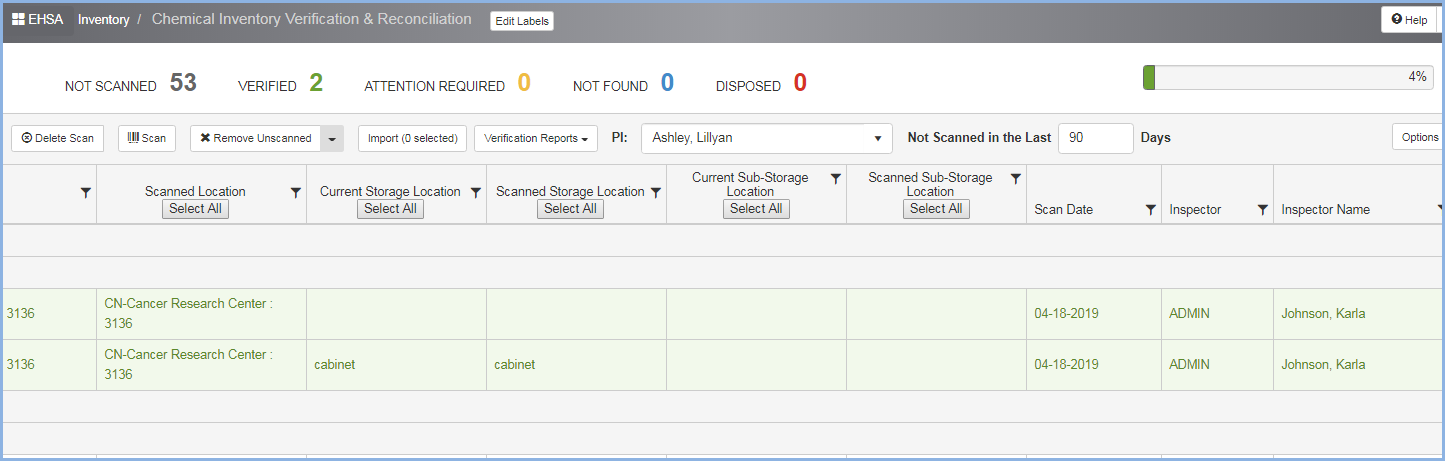
Viewing addition columns to the right of Scanned Storage Location when scrolling to the right on the screen above:
- Once you are finished with the scans, or want to review the list of scanned inventory items, click the [CLOSE] button on the Scan Inventory pop-up box to return to the regular screen view of the inventory items.
- The view screen shows what has been scanned and the information about each item.
- The data columns shown are:
- Inventory # - inventory bar code number scanned.
- Chemical Description - chemical description of the chemical inventory item.
- Current PI - The actual PI on the specific record in the database.
- Scanned PI - the PI selected that you are doing the scan for.
- Current Location - location set on the chemical inventory record in the database.
- Scanned Location - location that you are scanning the item in, as entered in the Inventory Scan pop-up box.
- Current Storage Location - storage location set on the chemical inventory record in the database.
- Scanned Storage Location - storage location that you are scanning the item in, as entered in the Scan pop-up box.
- Current Sub-Storage Location - sub-storage location set on the chemical inventory record in the database.
- Scanned Sub-Storage Location - sub-storage location that you are scanning the item in, as entered in the Inventory Scan pop-up box.
- Scan Date - Displays the date of the scan.
- Inspector - Displays the user ID of the user doing the scan.
- Inspector Name - Displays name of the user doing the scan.
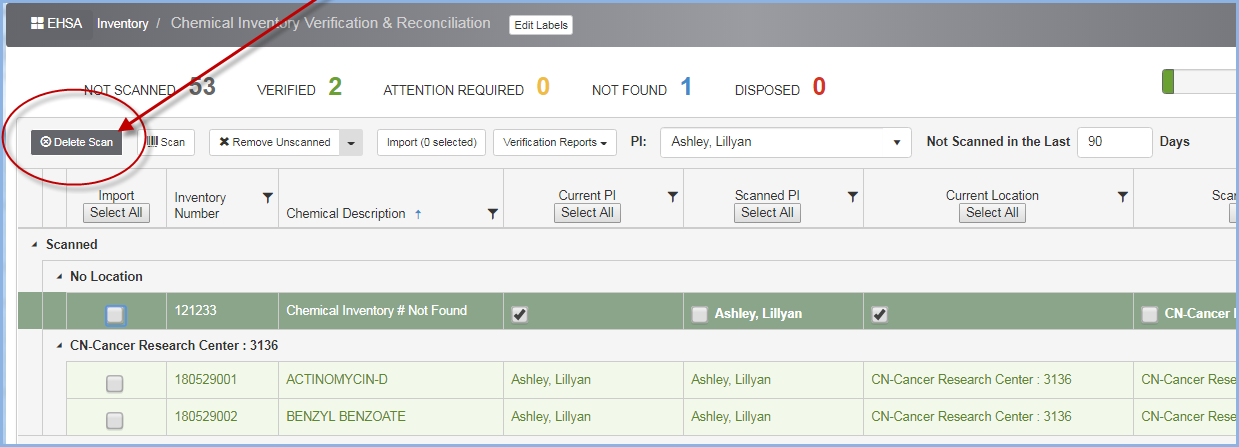
- Some scanned items may show "Chemical Inventory # Not Found" in the Chemical Description field after scanning.
- These will be listed under Scanned - No Location.
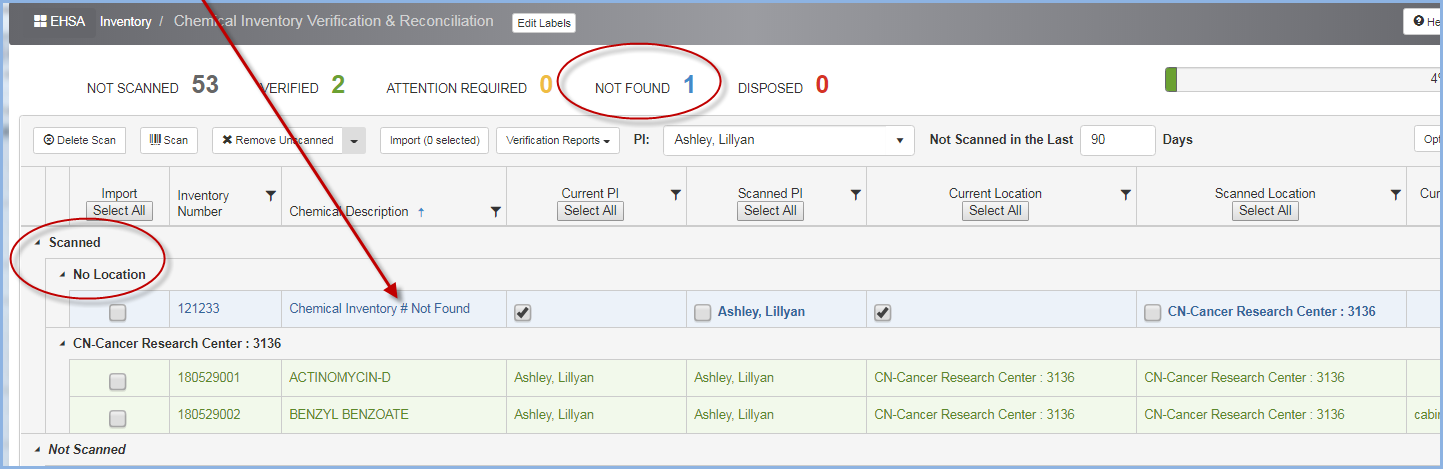
- If this an error, highlight the row and click [Delete Scan] button.
- A "Confirm" pop-up box will appear as shown below.
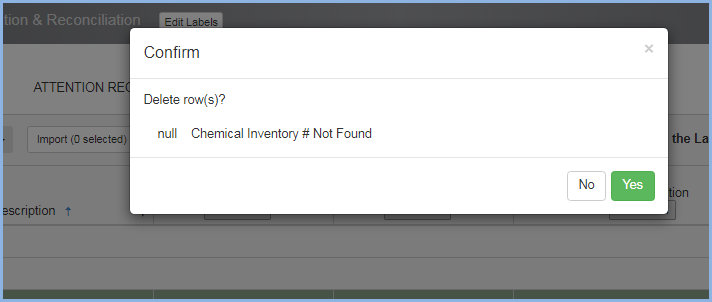
- Click [Yes] to confirm and delete the row, or [No] to cancel the deletion.
Importing Inventory Items
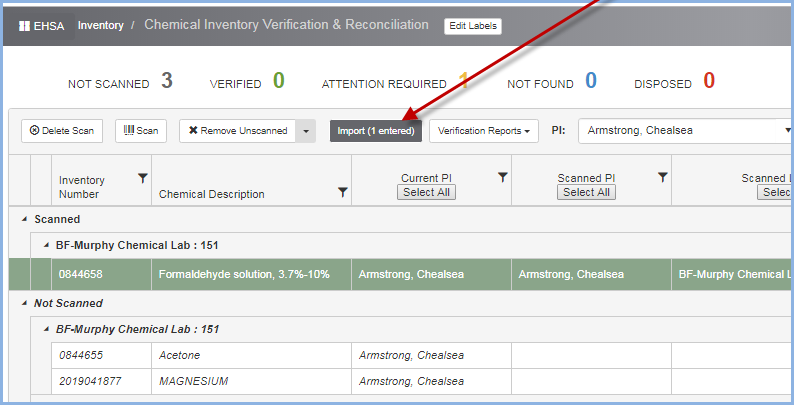
- After all inventory items have been scanned, you'll need to check each item that you want to import. Check the box in the Import column for each item, or click the [Select All] button to check all the line items and import all the items.
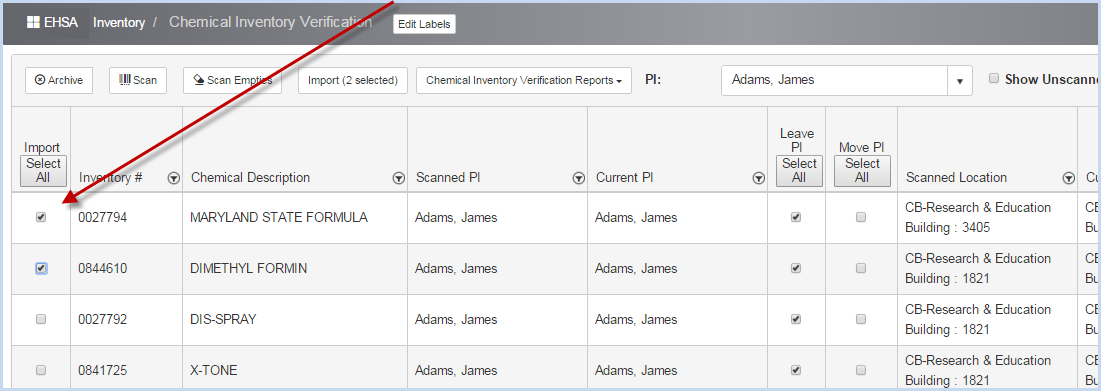
- Click the [Select All] button for any column to select all the line items.
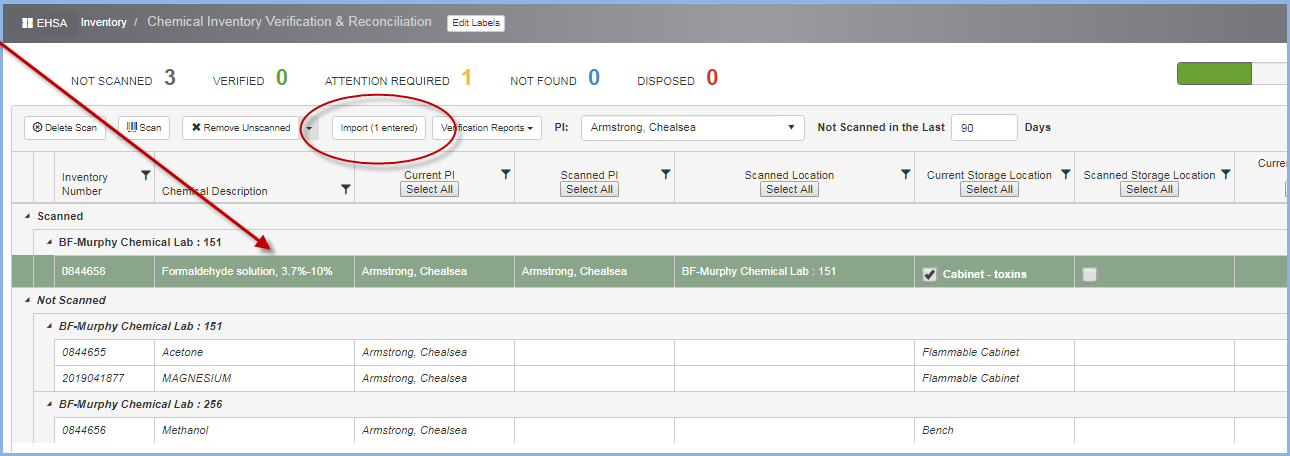
- When all sections have been made and you are ready to import the inventory items, click the [Import] button. The number of inventory items selected for import will display in the [Import] button.
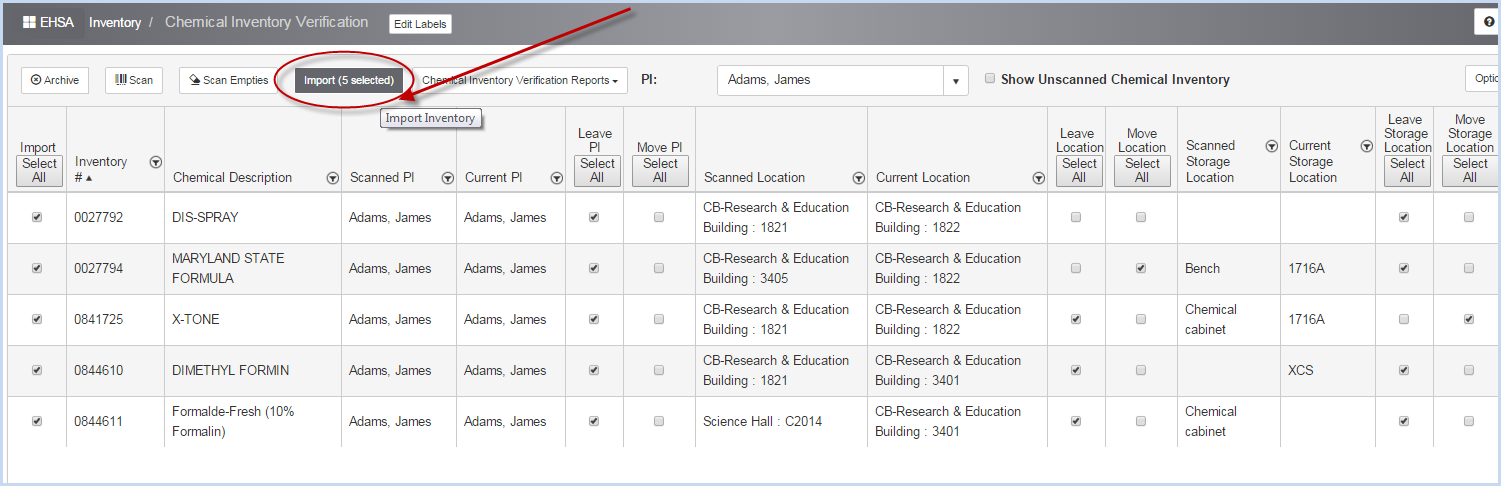
- After clicking on the [Import] button, the data will be updated in the system and the items will no longer show on the screen.

- After the data is imported, the inventory information will be updated with any changes (moves) for PI, Location and Storage Location. In addition, the inventory record will show the scan date in the "Last Inventory Date" field. See highlighted fields in the screen shot below.

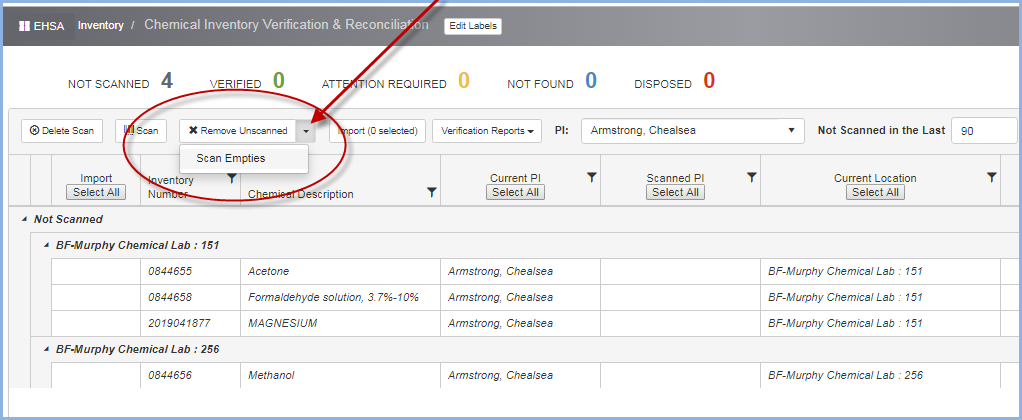
Scan Empties
The Scan Empties function allows you to scan empty inventory containers and easily mark them as disposed.
- Click the [Scan Empties] button. This is located by clicking the down arrow on Remove Unscanned.
- The "Scan Inventory" pop-up box will appear as shown below. Verify/select the PI from the dropdown.
- Scan the bar code for the location field, or select from the dropdown of Locations for the selected PI.
- After you select the Location, you'll see an Inventory # field appear as shown below.
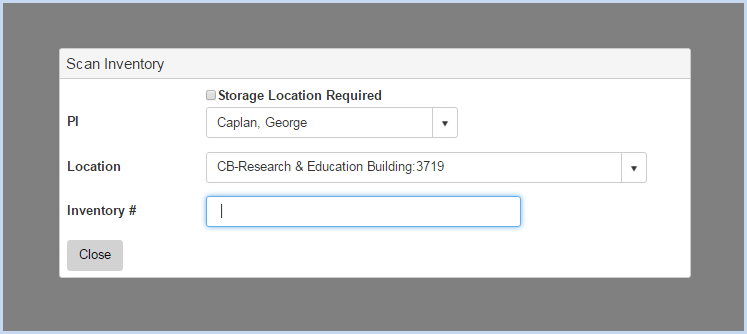
- Be sure the cursor is in this field and begin scanning the inventory items.
- Continue scanning empties that you wish to marked disposed.
- When finished, click the [Close] button.
- The Scanned Empties items will appear in the inventory list as shown on the screen below.
- Note that the Import check-box column is not shown. When scanning empties, all items are automatically marked for Import/Disposal.
- Click the [Import] button and these empty containers will be marked as disposed.
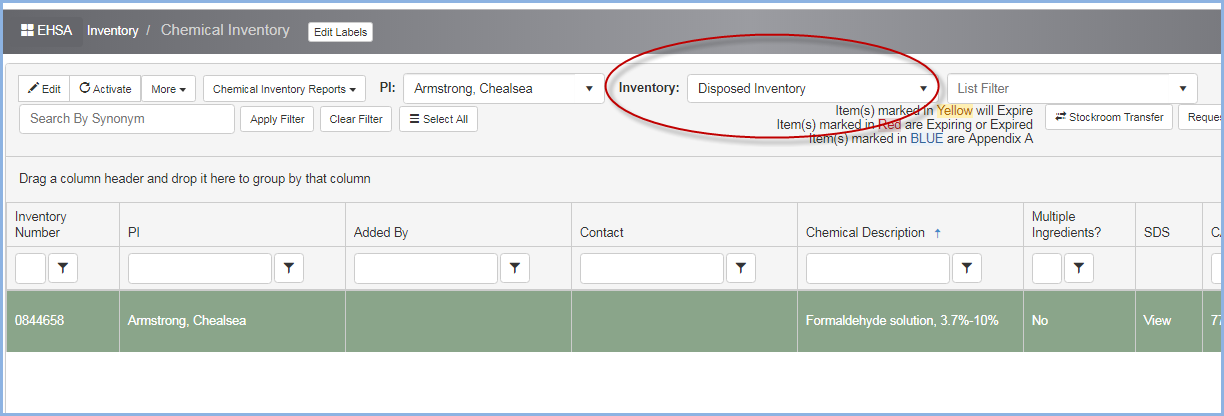
- View the Inventory item above under the Disposed Inventory Items for this PI:
Unscanned Chemical Inventory
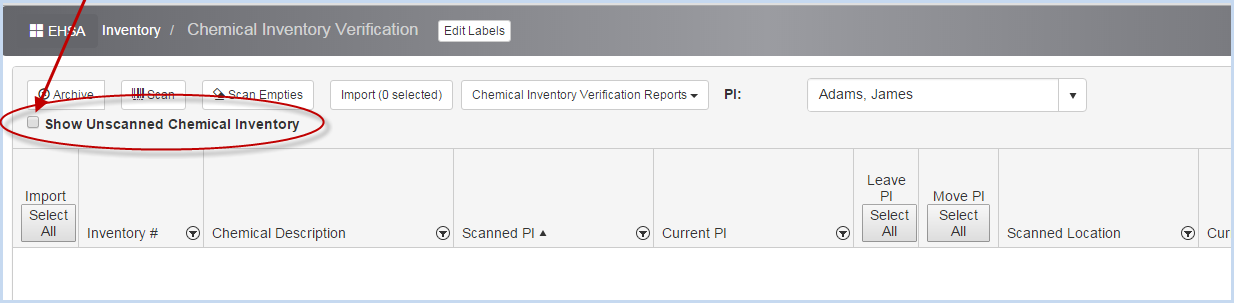
- When finished scanning for a PI, you can view any inventory items for the selected PI that have not been scanned. Click the [Show Unscanned Chemical Inventory] button as shown in the screen below.
- After checking the box, a "Chemical Inventory" pop-up box will open to show items not scanned. You will need to fill in the number of Day for "Not Scanned in the Last _____ Days".
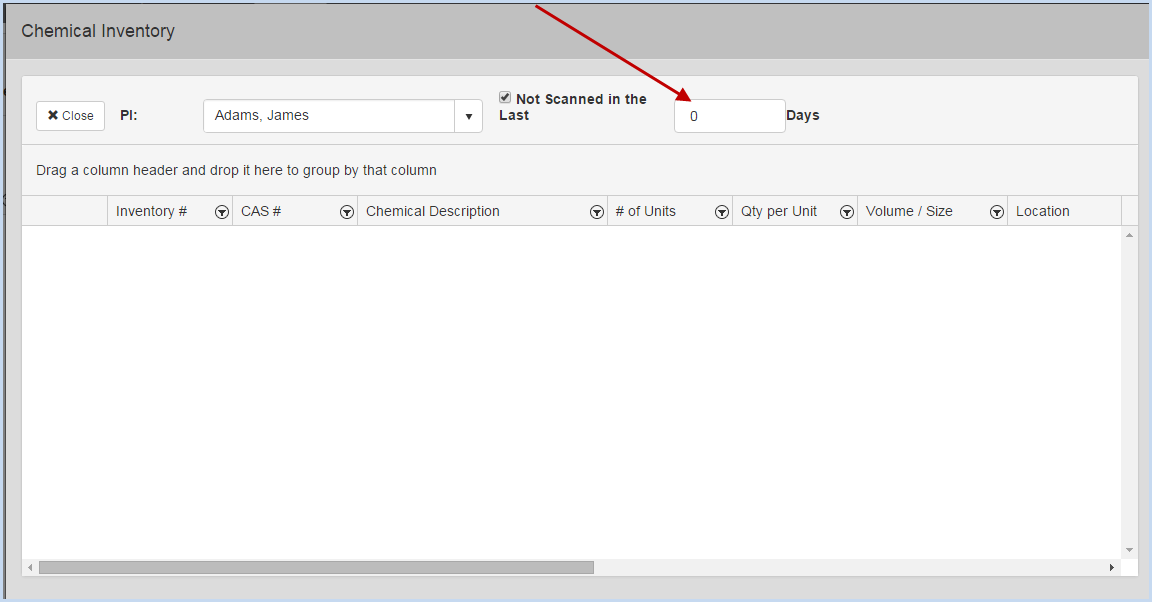
- For example, enter 10 for the number of days and hit [Enter]. All inventory items not scanned in the last 10 days will be listed in the window.

- If you want to mark any of these items that were not scanned as disposed, click the [Remove] button for the item.
- A "Confirm Removal" pop-up box will appear.
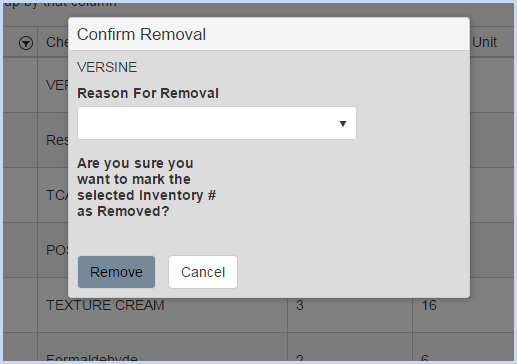
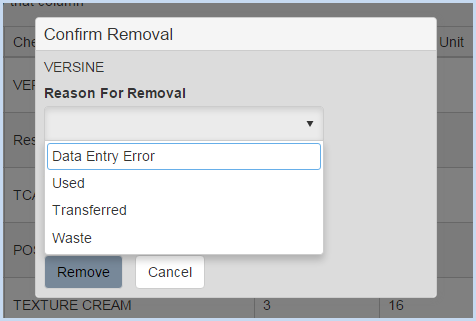
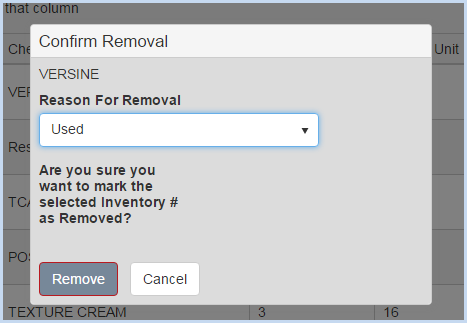
- Select the Reason for Removal from the dropdown list.
- Then click the [Remove] button to remove the inventory item. Or, click the [Cancel] button to close the "Confirm Removal" box without removing the item.
- After clicking [Remove], the item will no longer be on the list of inventory items.
- You'll be able to view the item under the PI's Disposed Inventory. Go to Quick Chemical Entry and select "Disposed Inventory" from the dropdown as shown below.
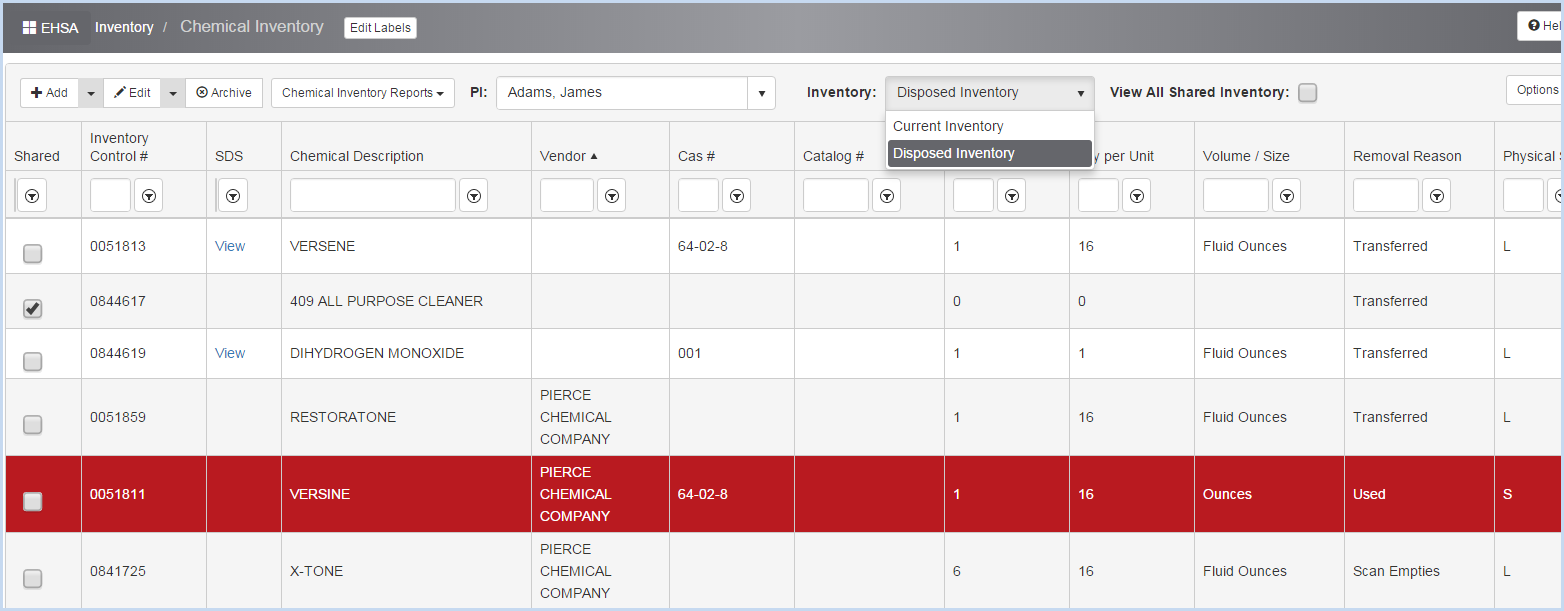
- Disposed items are listed and include the Removal Reason selected when confirming the removal.