Permit Edit
Adding or Editing a Permit
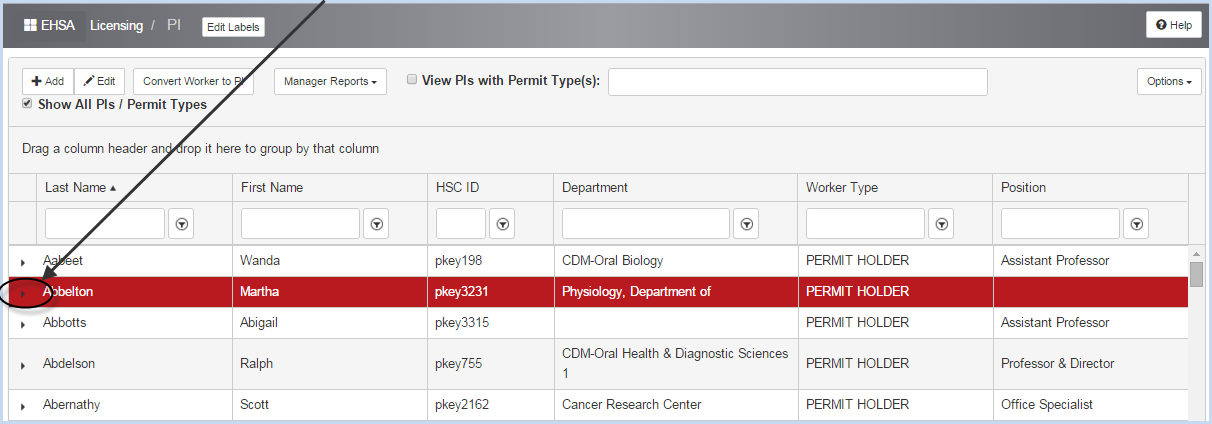
- Click the arrow beside a highlight PI to open the PI's permit view window.
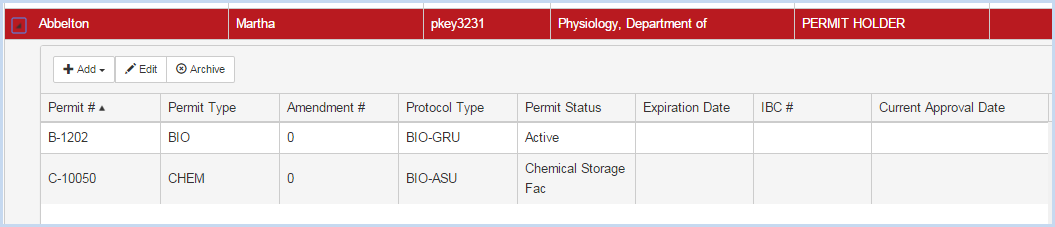
- Click [Add] to add a permit. To edit a permit, highlight the permit and click [Edit]. Click [Archive] to archive the permit.
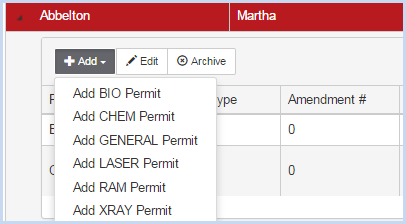
- Clicking [Add] will open the permit selection list. Select the permit type and add the permit information.
- The Add Permit screen is shown below.

- Enter the [Permit #].
- The [Permit Type] will default to the type based on the permit tab previously selected. The example shown is a RAM permit.
- Select the [Subcategory] from the dropdown list.
- Select the [Protocol Type] from the dropdown list.
- Select the [Permit Status] from the dropdown list.
- Select the [Inspector] from the dropdown list if applicable.
- Enter the [Permit Title] as needed/applicable.
- Click [Save] if finished, or continue adding permit details – Isotopes, Workers, Labs, etc. on the lower portion of the screen.
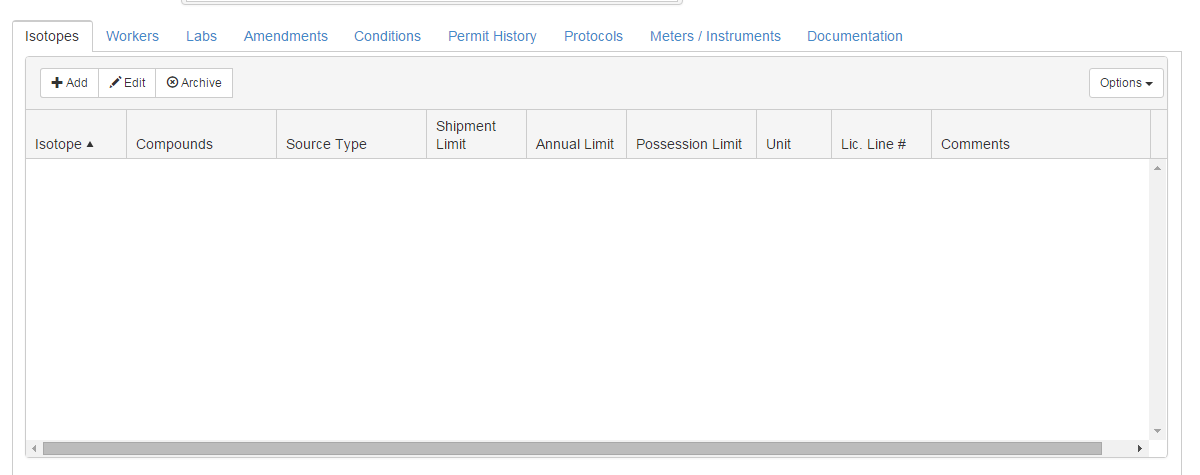
Adding Isotopes:
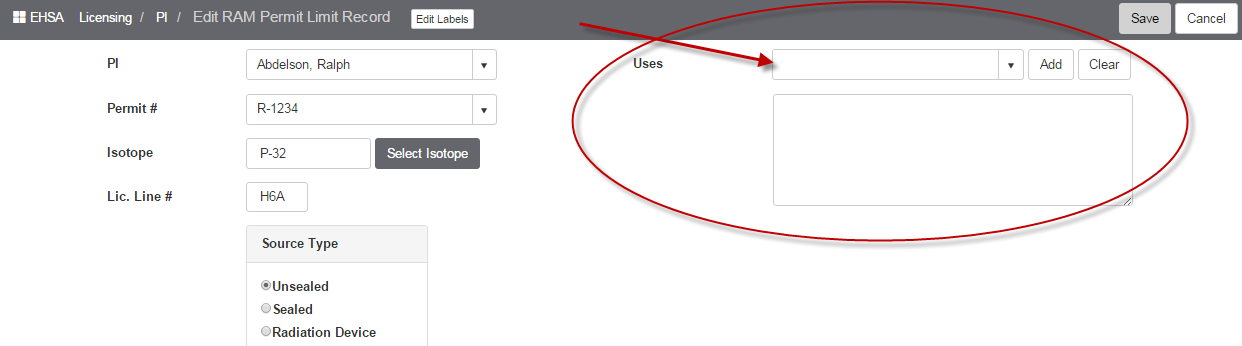
- Select the [Isotopes] tab and click [Add] to open the [Ram Permit Limit Record] screen.
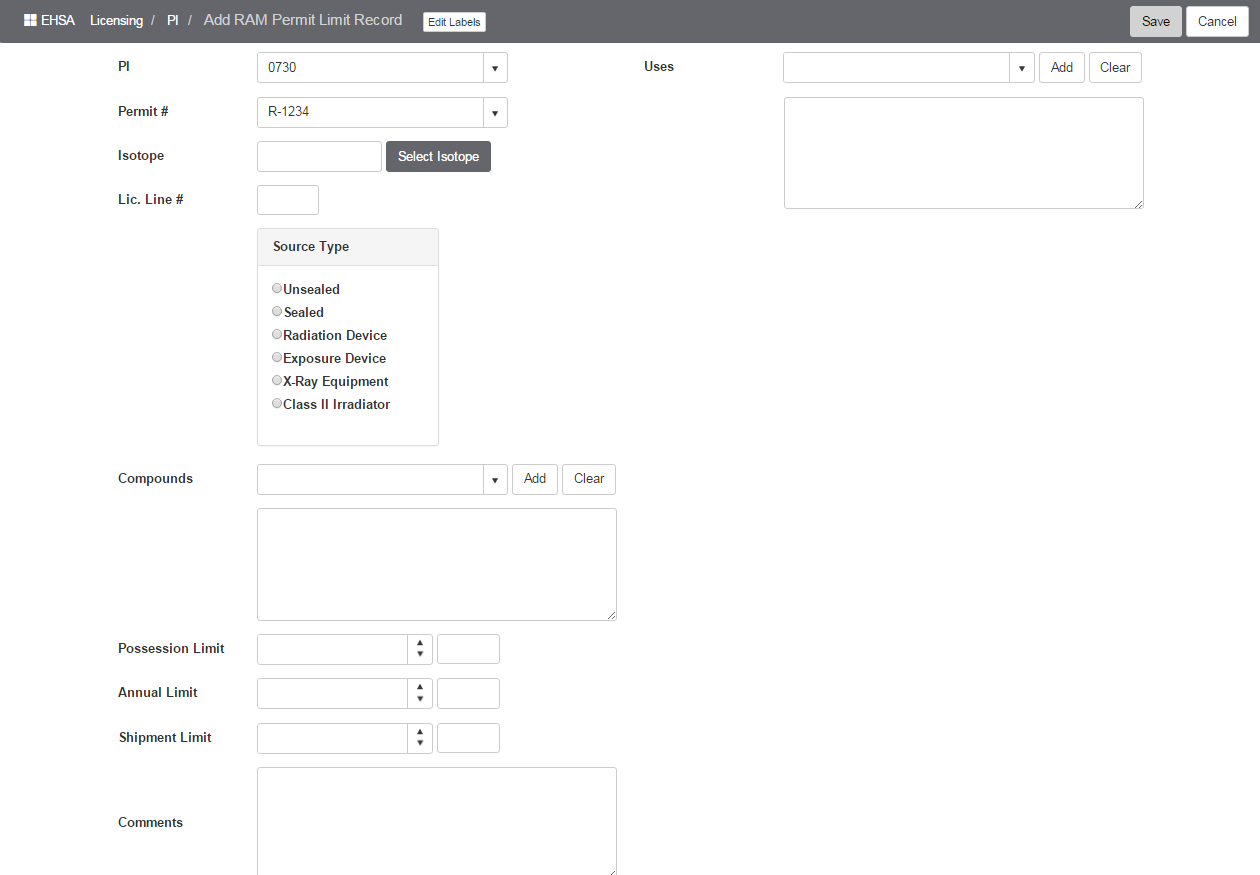
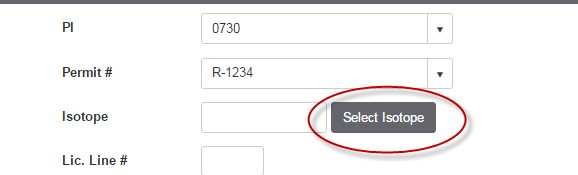
- Click [Select Isotope] to open “Select an Isotope” view and add Isotopes.
- Find the Isotope and click on [Select] to add to the permit.
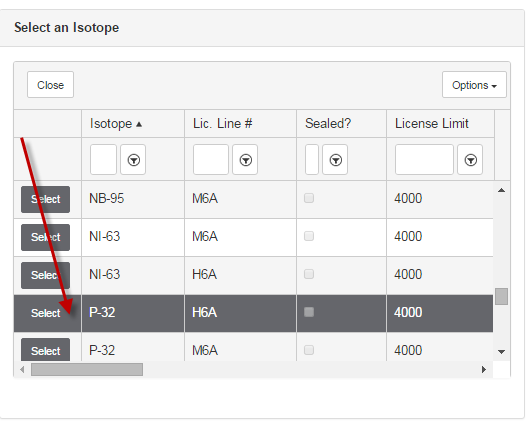
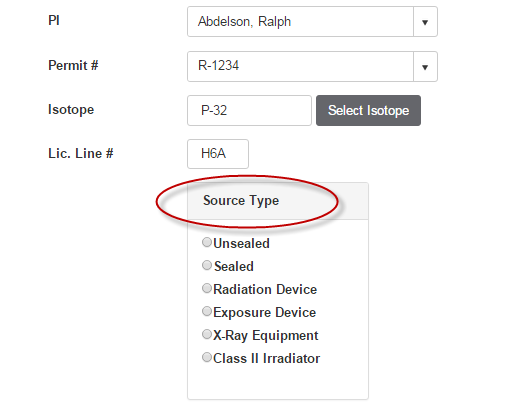
- The [Isotope] and [Lic. Line #] will fill in on the permit.
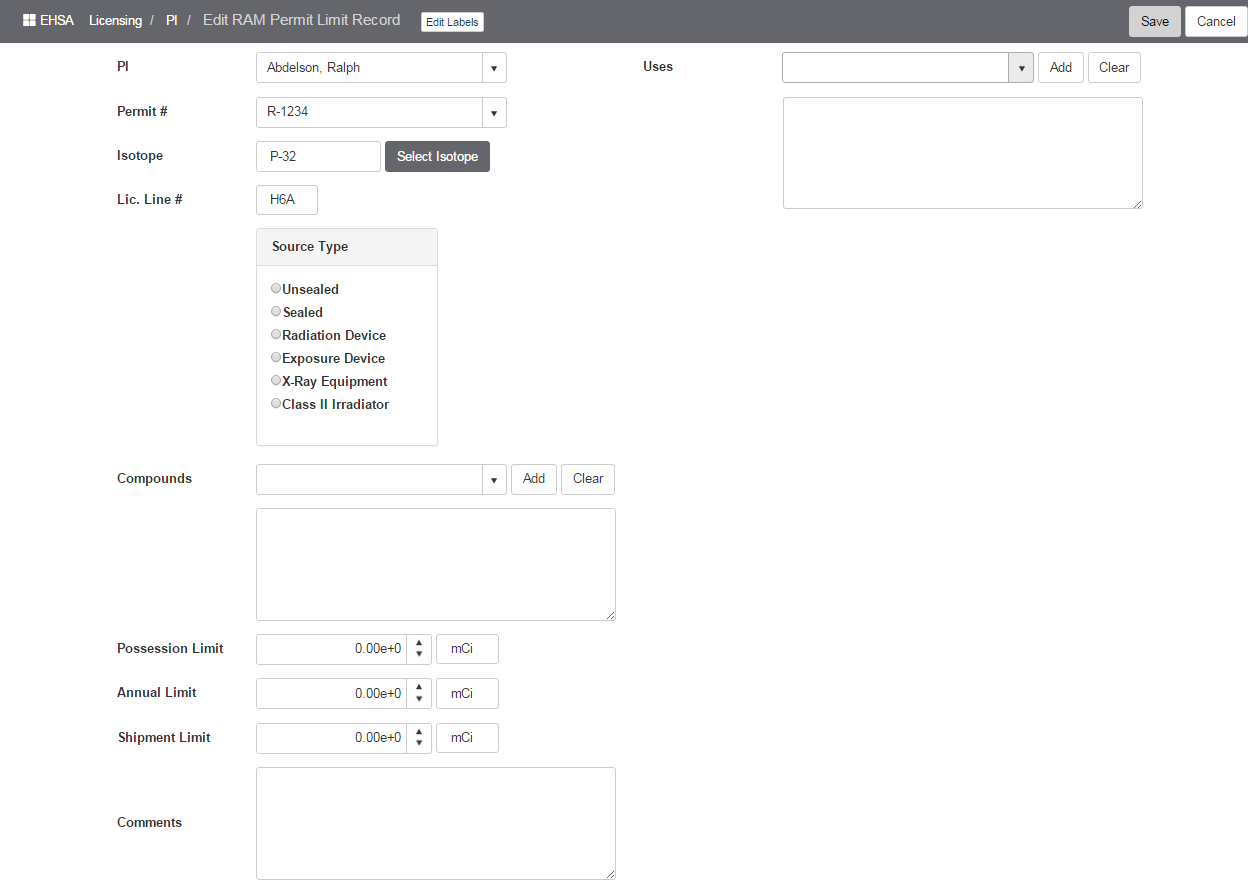
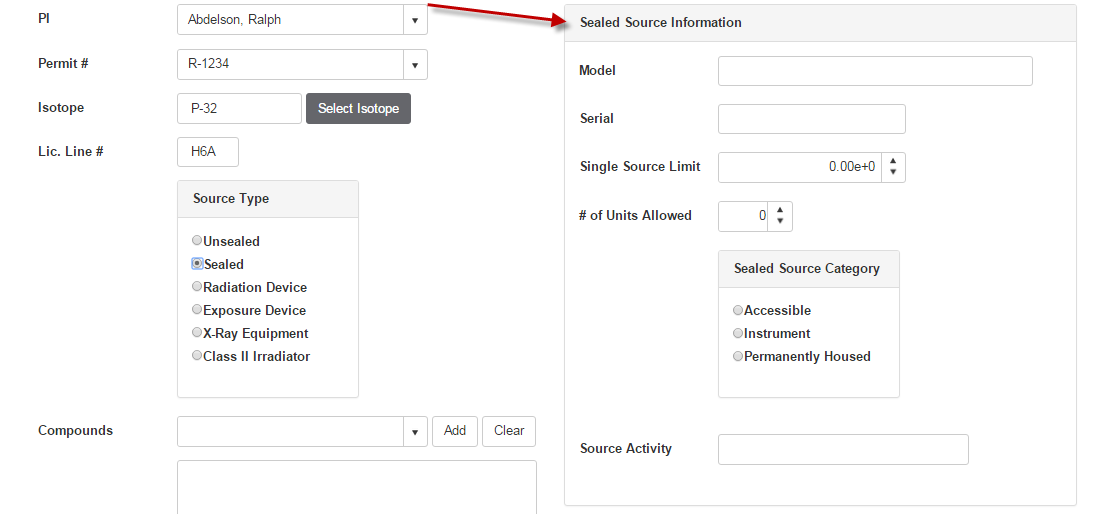
- Select the [Source Type].
- If “Sealed” is selected, the [Sealed Source Information] box will open. Enter the Sealed Source Information.
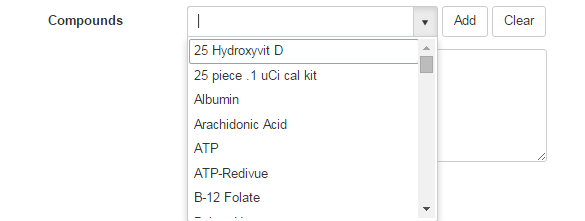
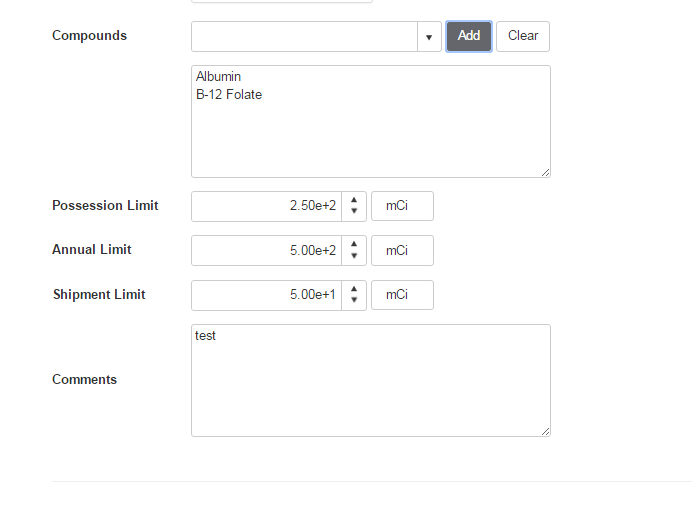
- Select [Compound(s)] from the dropdown list. Click [Add] to add the compound to the list. Multiple compounds can be added to the list.
- Continue entering information for [Possession Limit], [Annual Limit], [Shipment Limit], and [Comments].
- Add [Uses]. Enter a use in the [Use] field, then click [Add] to add each use. Multiple uses may be entered. Click [Clear] to clear all uses.
- Click [Save] to save entries, or [Cancel] to discard entry/changes.
Adding Workers:
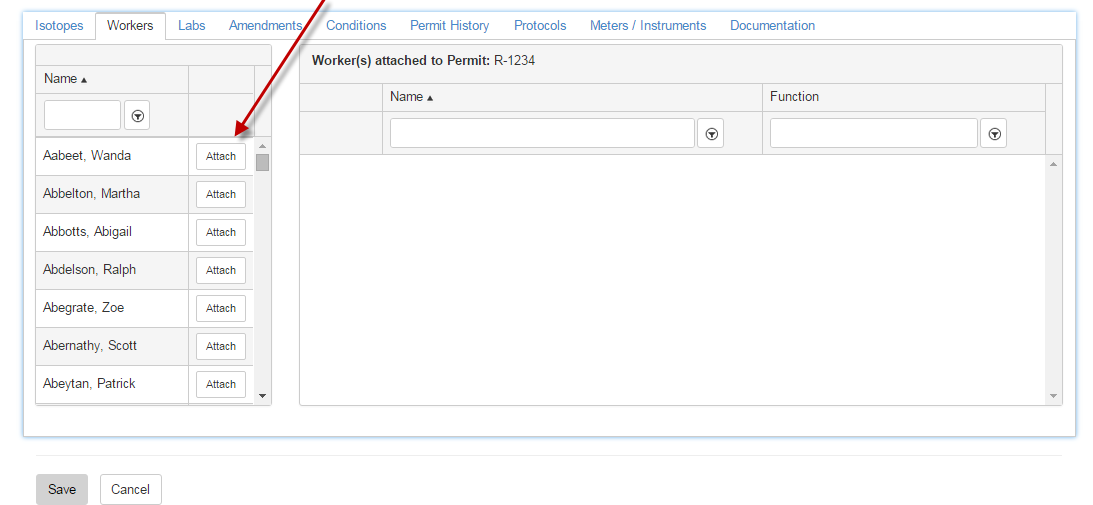
- Select the [Workers] tab to attach workers to a permit.
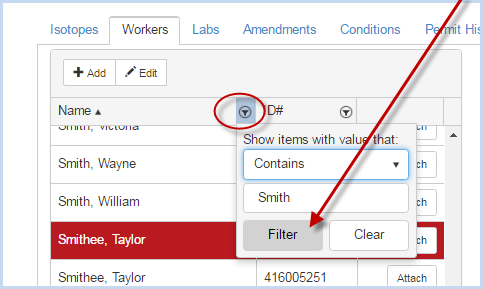
- Use the Filter by clicking the small arrow to open the filter option.
- Click the arrow next to "Contains" to bring up other options such as "Is Equal To" "Starts With", etc.
- Enter search value and click [Filter] to find values.
- Click [Clear] to clear out the criteria.
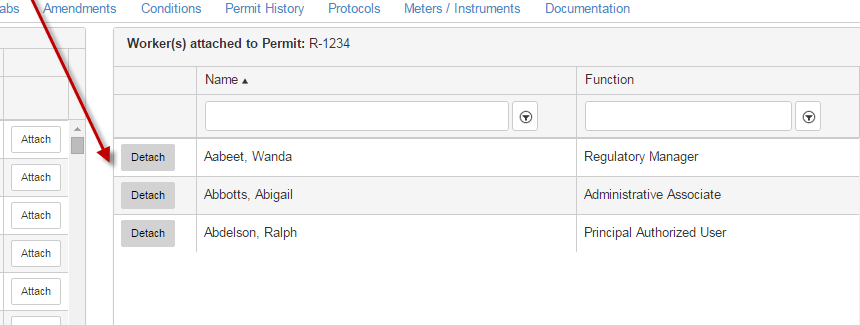
- Click the [Attach] button beside each worker to attach the individual worker.
- Select the worker [Function] from the dropdown for each attached worker.
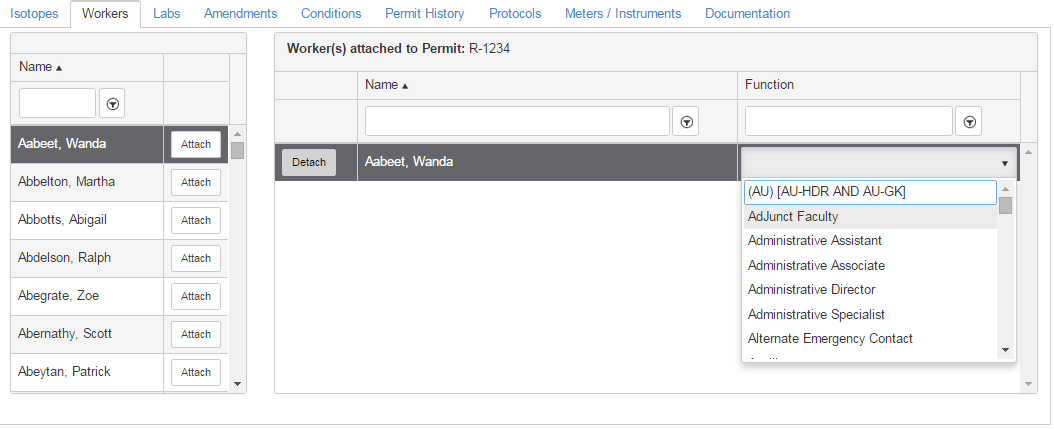
- Continue adding workers and their function. Click [Save] to save the information.
- Click [Detach] button to remove a worker from the permit. Then click [Save] to save changes.
Adding Labs:
- Select the [Labs] tab to add labs to the permit.
- Select the Building from the dropdown list of all Buildings in the database.
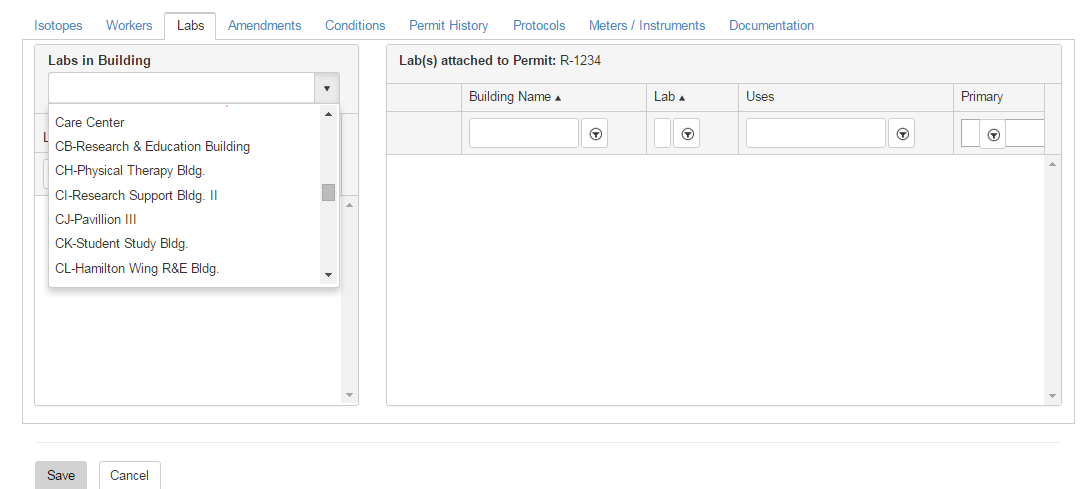
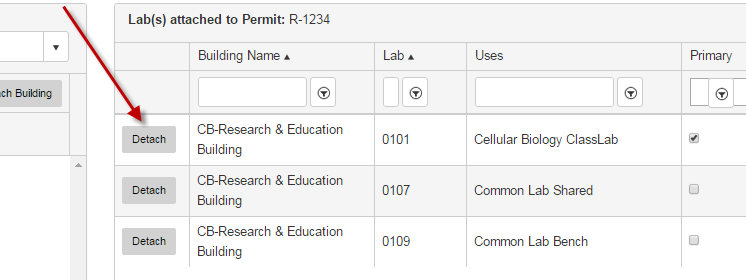
Click the [Attach] button beside each lab to attach the individual lab(s).
- Select the [Use] for the lab from the dropdown.
- Check the box in the Primary column if lab is a Primary Lab.
Continue adding buildings and labs. Click [Save] to save the Building/Labs information.

- Click the [Detach] button to remove a lab. Then click [Save] to save changes.
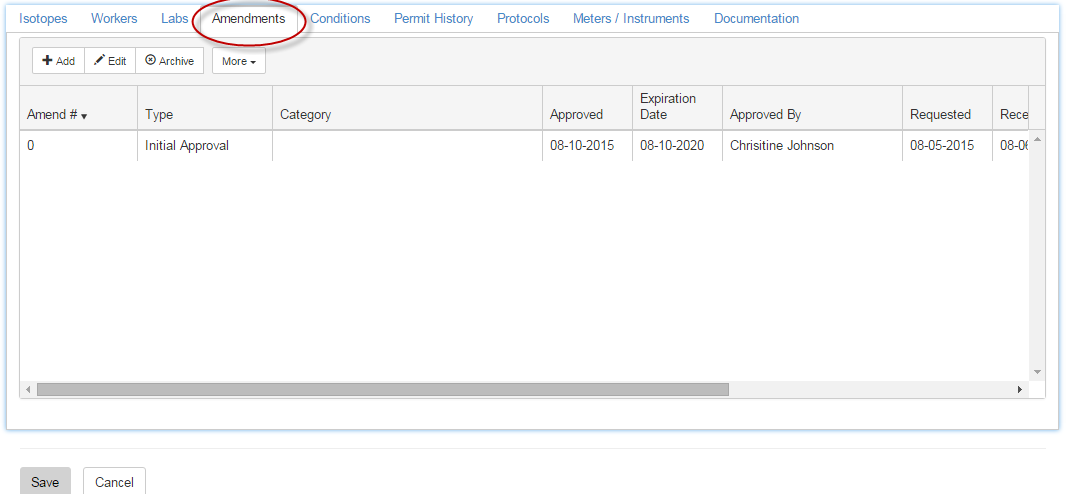
Amendments:
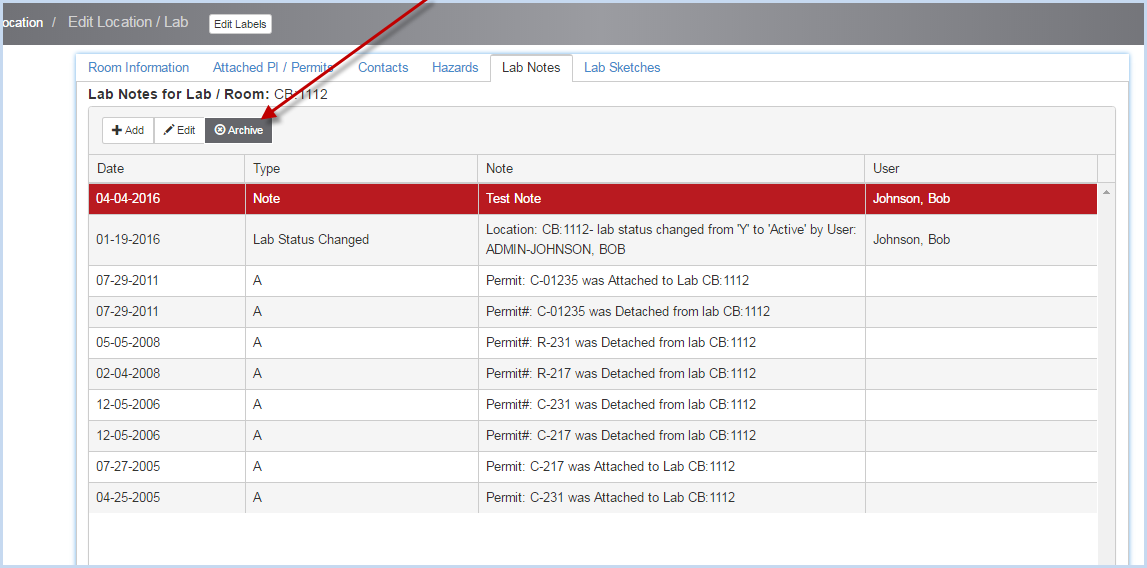
Click [Add], [Edit], or [Archive] on the Amendments tab to add or modify permit amendments.
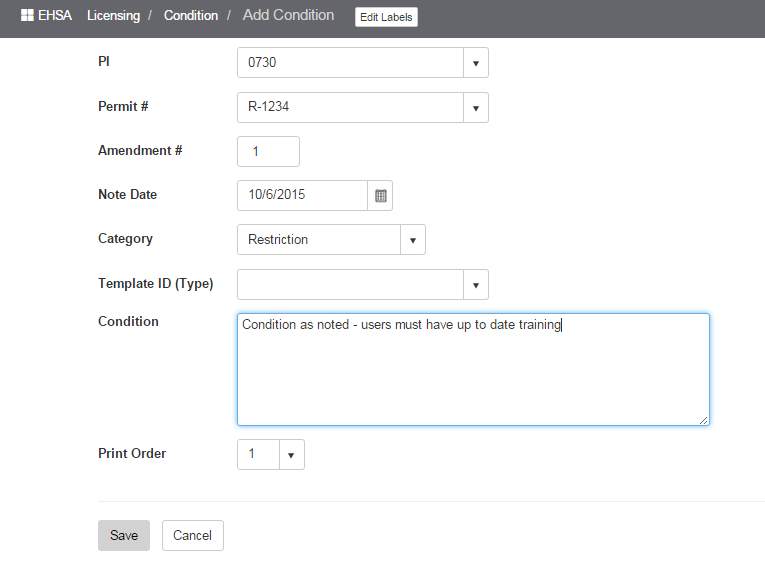
Conditions:
- Select the [Conditions] Tab to add/enter any permit conditions.

- Enter Condition information as needed.
- Click [Save] to save the entry.
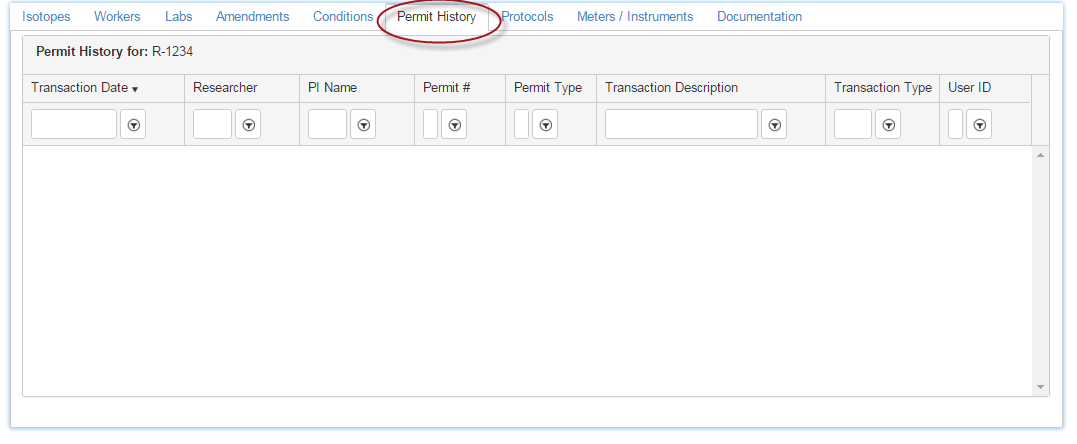
Permit History:
This tab shows the history of the permit transactions.
Protocols:
- Click the [Protocols Tab] to view or add/edit/delete protocols for the selected permit.
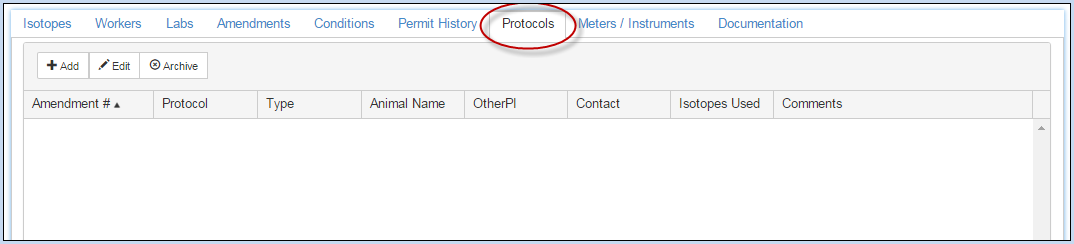
- Click [Add] or [Edit] to add or modify a protocol.
- Enter the Protocol (code or name).
- Enter the Protocol Description.
- Select the Type from the dropdown list as applicable.
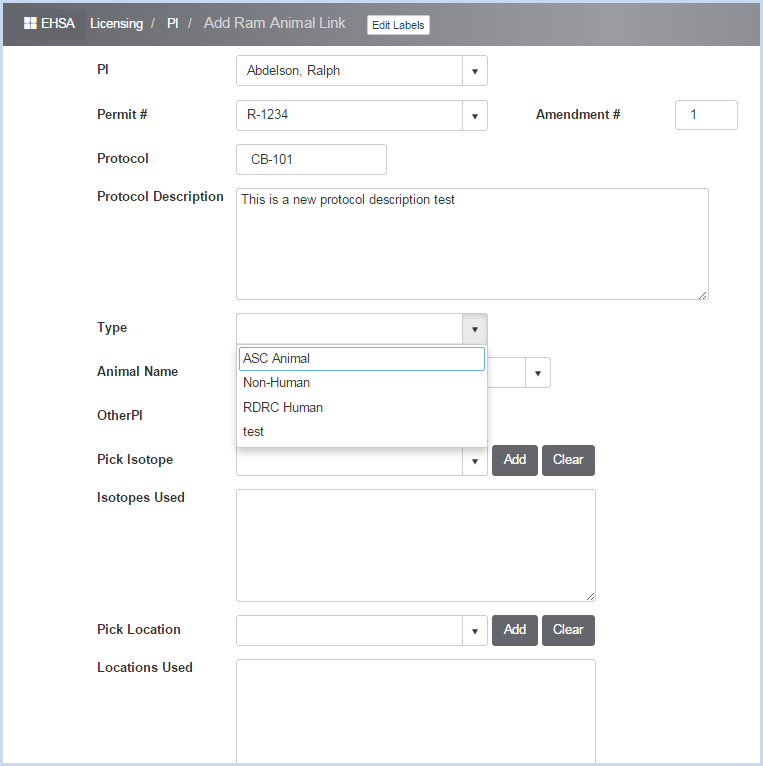
- Select the Animal Name from the dropdown list.
- Enter OtherPi if applicable.

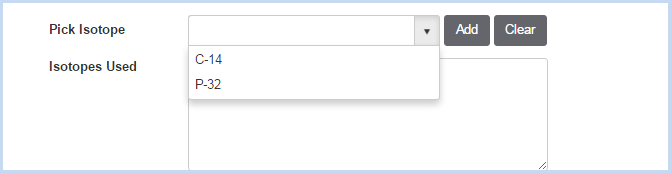
- Pick the Isotope from the dropdown list - the list will show the isotopes on the permit.
- Click [Add] to add move each isotope to the Isotopes Used list.
- Pick Location - select and add each Location from the dropdown by choosing and clicking [Add] to add to the Locations Used list.
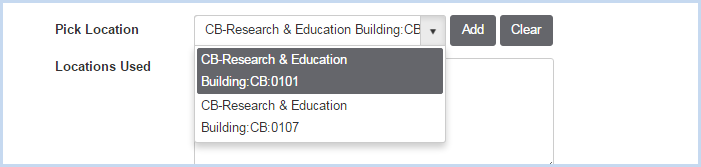
- Use the [Clear] button to clear the list of Istopes Used and/or Locations Used.
- Enter the Chemical Form.
- Enter the Assesment Factor, Use Factor, and Operation as applicable/needed.
- Select Yes/No if RUC Required.
- Select the Contact from the personnel listed on the permit.
- Enter/select the Approval Date for this protocol.
- Enter any comments pertaining to the protocol.
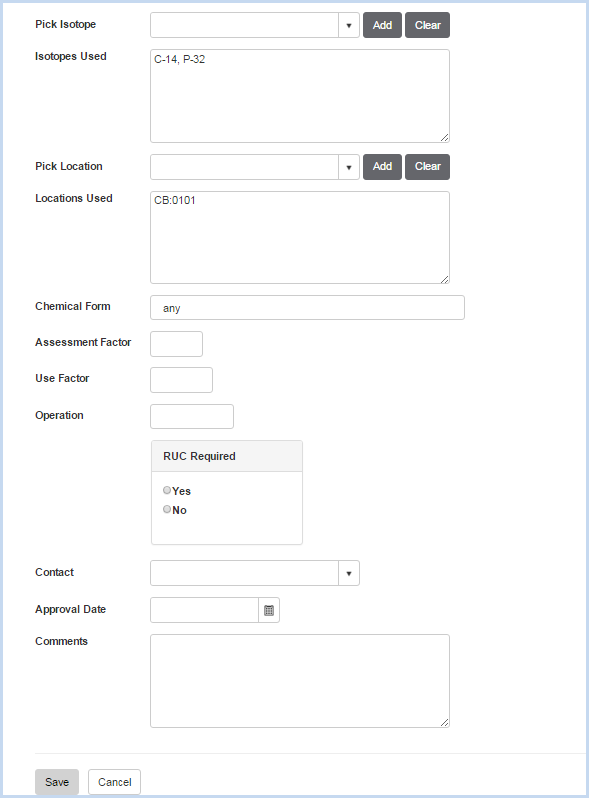
- Click [Save] to save the entries, or [Cancel] to discard all entries or edits on the screen.