Web Course Builder
Web Course Builder
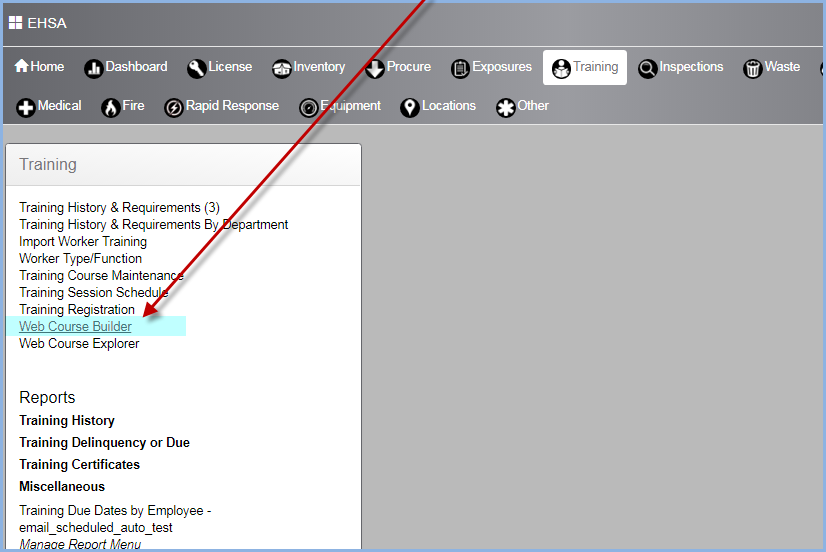
Select Web Course Builder from the Training Menu.
- This opens the Web Training Course listing screen. Users can edit a web course, duplicate a course, and Configure Web Training.
- Web training course are often built from PowerPoint slides and previous in-house training materials.

- New courses are added under Training Course Maintenance.
- The Training Course Maintenance Screen is shown below. Web Based courses are checked in the Web Based? column.
- The screen below is sorted to show the Web Based courses at the top.

- Click the [+Add] button to enter a new course. Enter the Course #, select Course Status (Still Offered or Not Offered).
- If the course is Web Based, check the box for "Web Based?" circled below.
- Enter the Course Name and select the Category and Course Frequency.
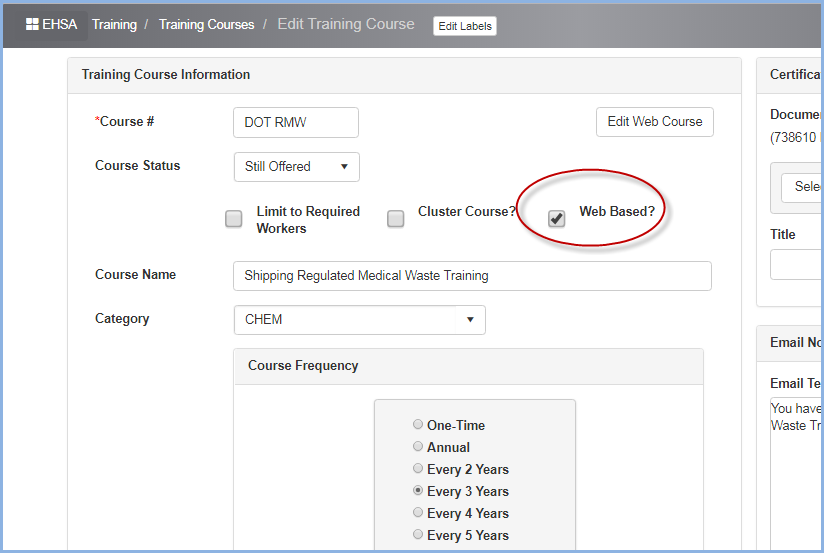
- You may click the [Edit Web Course] button to go to directly to editing the course in the Web Course Builder screen.
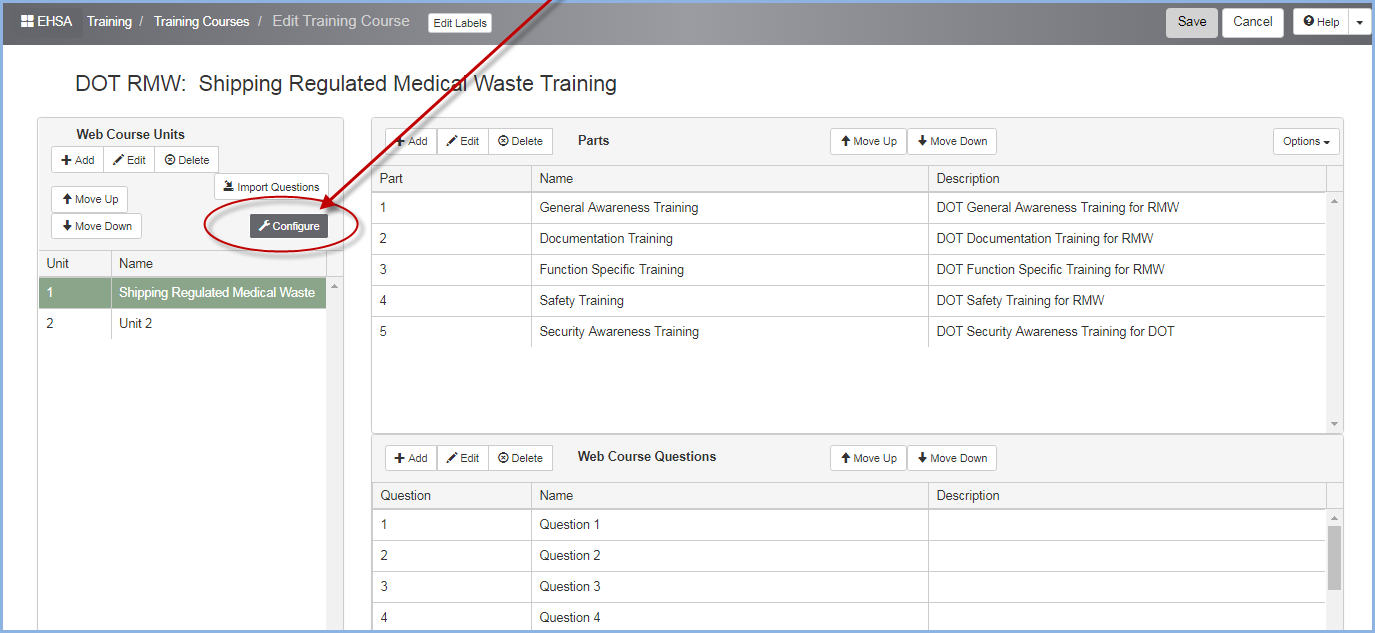
- The Edit Training Course screen will open as shown below.

- The Web Course Units shown on the left are the major sections. Each Unit may cover a specific topic. A web course may often have only one unit.
- The Parts are more like chapters in a book. Each part will have embedded or uploaded material for the trainee to view.
- Videos may be embedded. A PowerPoint presentation, a PDF or other file can be uploaded.
- Training managers and personnel can structure courses as desired.
- In the Web Course Units section, click Add, Edit or Delete to add, modify or delete a Unit. Please note, deleting a Unit will delete all it's Parts and Questions.
- The Questions pertain to all of the Parts in a Unit.
- You can rearrange the Units or Parts by highlighting a Unit or Part and clicking the [Move Up] and [Move Down] buttons as needed.
- Click [Save] after making any changes. Click [Cancel] to discard changes and go back to the previous screen.
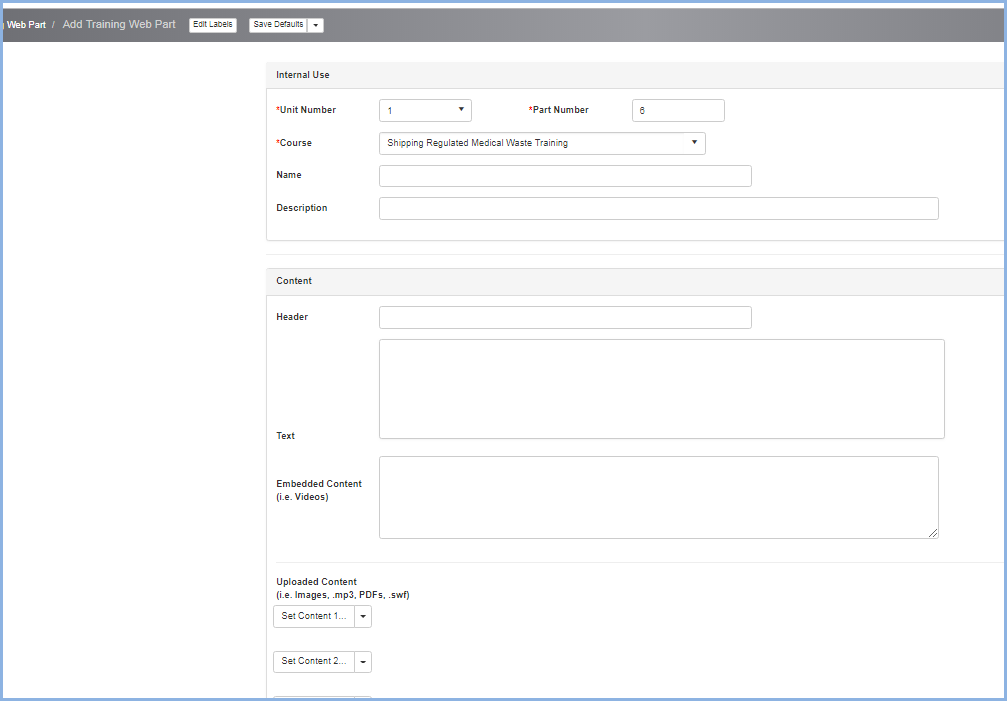
- Click [+Add] in the Parts section to add a new Part, or highlight a Part and click [Edit] to modify the Part.
- Internal Use Section: these fields will not display when taking the course. The Unit Number, next Part Number and Course will auto-fill when adding a new Part.
- Enter the Name and Description.
- Content Section: Enter the Header and Text. .
- Embedded Content - Videos. Enter the Header and any Text you want to appear.
- Copy and paste the embedded code from a video into the Embedded Content box.
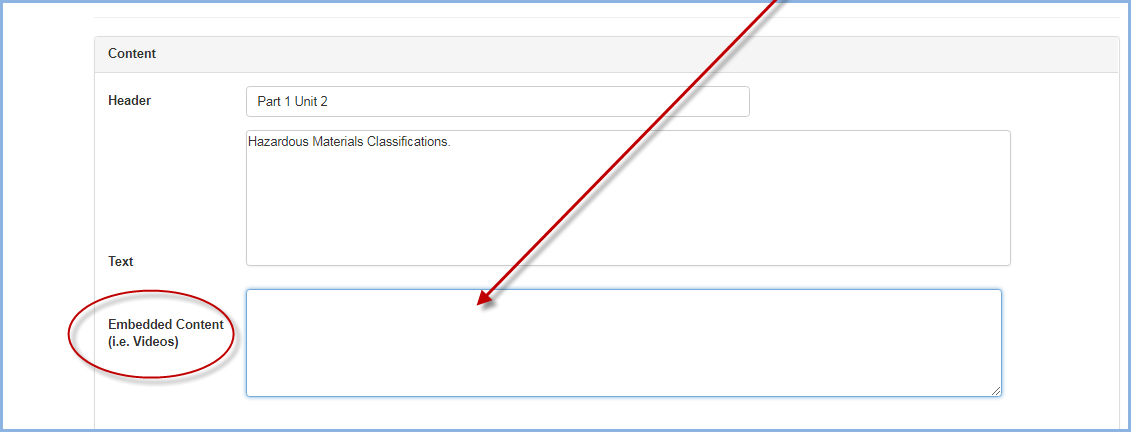
- Click [Save]. Then go back to the editing screen to preview the video.

- To delete a video, delete the Embedded Content link and click [Save].
- Uploaded Content - Click [Set Content] button to navigate to the file you wish to upload into the course.
- To delete a video, delete the Embedded Content link and click [Save].
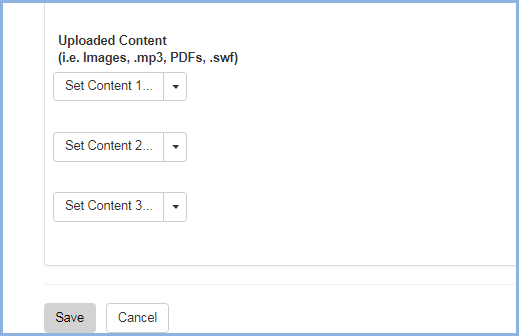
- Click the down arrow on the right side of the Set Content button to clear existing Content file, if necessary.
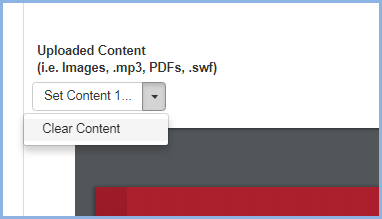
- Adding a new Set Content to over an existing Content will replace the content file.
- Click [Save] to save changes. Click [Cancel] to discard edits and go back to the previous screen.
Add or Import Web Course Training Questions
Users may type in the questions or import a list of questions.
- From the Edit Training Curse screen, click on the [+Add] button to add a question for the training course.
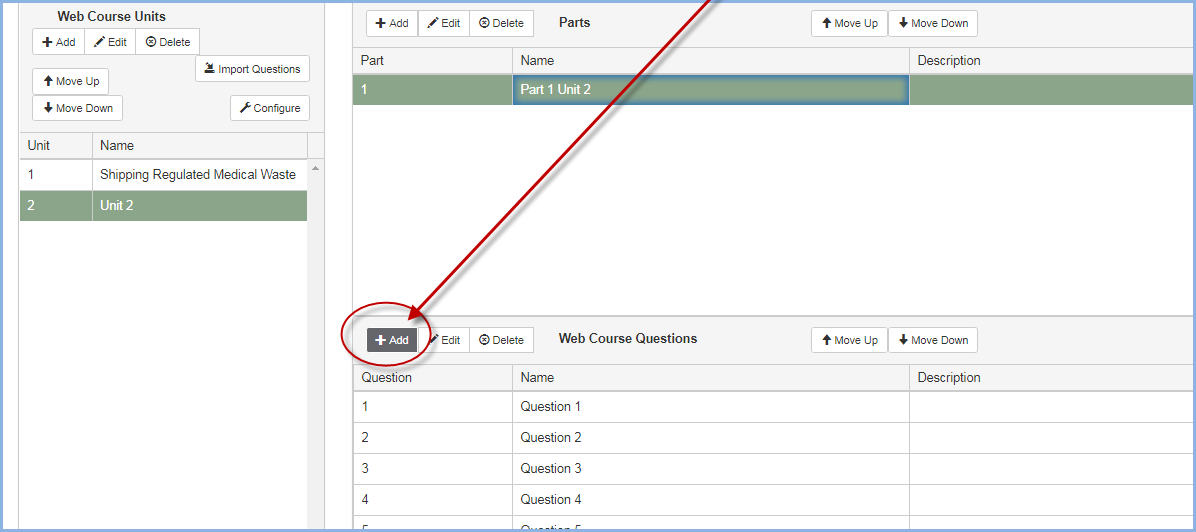
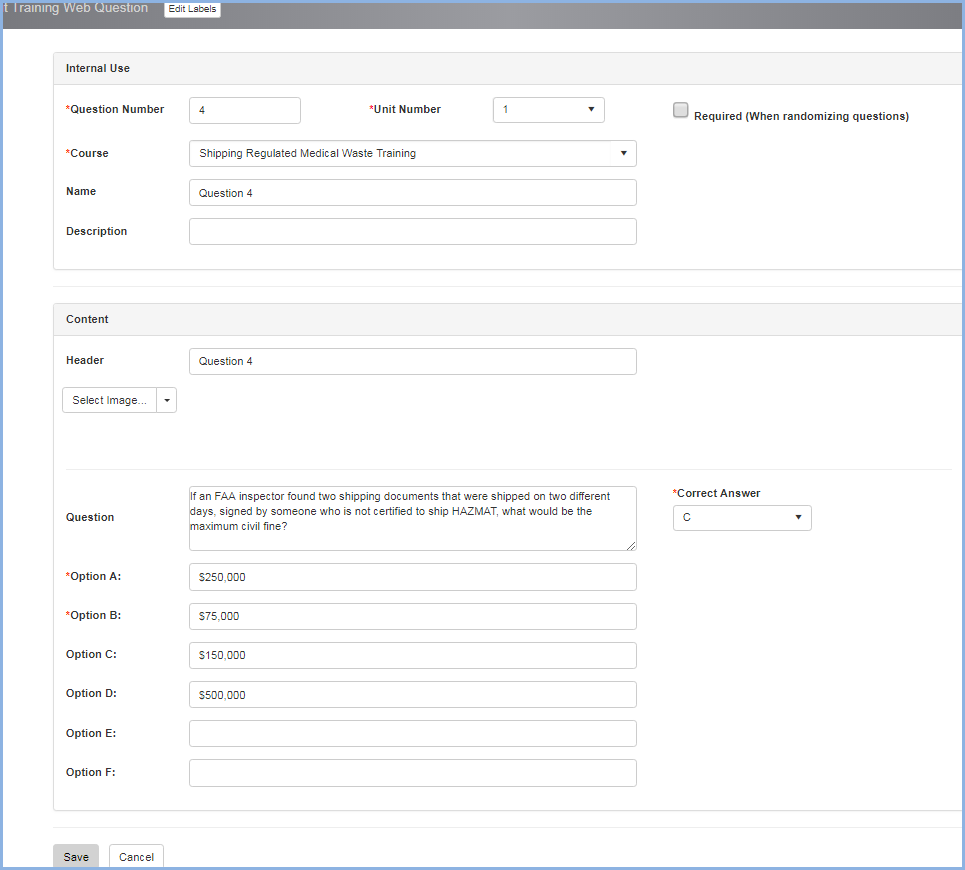
- This opens the Training Question add/edit screen.
- The next question number will auto-fill and course will auto-fill
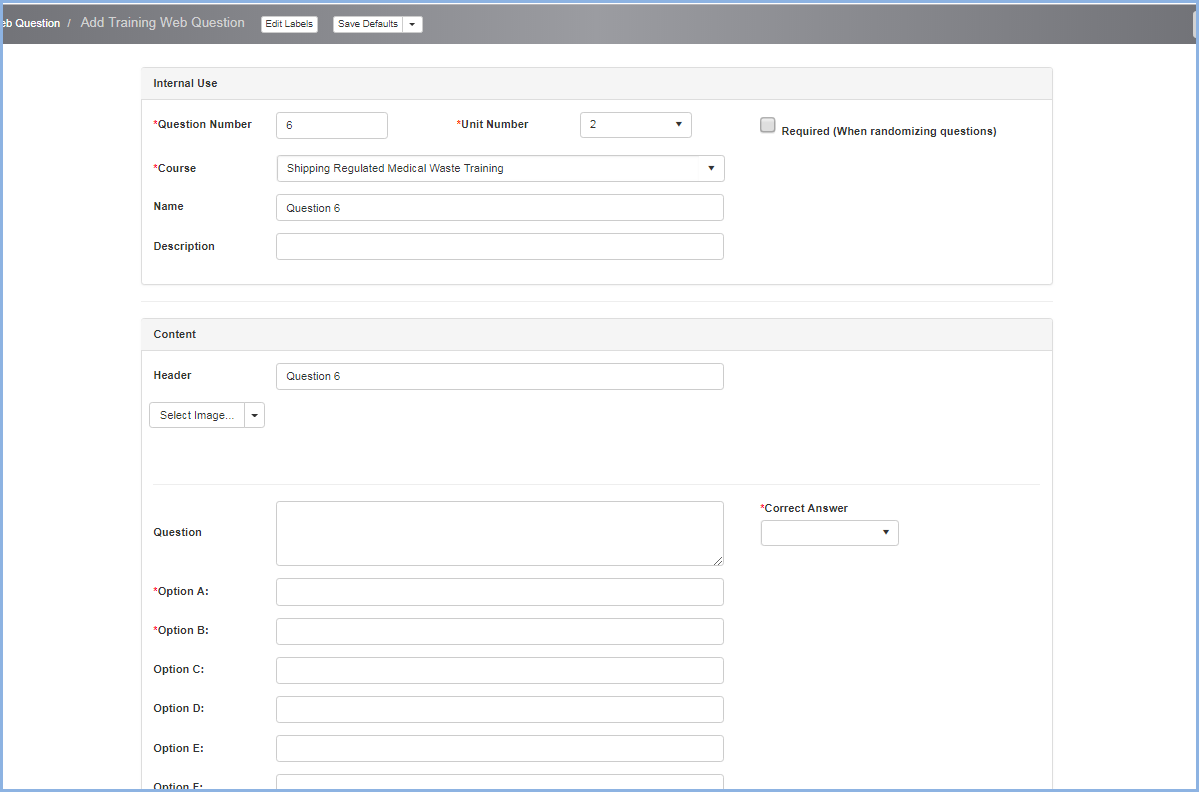
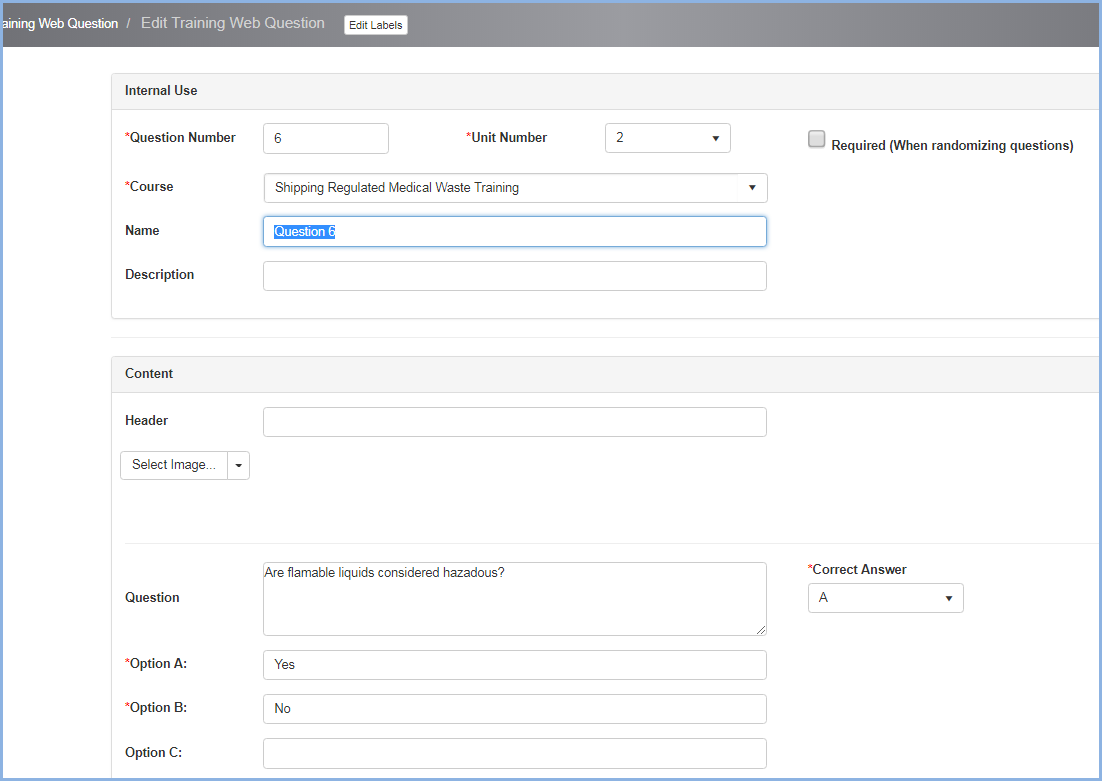
- A example question is shown below.
- Check the Required box If the question is Required when randomizing (including a randomly selected number of questions for each quiz).
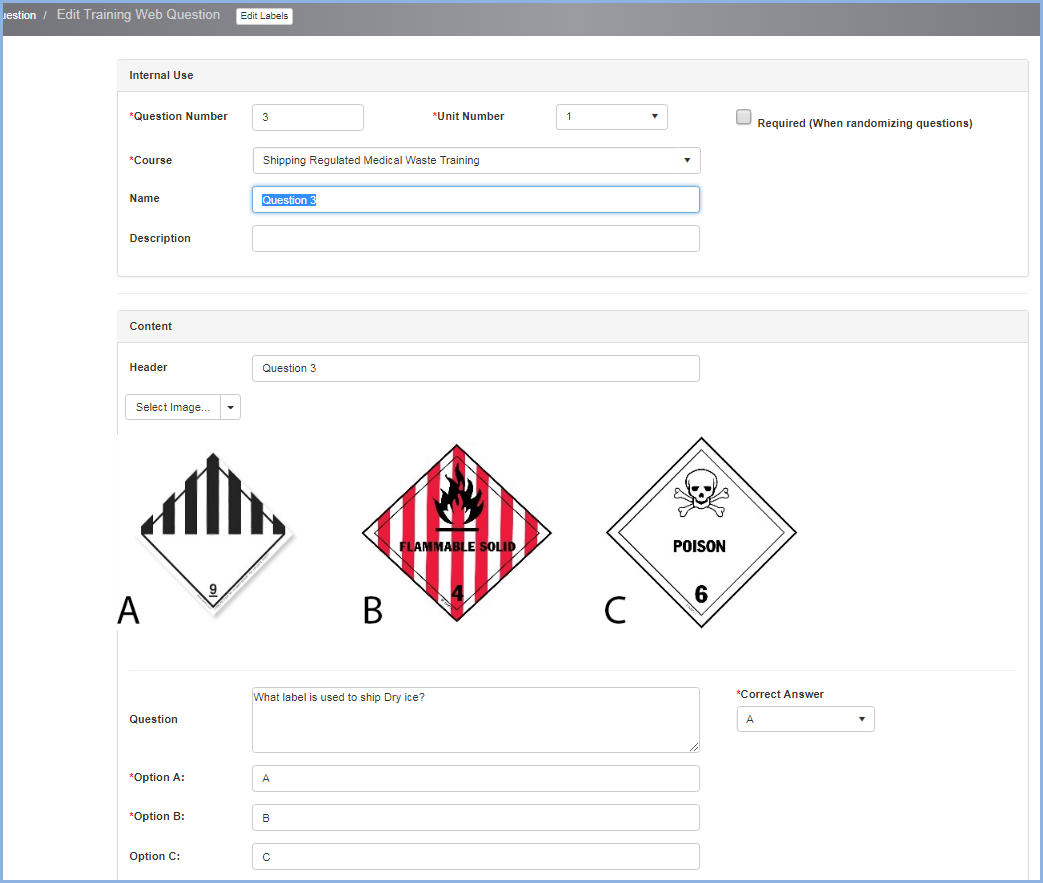
- Images may also be used in questions - an example shown below.
- To import questions, click the [Import Questions] button on the Edit Training Course screen.
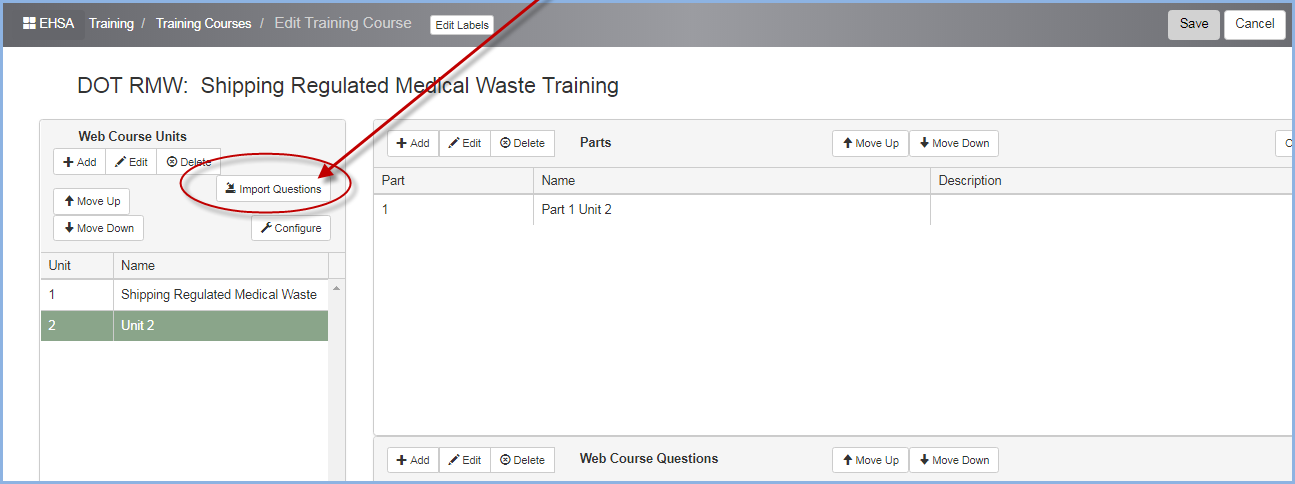
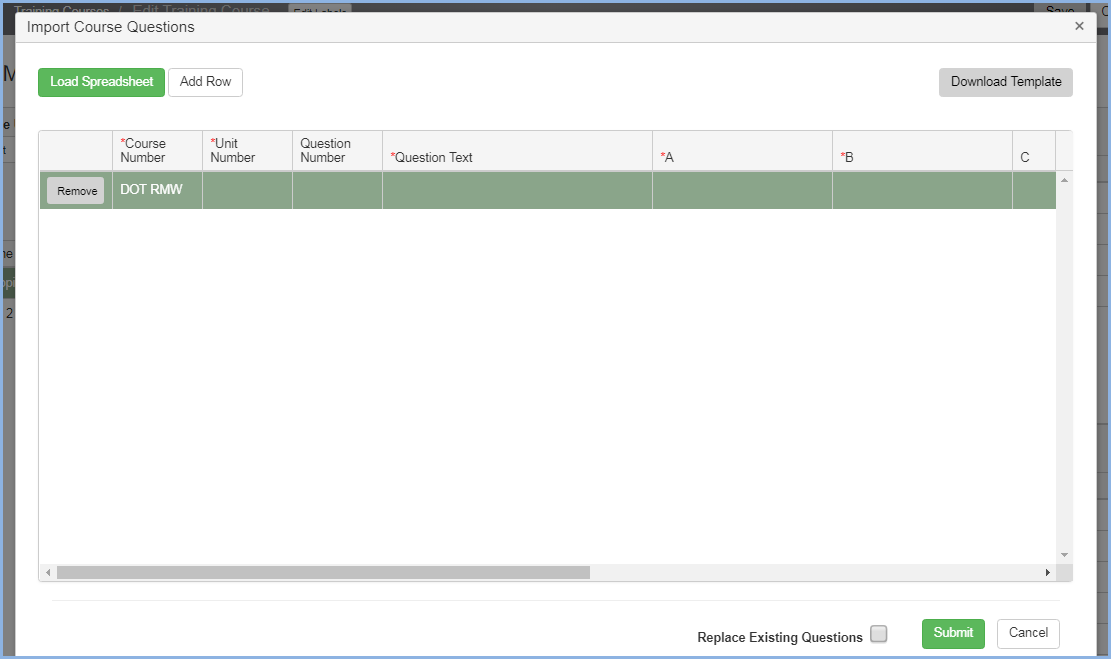
- This will open the Import Course Questions pop-up screen below.
- Users may click [Add Row] to individually add a question, or use the [Download Template] button for a Template to enter questions for upload.
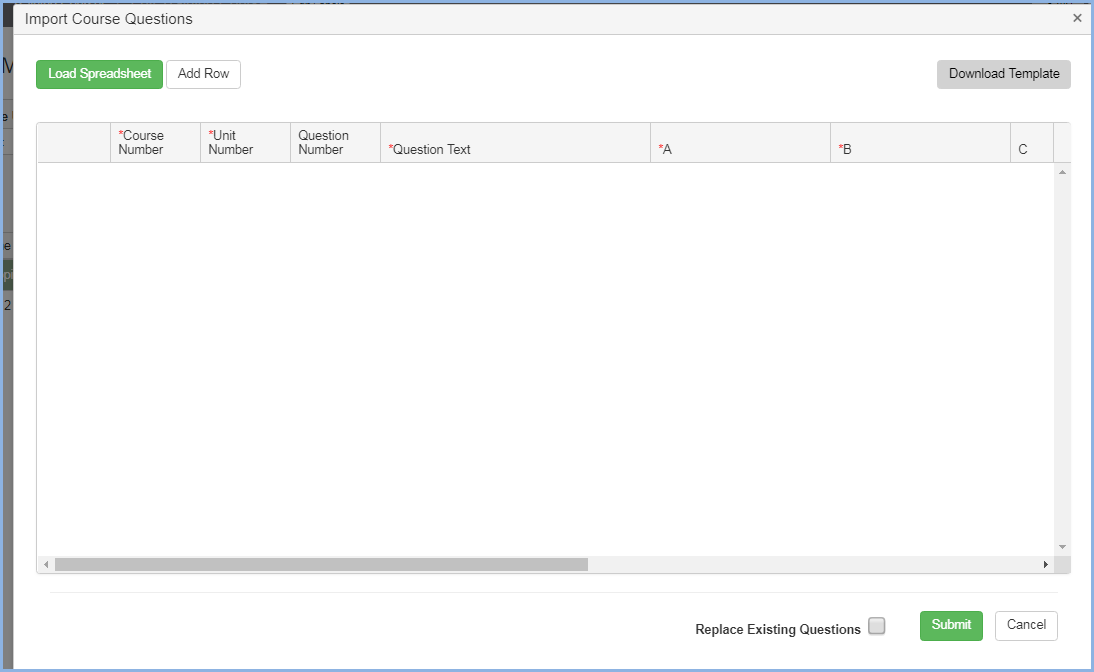
- Clicking [Add Row] will add a row for data entry as shown below.
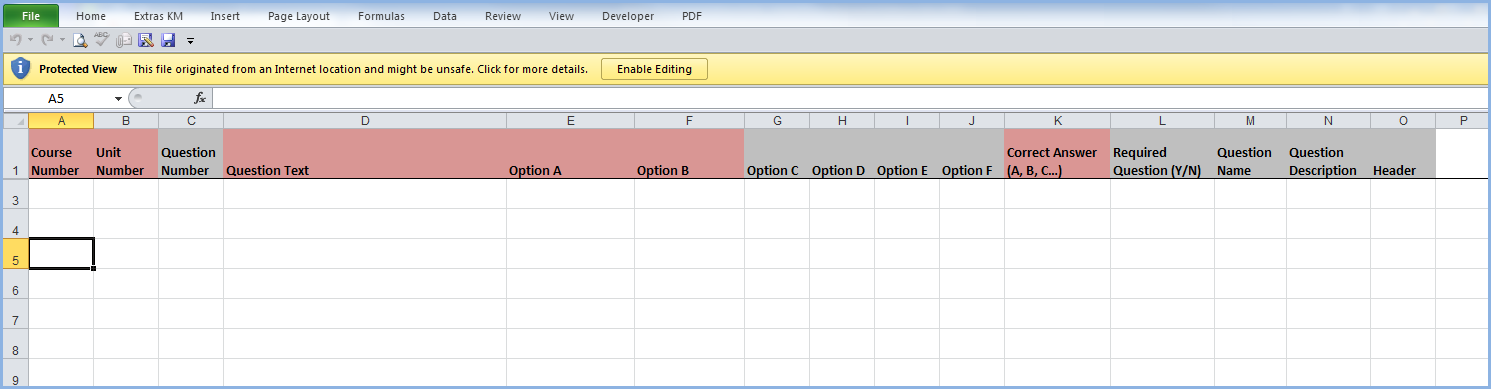
- Click the [Download Template] to download an excel spreadsheet to use with the Upload Spreadsheet option.
- Excel spreadsheet is shown below.
- After the questions are entered in the Template, save your file Course Name and/or description.
- Then use the [Load Spreadsheet] option to load into the EHSA program for review and submittal.
- Field headers highlighted in Red are required, Gray field headers are optional. There must be at least two answer choices for each question.
- Click [Load Spreadsheet] to navigate to the saved spreadsheet and double click to load into the program.
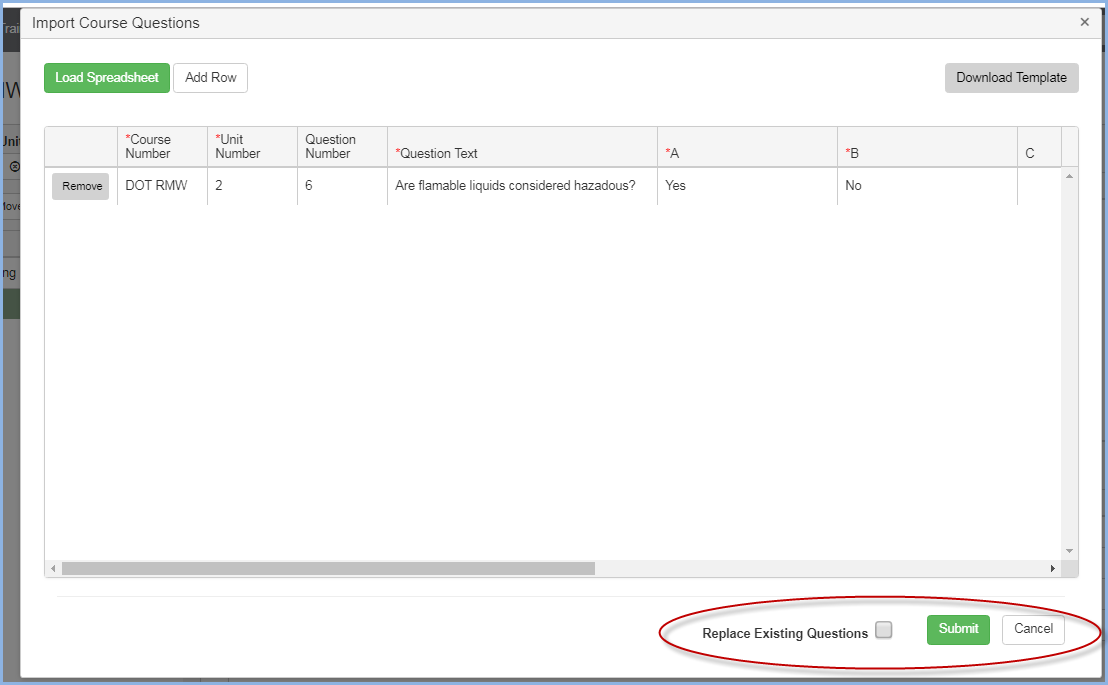
- Review the questions for upload. You may click [Add Row] to add each additional question you with to import.
- Click the [Remove] button beside any row/question you don't want to add.
- Click the Submit button to submit and
- Check the "Replace Existing Question" box if you want replace all the existing questions with the ones in the template.
- Click the [Cancel] button to quit the upload without adding any questions and go back to the previous screen.
- After a question upload, the following message will appear:
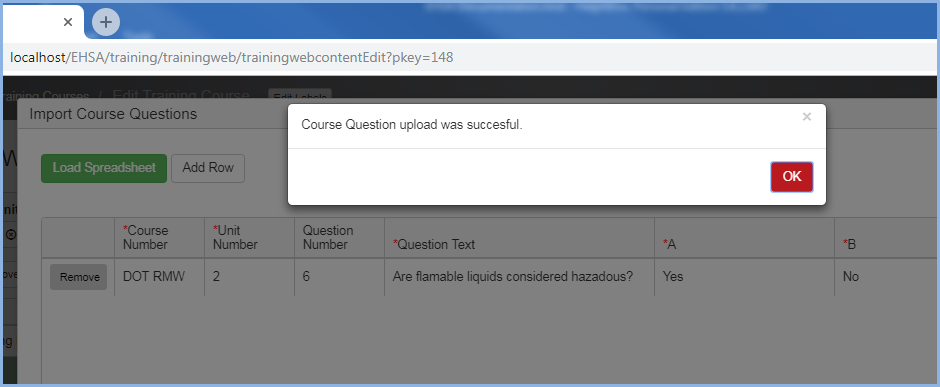
- The new question has been uploaded.
Configure a Web Training Course
To configure an individual Web Course, click the [Configure] button on that course's Editing Training Course opening screen.
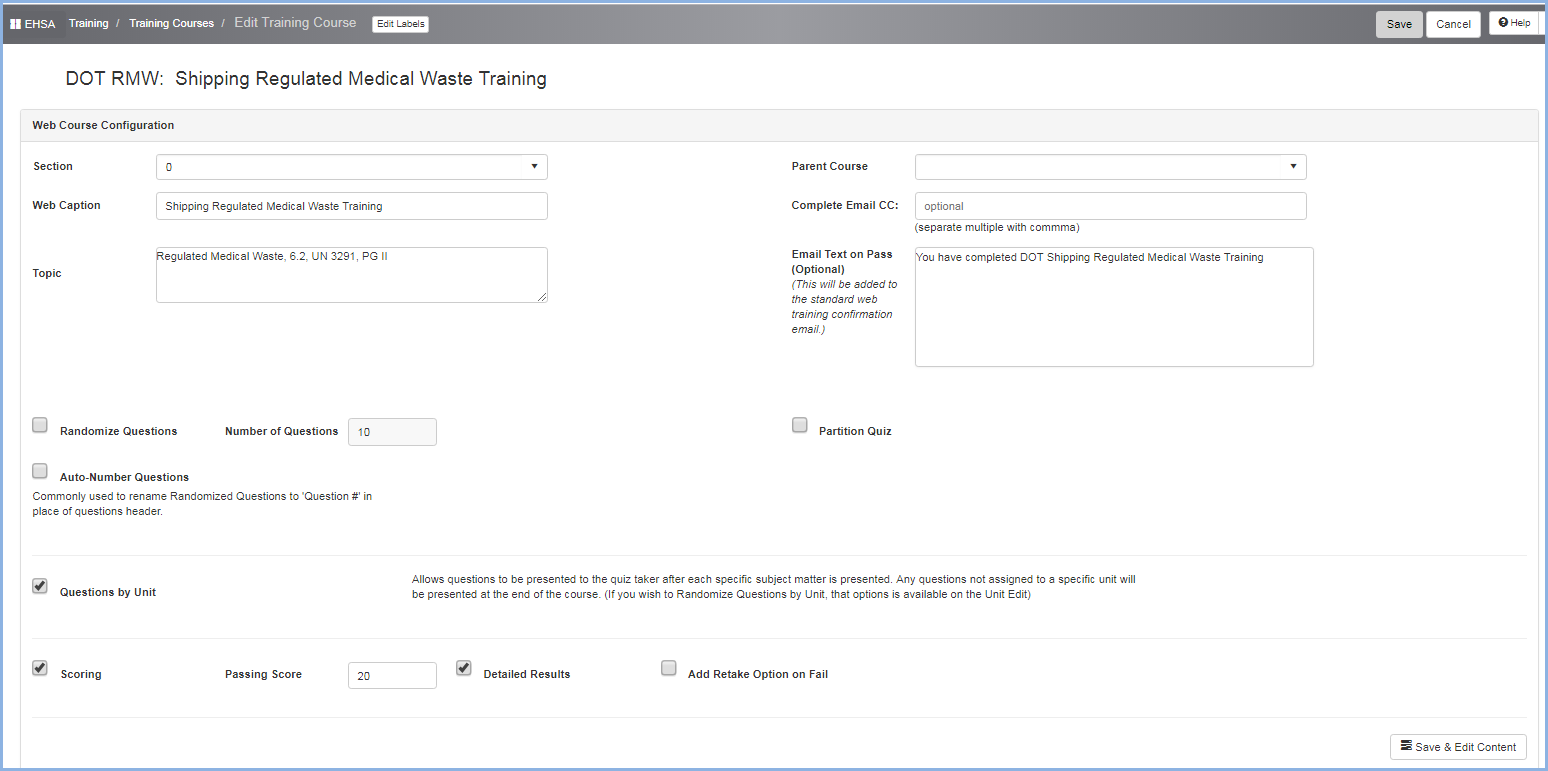
- This opens the Configure screen for the selected course.
- Check the Randomize Questions box to randomly select different questions for each quiz.
- Enter the Number of Questions to be asked. The default number will be the total questions for the quiz.
- When Randomizing Questions, you may choose to present only a specific number of questions.
- Enter the options for Questions by Unit, Scoring, and Retaking Quiz as needed according to your training requirements.
Configure Web Training
The Web Training Configure screen allows the user to set up emaild for pass and fail results on web training courses. The configurations settings
here apply to all Web Training Courses
- From the Web Training Course screen click the [Configure Web Training] button.
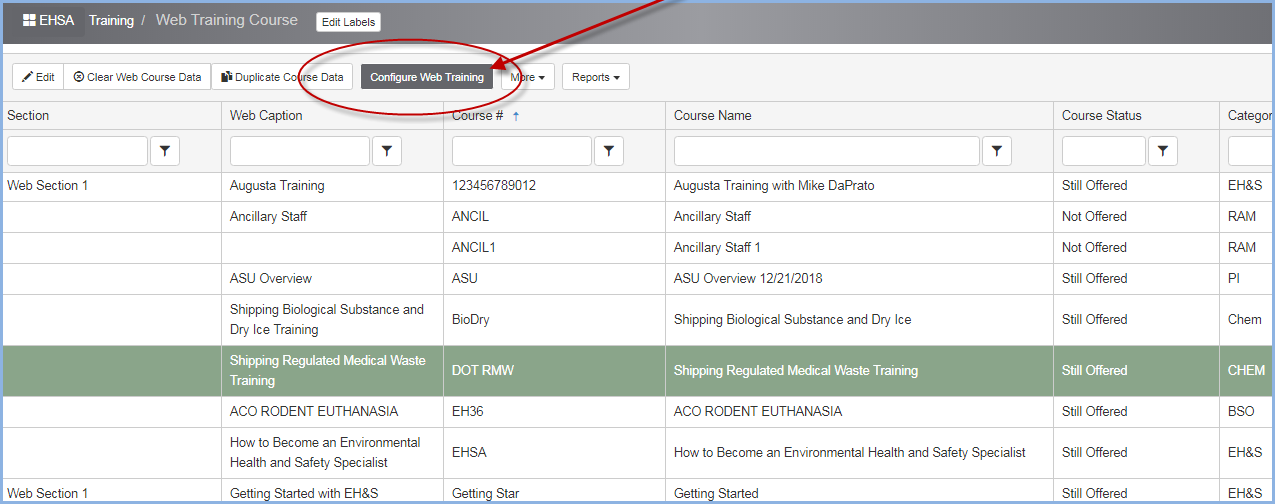
- The Web Configuration Screen is shown below.
- If Attach Report is checked on the Pass section, you may select a Training certificate report to be sent when the course is passed.
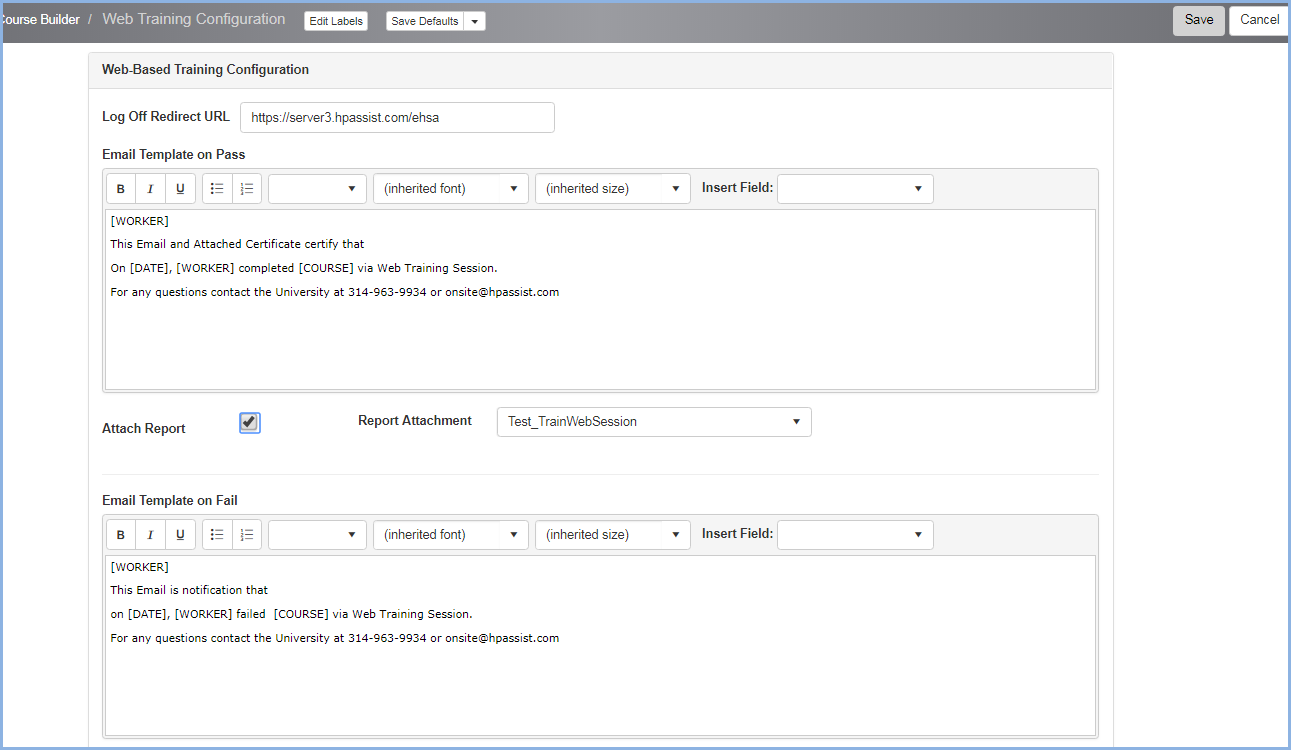
- Click [Save] to save entry for these templates, or [Cancel] to discard any edits and go back to the previous screen.