Sealed Source Inventory
Inventory - Ram Inventory - Sealed Source Inventory
Users can view, add, edit or delete Sealed Source Inventory from a PI in this screen. Inventory Transfers from one PI to another can also be made on this screen.
- Select the Inventory icon from the Main Menu bar.
- Select Sealed Source Inventory from under [RAM Inventory].
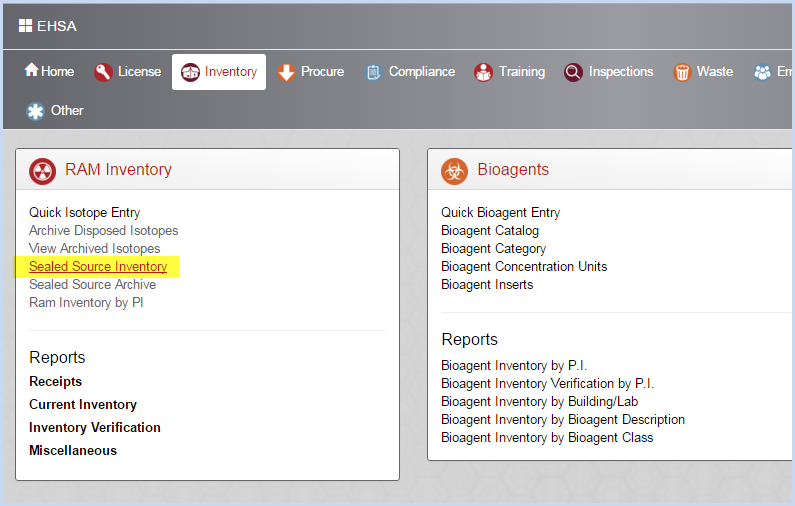
- This opens the Sealed Source Inventory screen.
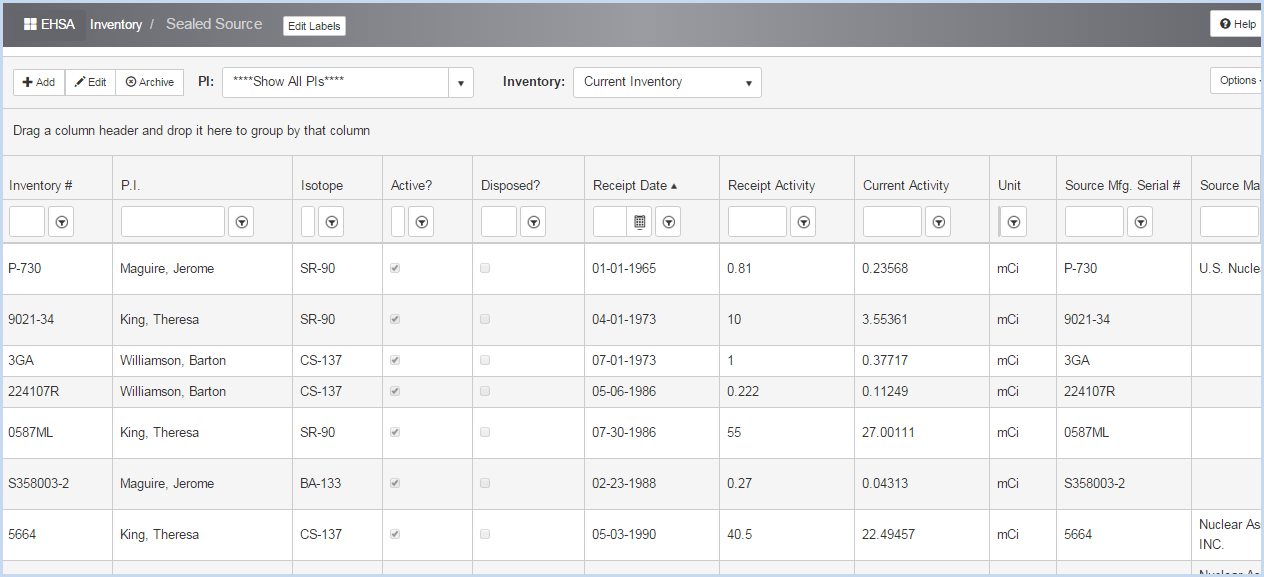
- Click [Add] to add a Sealed Source Inventory item, or [Edit] to modify an item. This opens the Inventory Edit screen shown below.
- When the isotope is a Sealed Source, the [Sealed Source Information] button will be available.
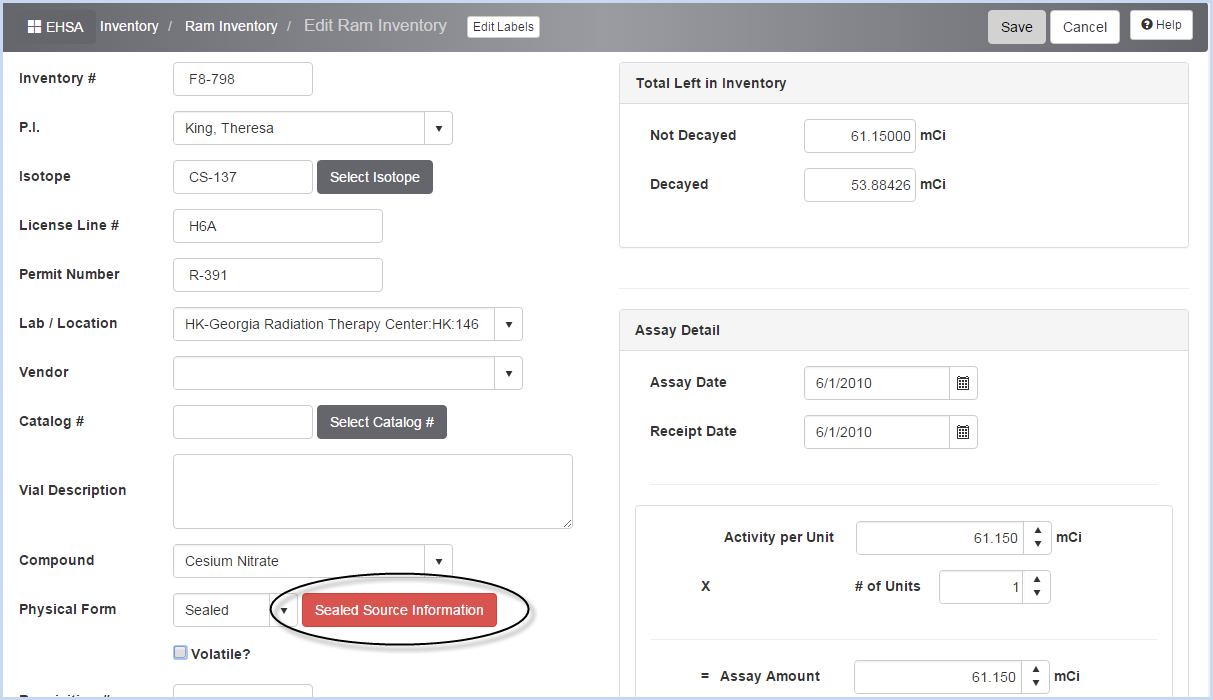
- Click the [Sealed Source Information] button to open the Sealed Source detail screen.
- To Change the PI, select a different PI from the dropdown list and click [Save] to save record.
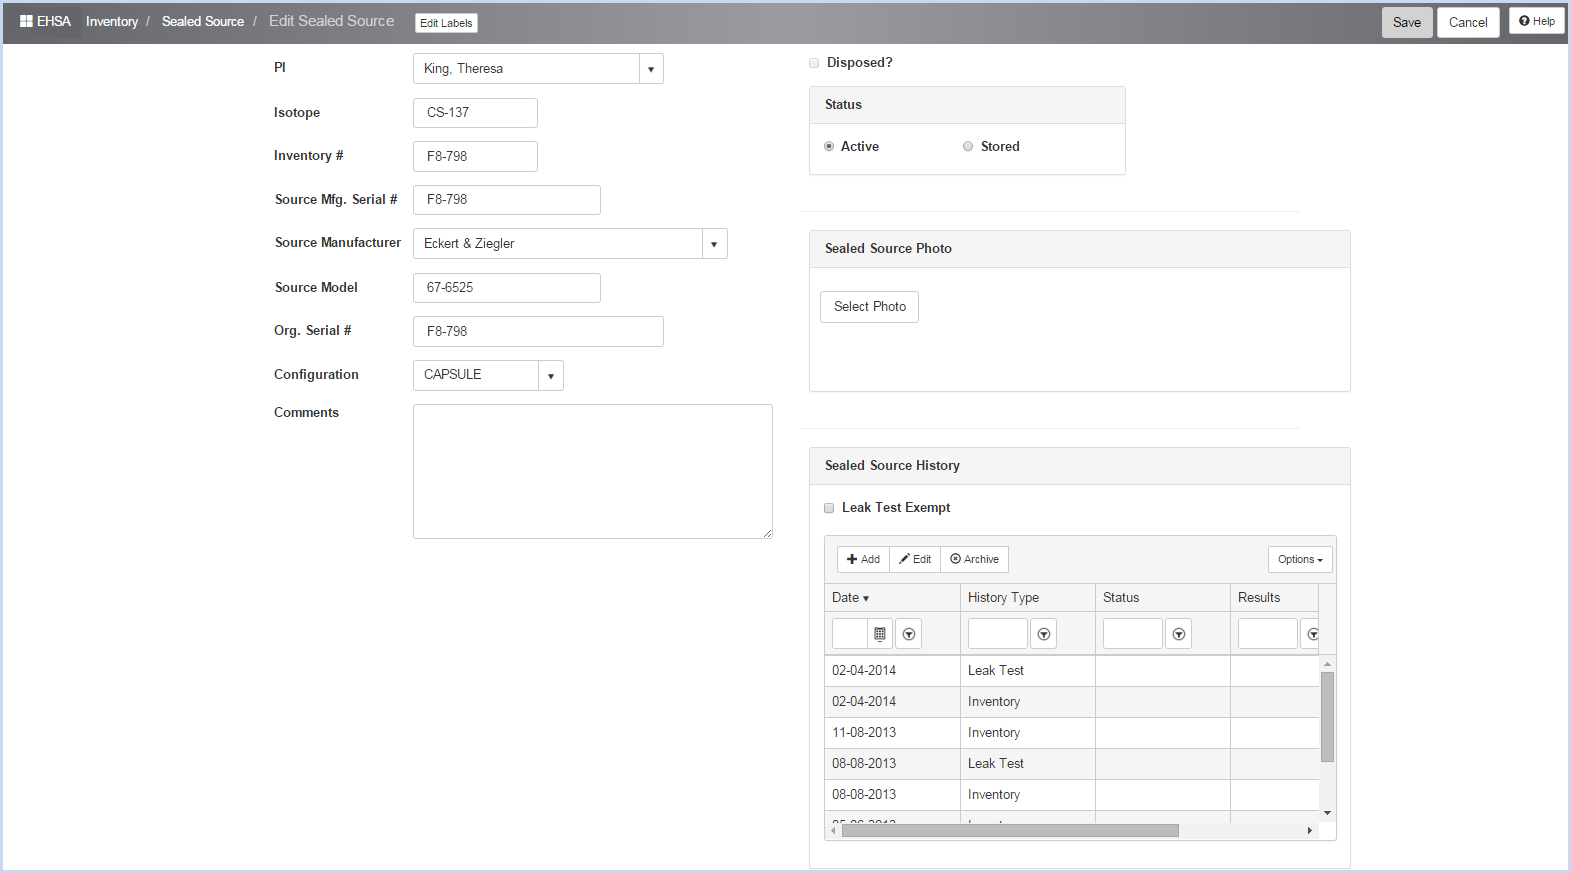
- Edit the Sealed Source fields as needed.
- Enter the Source Mgf. Serial #.
- Select the Source Manufacturer from the dropdown.
- Enter the Source Model.
- The Org. Serial # should fill in from the original source and not need to be modified unless it is incorrect.
- Select the Configuration from the dropdown list.
- Enter any Comments as needed.
- User may add a Photo by clicking on the [Select Photo] button and navigating to a photo to add to the record.
Sealed Source History
The Sealed Source History shows the Leak Test, Inventory History, and any other history items for the source.
- Click [Add] to add a history item.
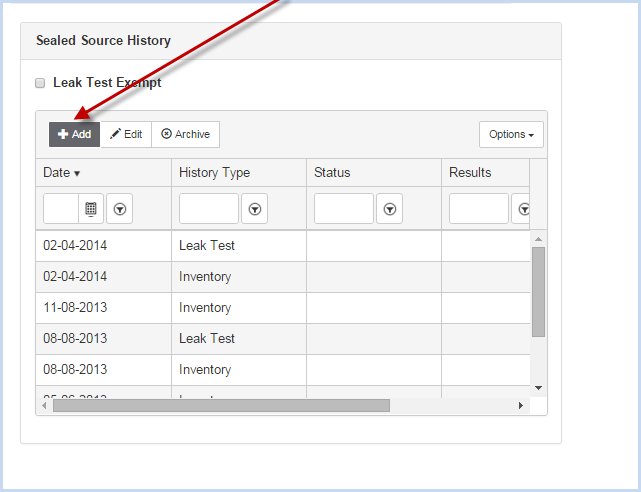
- This will open the Add Sealed Source History screen.
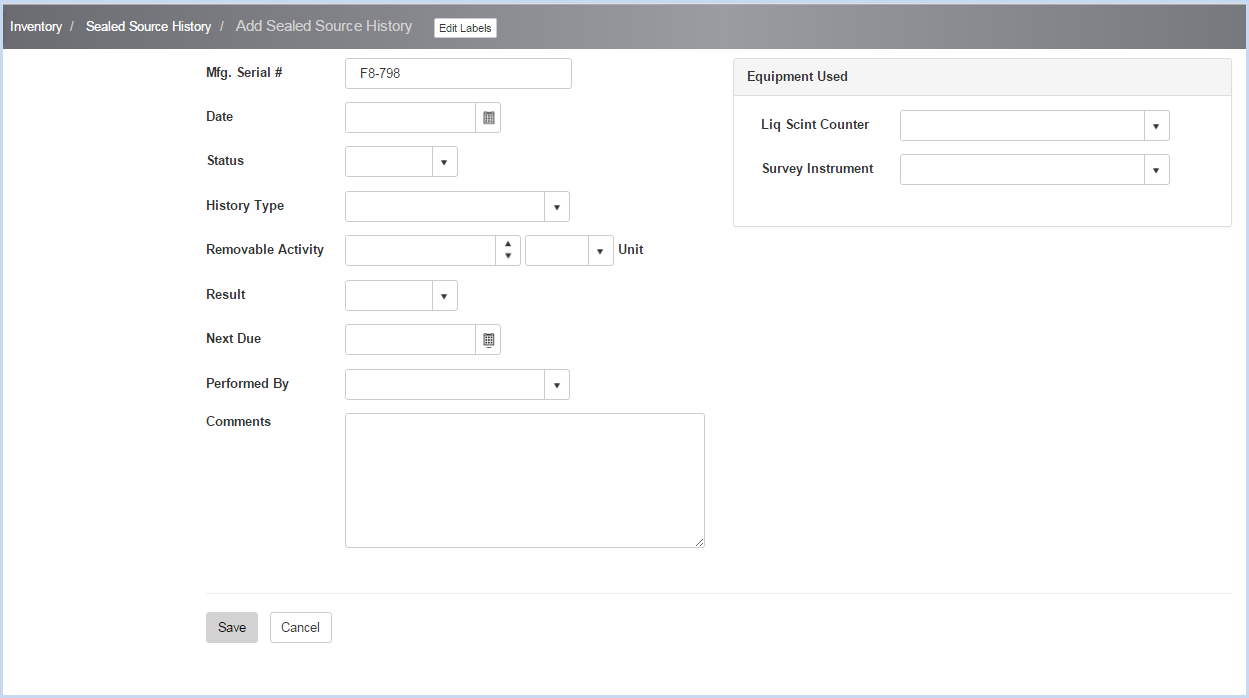
- Enter the sealed history details, beginning with entering a date. Use the calendar option to select the date, or enter the date MM/DD/YYYY.
- Select the Status from the dropdown list.
- Select the History Type from the dropdown list.
- Enter the Removable Activity and Unit.
- Select the Result from the dropdown list.
- The Next Due date will auto-populate based on the frequency for the history type selected.
- Select the Performed By from the dropdown list.
- Enter any Comments about the history.
- Under the Equipment Used box, select the Liquid Scintillation Counter and Survey Instrument from the respective dropdown lists.
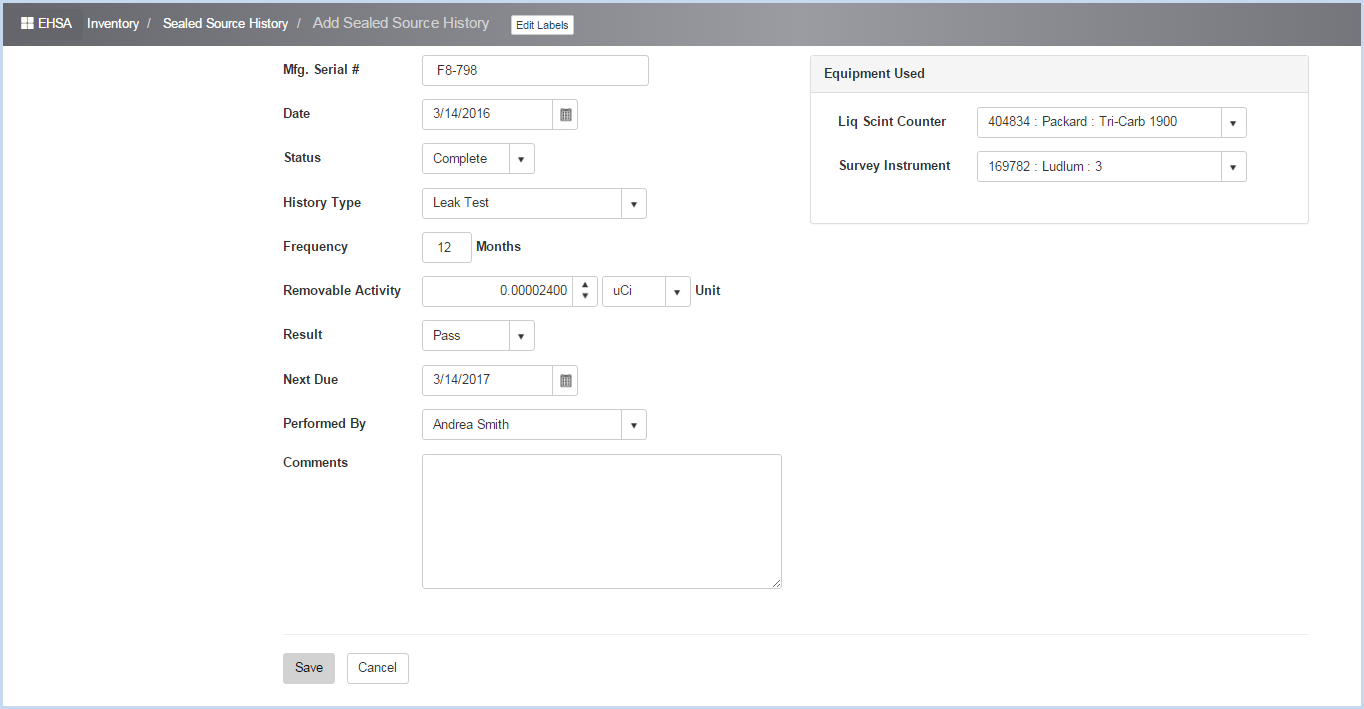
- The completed history is shown above. Click [Save] to save the entry, or [Cancel] to discard the changes.