Meter List
Meters
Select Equipment from the Main Menu bar. Select Meters from the Meters menu.
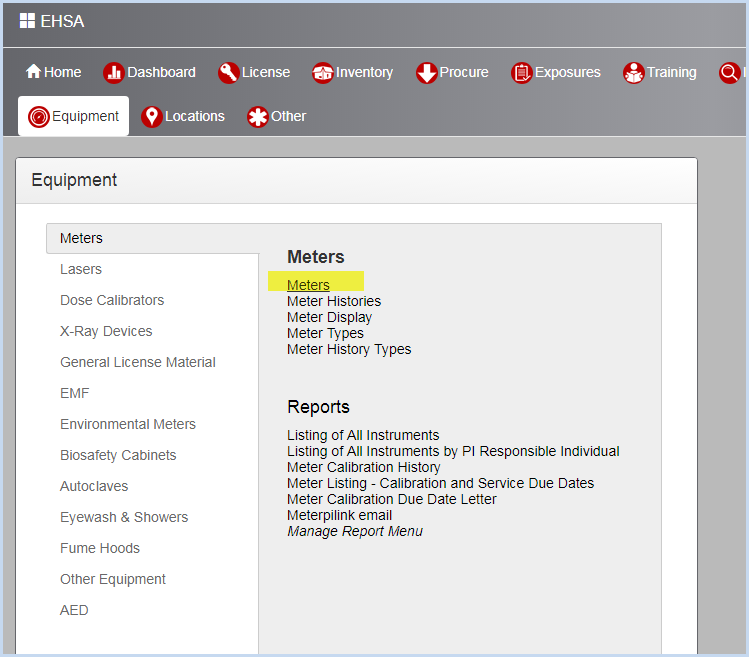
- This opens the Meter list screen. Use filters and column sorting to view and find Meters for editing.

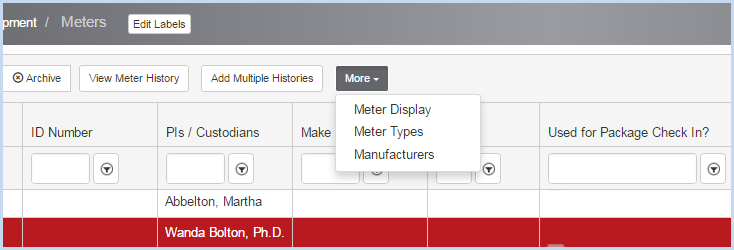
- Click the More dropdown to open the list of editable dropdown lists for Meter details such as Meter Types and Manufacturers.
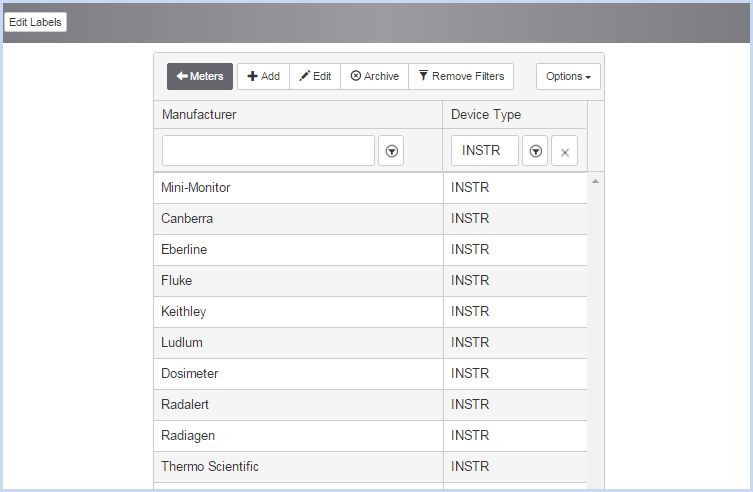
- Select a list for editing. The list of Manufacturers is shown below. Select [Add], [Edit] or [Archive] to add or change the list of Manufacturers.
- Click the [Meters] button to return to the list of Meters.
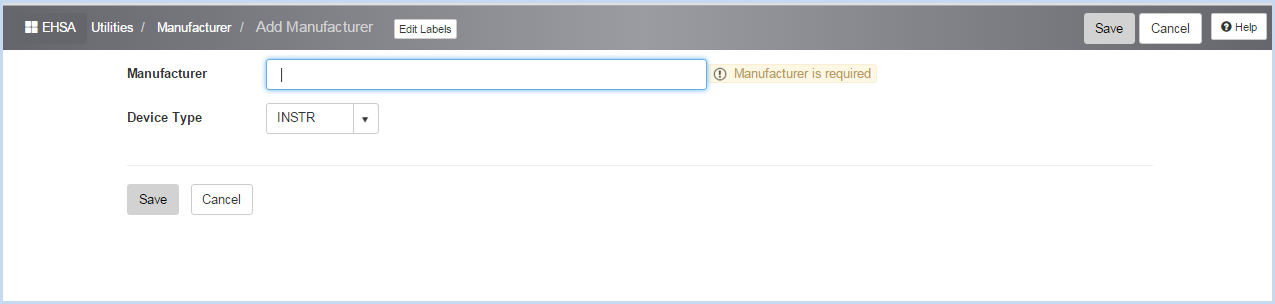
- Click [Add] to add a Manufacturer and enter information. The Device Type is INSTR (Survey Instrument). Click [Save] to save the entry or [Cancel] to discard any edits and go back to the previous screen.
- Click [Add] to add a Meter, or [Edit] to modify an existing Meter. This opens the Meter entry/edit screen.
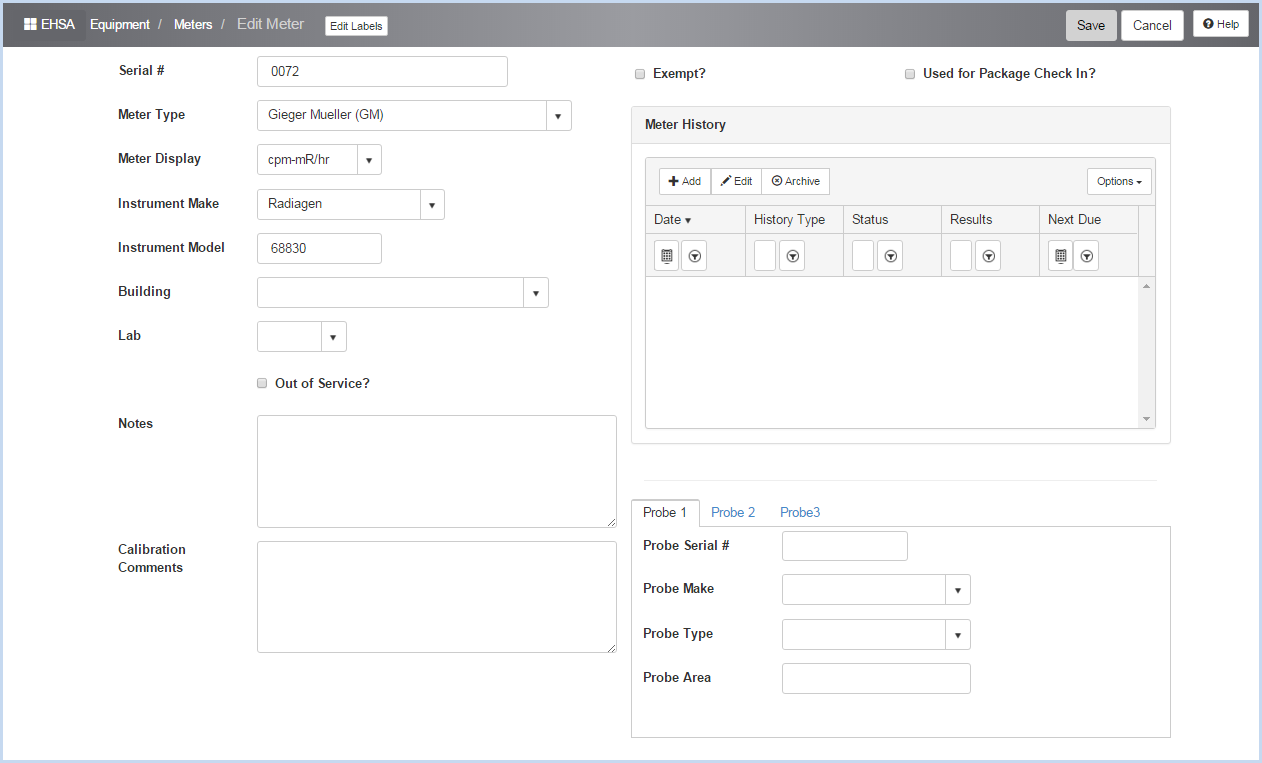
- Enter the Serial #. This field is required and is a unique identifier.
- Select the Meter Type from the dropdown list.
- Select the Meter Display from the dropdown list.
- Select the Instrument Model from the dropdown list.
- Enter the Instrument Model.
- Select the Building and the Lab (location) from the dropdown lists.
- Check the Out of Service? box if meter is not in use or out of service.
- Enter or edit any Notes about the meter.
- Add or edit Calibration Comments as needed.
- Check the Exempt? box if meter is exempt from calibration.
- Check the Used for Package Check In? box if the meter is used for Sealed Source package check in.
- Probes - enter any probe information as needed.
- Scroll down to view the Custodians Section shown below.
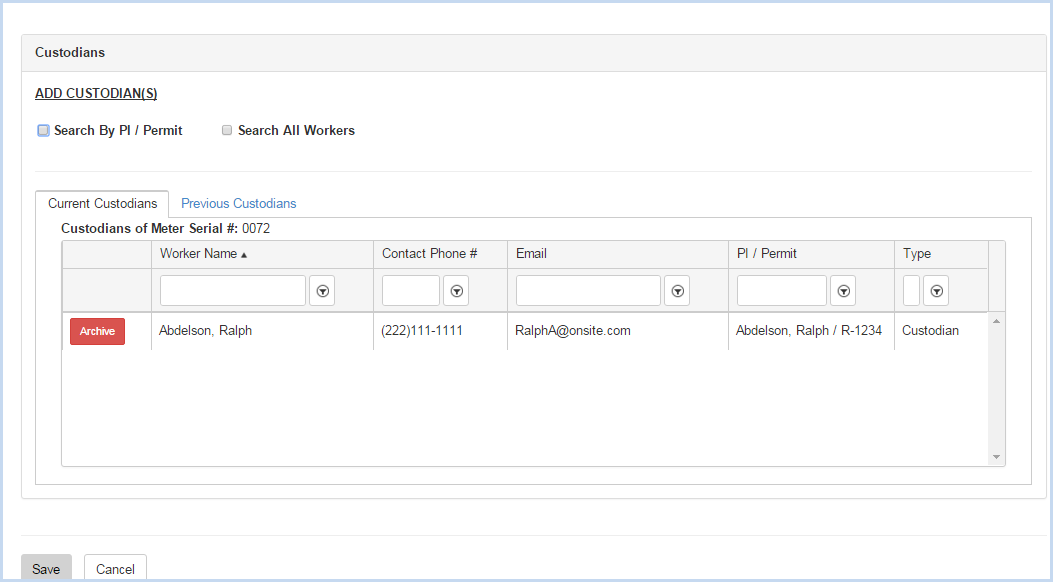
- Click the radio button for Search by PI/Permit or Search All Workers to search for and add a custodian.
- Search by PI/Permit is shown below. Select the PI from the dropdown list.
- After the PI is selected, choose one of the Permits attached to the PI from the Permit # dropdown.
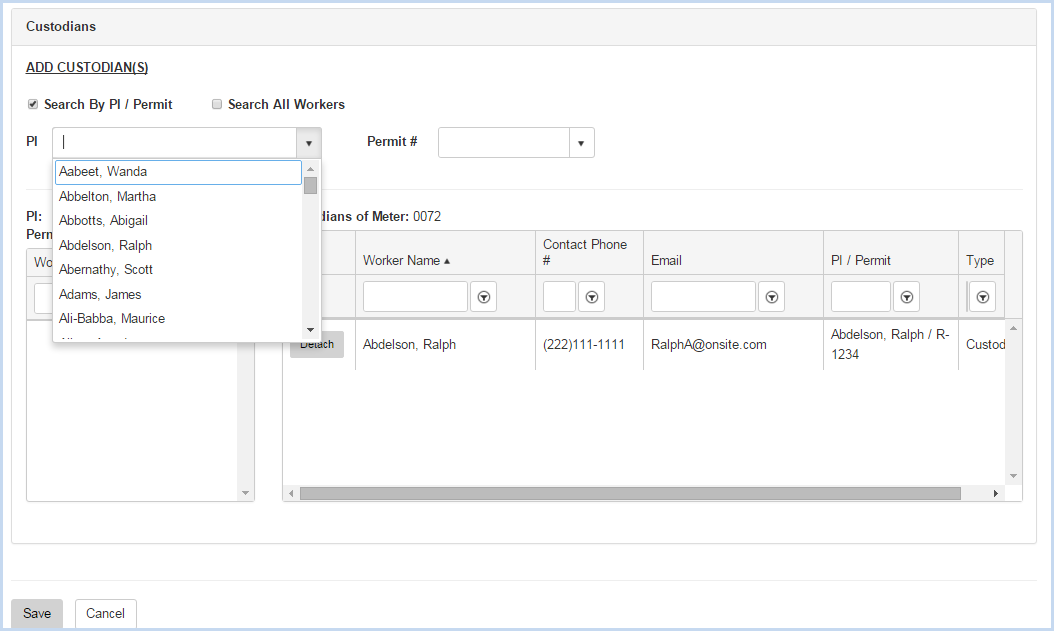
- After the PI and Permit are selected, the list of Workers attached to the permit will be available for attaching.
- Click on the [Attach] button to attach each custodian needed.

- When the Search All Workers option is chosen, enter filter criteria (Begins With, etc.) and click the [Search] button.

- Click [Save] to save the entries or [Cancel] to discard any entry/edit and return to the previous screen.
Add Multiple Histories
- The [Add Multiple Histories] button allows the user to add multiple histories of the same date and type to a meter. For example, several meters may be inventoried on the same day. This features allows quicker data entry.
- Click the [Add Multiple Histories] button.
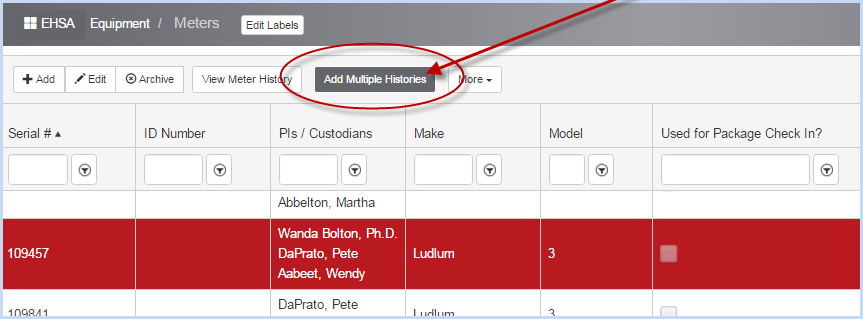
- This opens an [Add Multiple Histories] pop-up window for data entry.
- It also reveals a "Create History" column in the meter list.
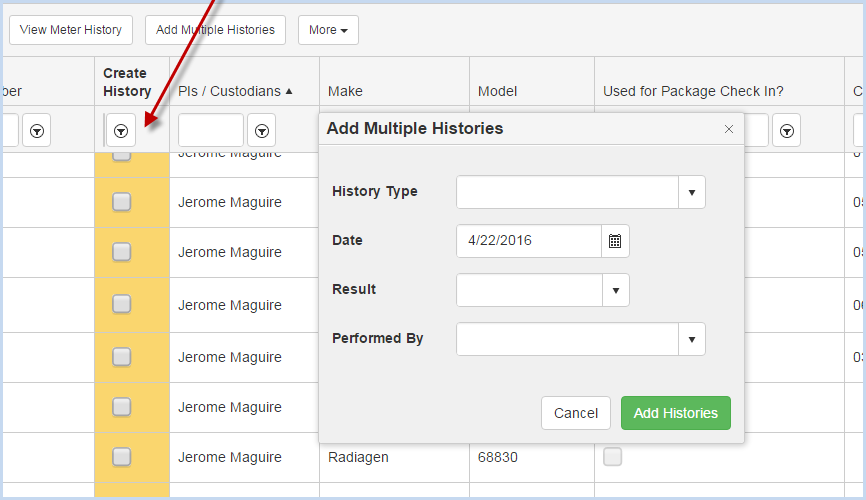
- Select the History Type, Result and the Performed By from the dropdown lists.
- The Date will default to the current date. Change the date if needed before creating histories.
- Select/Check the Meters you wish to add the history record to.
- Click [Add Histories] to add histories to all the selected meters, or click [Cancel] to discard entries and close the Multiple Histories function without saving.
- When Histories are added, a confirmation box will appear as shown below.
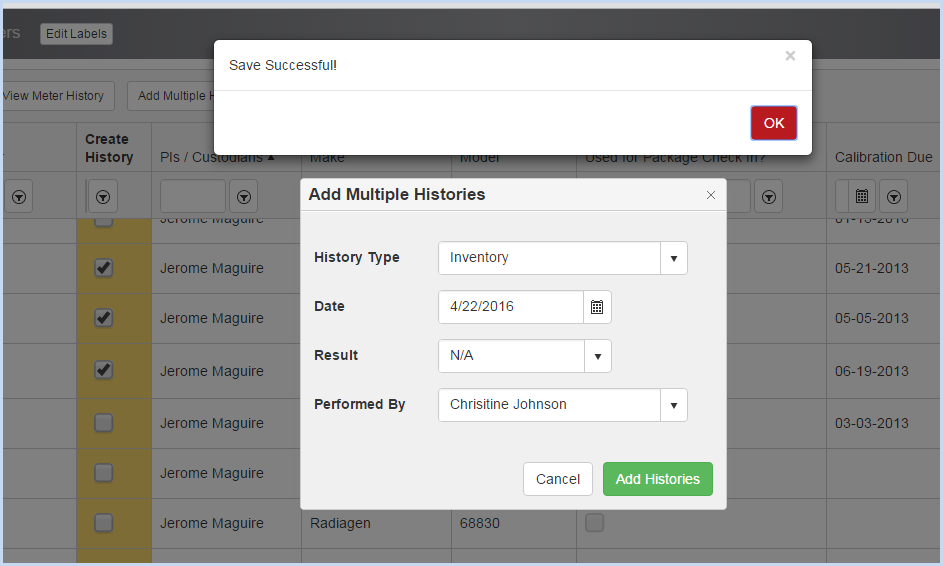
- Click [OK] to close the boxes and go back to the meter listing.