Location/Lab List
Location/Labs
Select the Locations icon from the Main Menu to view the Locations menu selections. Then select Locations/Labs to open the Locations list.

OR Highlight a Building in the building listing and click on [View Labs/Rooms] to view the labs for the selected building.

- This opens the Locations List Screen. Use filters and column sorting to view and find Labs for viewing and editing.

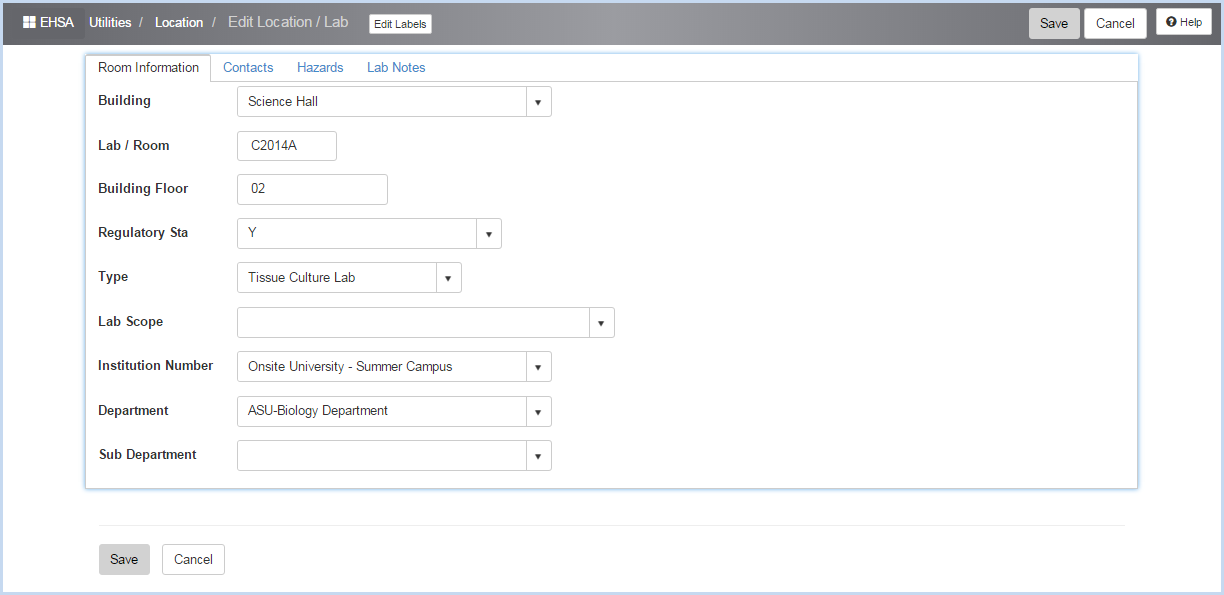
- Click [Add] to add a new lab/room, or [Edit] to view or modify an existing lab/room. This opens the Location Edit Screen shown below.
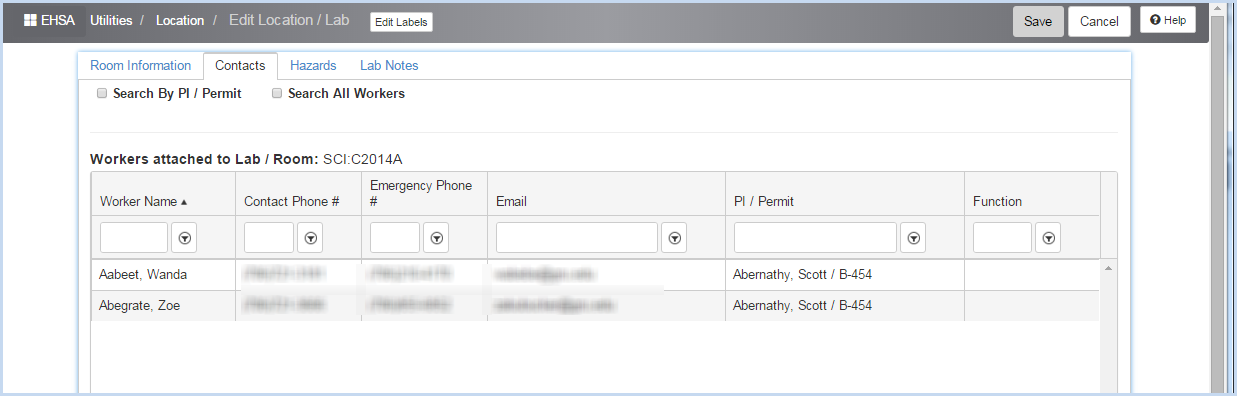
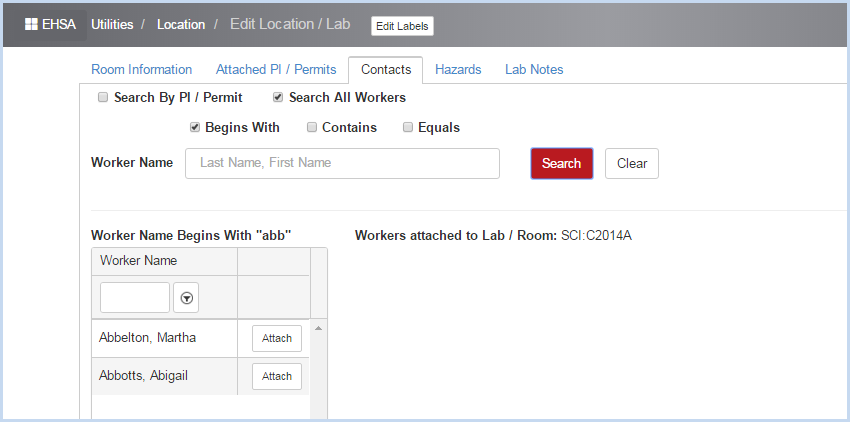
- Click the Contacts tab to view or modify the Contacts attached to the lab/room.
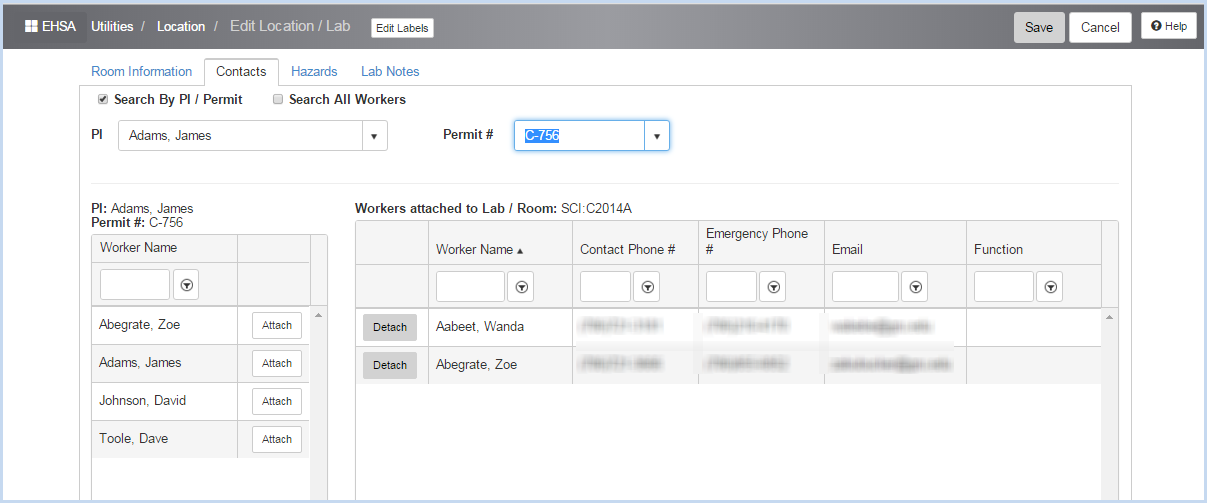
- Search by PI/Permit or All Workers to find and select workers to add to the location/lab. When searching by PI/Permit, click the [Search by PI/Permit] option. Select the PI and then the Permit # from the dropdown lists. A list of Workers on the attached PI/Permit combination will be available to attach to the location. Click [Attach] button to add workers,
- Use the [Search All Workers] option to find and attach any worker in the database. Use the filters to narrow the search on the Worker Name, then click [Search] to view results and attach as needed.
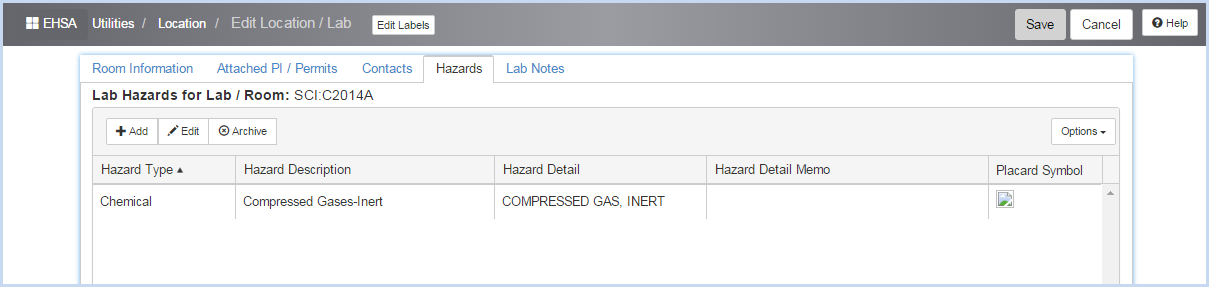
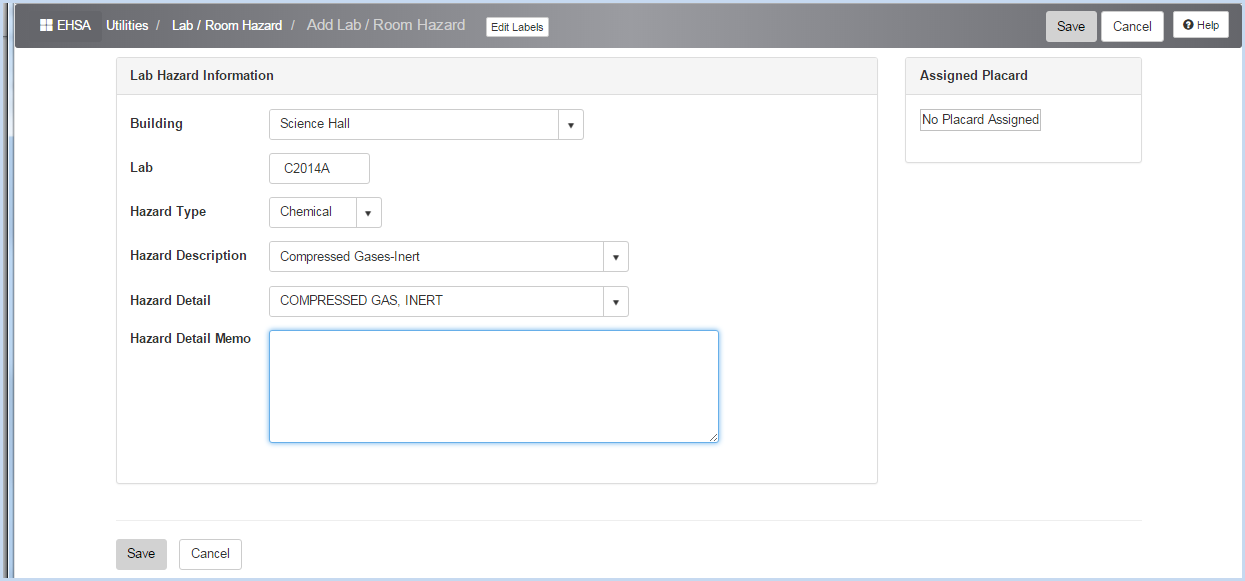
- Click the Hazards tab to view lab hazards. Click [Add] or [Edit] to add or modify a hazard for the lab/room. Click [Archive] to delete the hazard from the lab/room.
- The Add/edit screen is shown below. Click [Save] when edits are complete, or [Cancel] to discard changes.
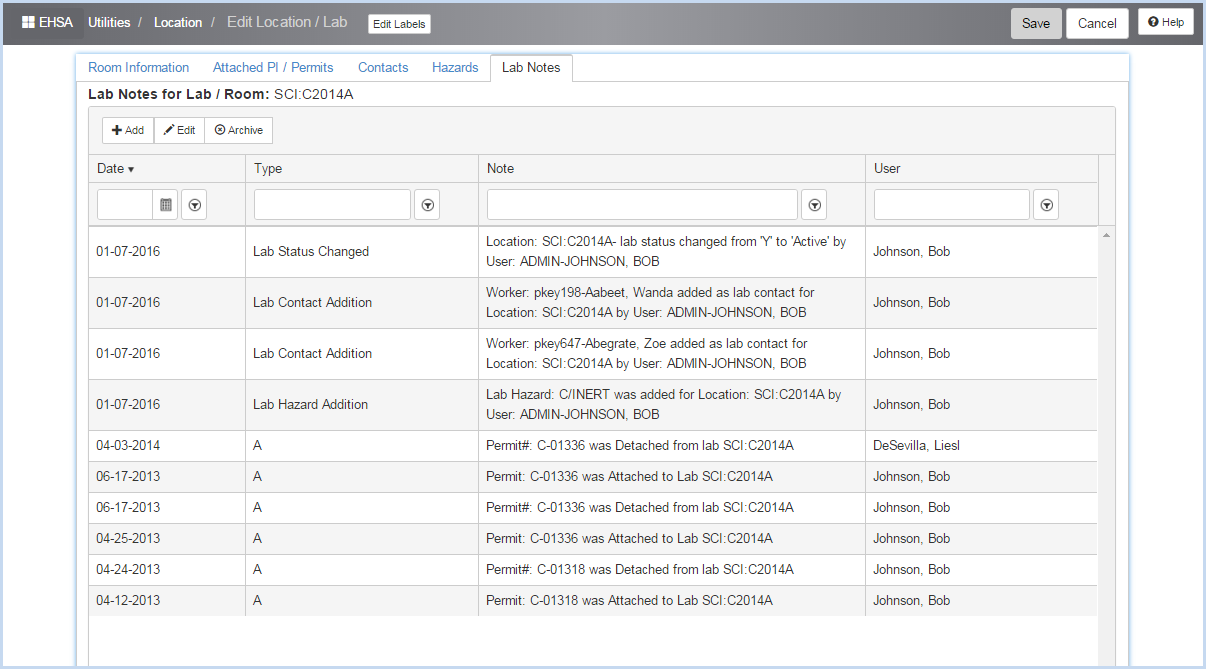
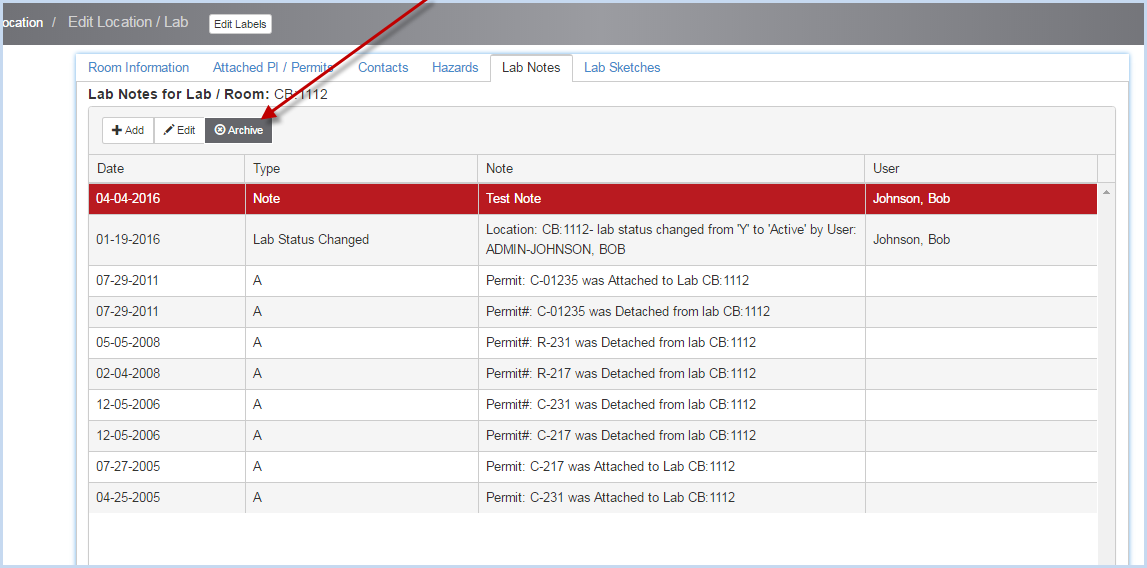
- Click the Lab Notes tab to view the notes/histories for the lab/room. Use the filters and sorting to find notes for viewing or modification. Click [Add] to add a new note or [Edit] to modify an existing note.
- Notes about lab status and permits are automatically entered when the changes are made.
- When adding a new note, enter information on the Add Lab Note Screen shown below.
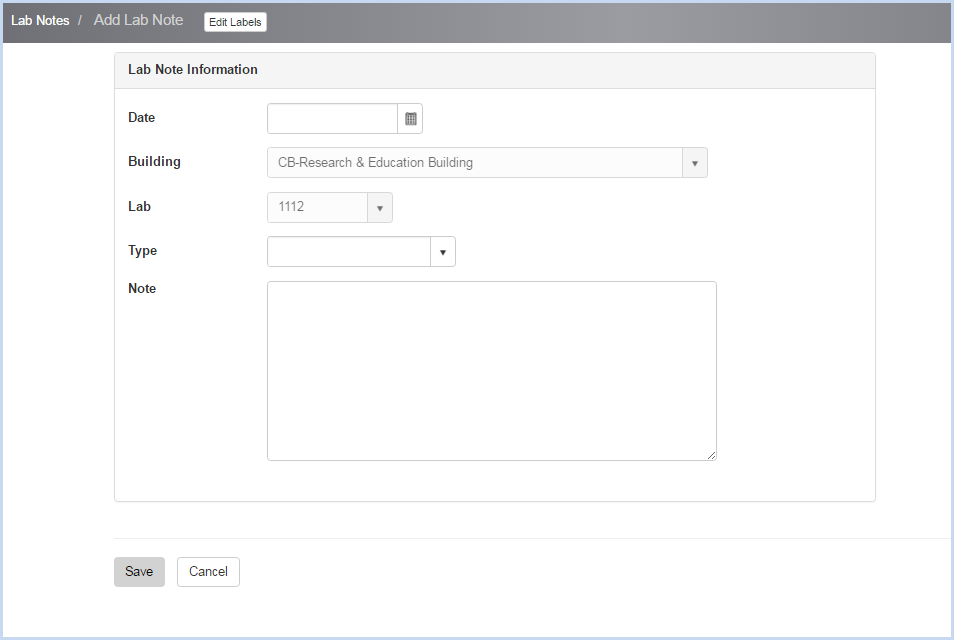
- Enter the note date or select with the calendar date picker.
- The Building and Lab will default to the currently selected location.
- Select the Type of note from the dropdown.
- Enter the Note details.
- Click [Save] to save the note, or [Cancel] to discard the entry.
- To delete a lab note, highlight a note row and click the [Archive] button.
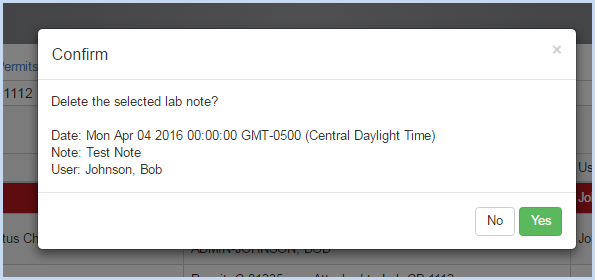
- A Confirmation pop-up window will appear. Click [Yes] to delete the note, or [No] to cancel the deletion.
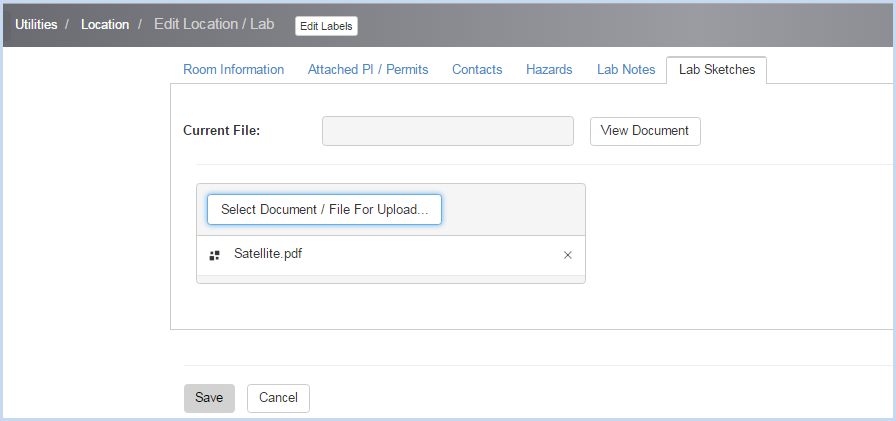
- Click the [Lab Sketches] tab to view or attach documents to the lab.
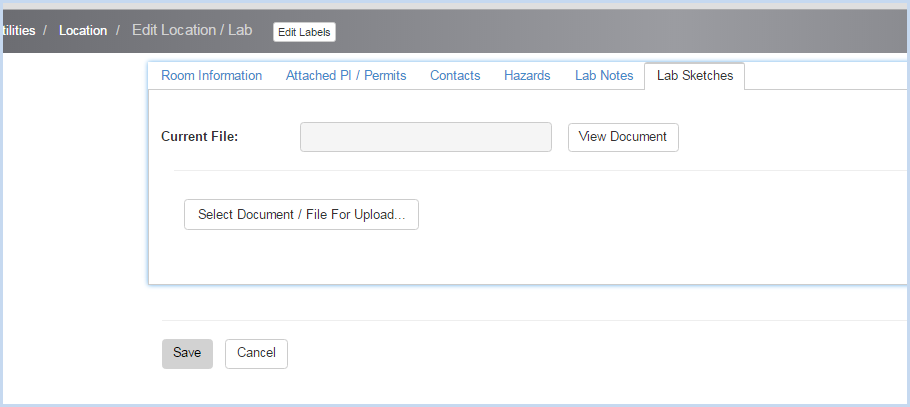
- Click the [Select Document/File For Upload] button to navigate to the document to add.
- Navigate to the file location and double-click on the file to add.
- The file will load into the program. Click [Save] to save the document to the location, or [Cancel] to close without attaching the file.