Assessment Form
EHS Assessment Form
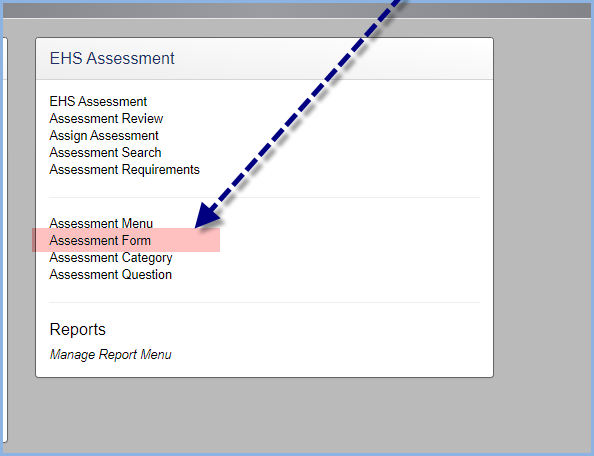
This form is also found on the EHS Assessment screen, under the More menu options.
The More menu options allow Administrative personnel to create the forms and questions for the Lab Assessments.
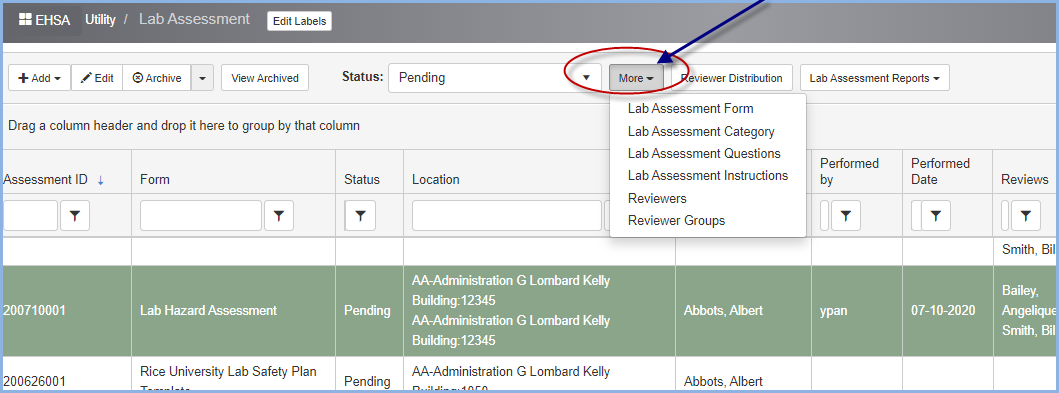
Lab Assessment Form - select from the More menu to open the Lab Assessment Form list screen as shown below.

- Click [+Add] to add a new Assessment Form type.
- Highlight a from and click [Edit] to view and/or edit a form's details.
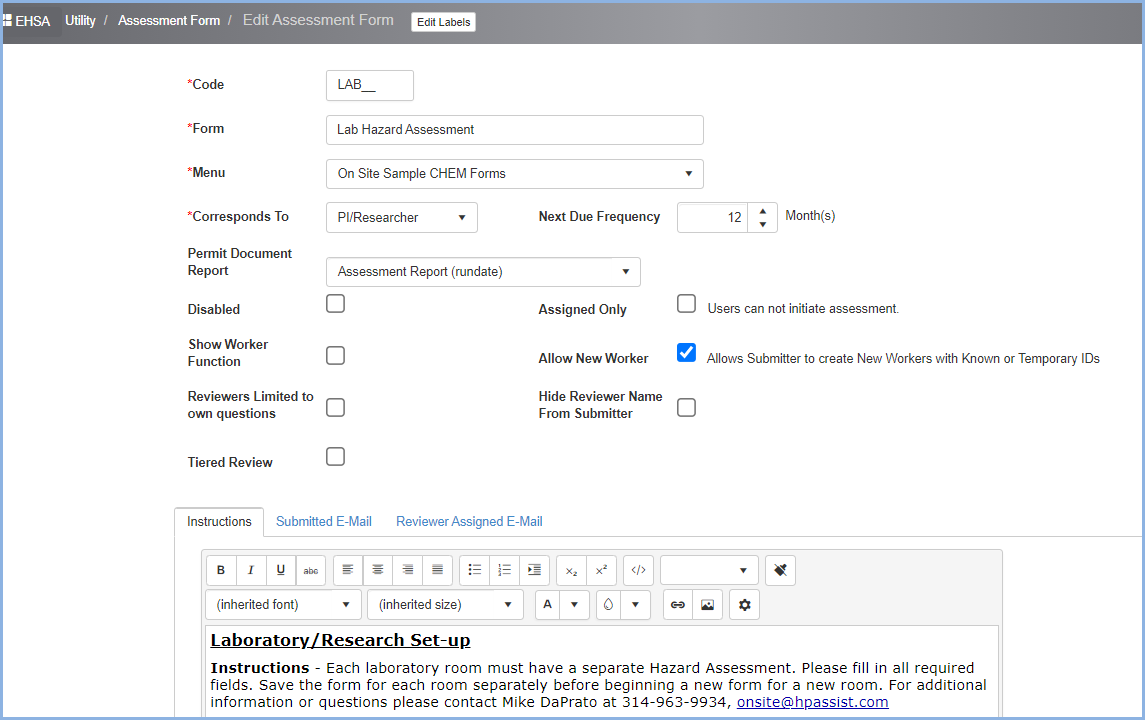
- Code - this is the 5 character code for the form. It is the unique identifier for the form, linking the lab assessment questions and other details for the type of assessment. Simple examples are IBC for IBC Protocol Application, and RMA for Radioactive Materials Application.
- Description - this is the Name of the Assessment Form.
- Corresponds To - Use the dropdown to select who the form is directed to. This is very importante beause this entry creates the framework on the initial form for who will enter the form data.
- Next Due Frequency - Use this field to set any assessment next due month intereval as needed. For example, a Hot Works Permit Form will not have a frequency, but an RMA Radioactive Maerials Authorization might have a 2-year (24 month) renewal process. By setting the frequency, the next due date for a specific task can be updated upon completion of its initial steps.
- Disabled: Check if the form is presently not available to the required individuals.
- Assigned Only - Assigned only allows the scheduling of a specific questionnaire and will not be available to anyone unless that form was scheduled via the scheduling process.
- Show Worker Function - This function allows the PI the ability to update the Worker Function as the employee is added to the initial personnel/worker application. This would typically be used during a PI on-boarding process.
- Allow New Worker - This check box will allow for the entry of an individual who is not presently in the organization's worker table but you would like to enter their information. Once the individual's organization ID becomes available, the information entered will be assigned to that specific ID.
- Reviewers Limited to own questions - This check box checked only allows for the reviewer to see his/her own questions/comments.
- Hide Reviewers Name From Submitter - Check this box if you do not wish to indicate to the submitter who is asking the review questions. This would indicate to the submitter that someone authorized to review their submittal is asking a question(s).
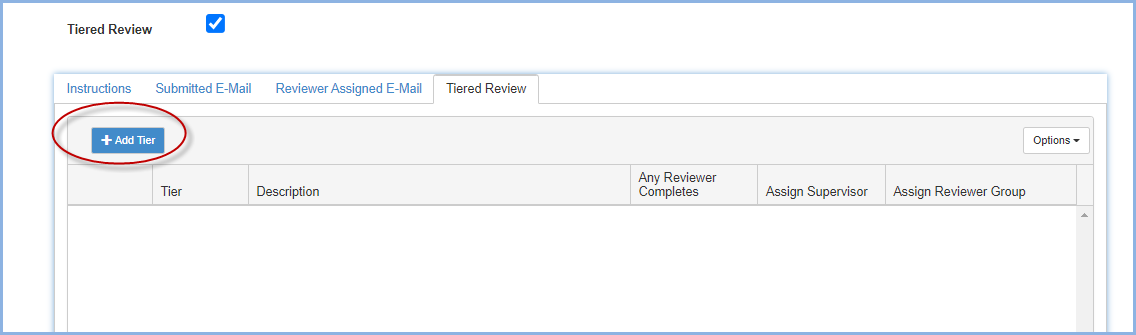
- Tiered Review - The Tiered Review box allows for the entry of multiple reviewers that have sequential review of the specific form. It should only be used if there are individuals that you require a review from that are not part of the overall review group. This is the most complex capability within the application during the review process. An example of this is a Worker Registration form that must be approved by the worker's supervisor. This supervisor can be the PI or it could be simply the individual that the submitter reports to. The application will auto-populate the supervisor of the submitter if the supervisor is linked within the submitter’s worker record. If the supervisor is not listed, you will ask a question as part of the submittal: "Who is your supervisor?" or "Who is the PI that you report to?". This allows that the setup will show that the supervisor/PI must review the form initially before the form is submitted for review by a specific committee or approval group. Once the supervisor/PI approves the form, an auto-email with the specific URL will be sent to the next individual and/or committee for review. The following tab will appear once the check box is checked.
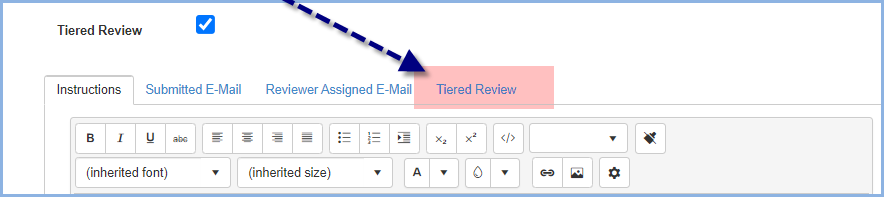
- Tiered Review Tab - The Tiered Review Tab controls the documentation of those submittal forms that require a sequential review and/or signature. The following lists the steps required to enter the required review/signature sequence. Remember that this Tier Review is only used if there is a requirement to send the specific form for review/approval to a specific person who is not part of the committee approval process. Those reviews may be entered as a default for a specific form entered.
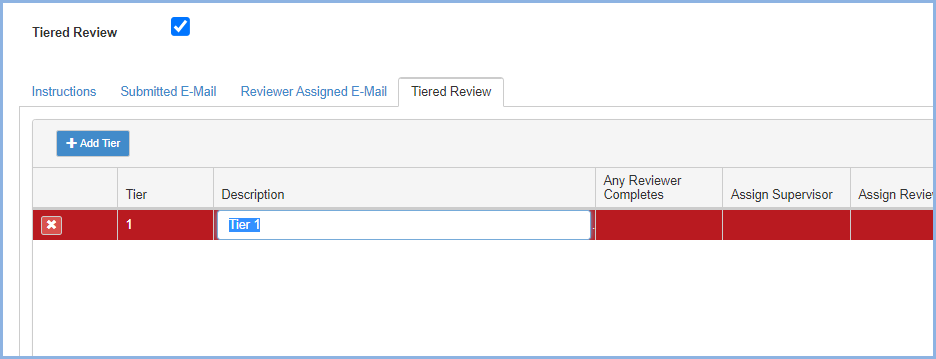
- Click the [+Add Tier] box to add a Tier.
- Add the tier information:
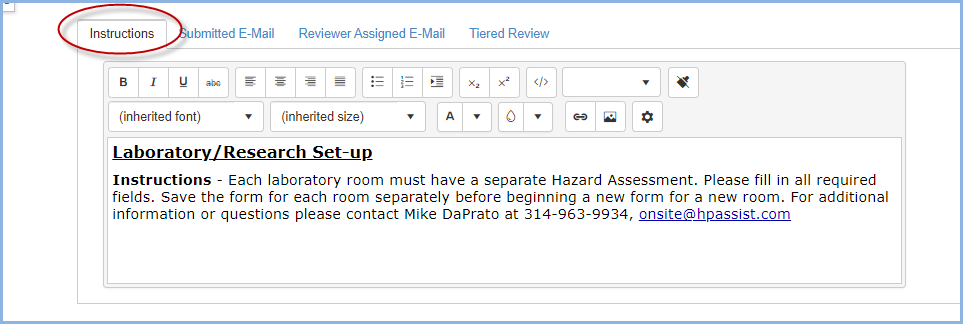
- Instructions Tab - Enter any instructions that are appropriate for the form being entered. This includes special formatting with colors, type style changes and the ability to define the purpose for the entry process required.
- Submitted E-Mail and Reviewer Assigned Email Tab - This tab is used to enter the notification emails after an individual has submitted a new form.
- Reviewer Assigned Email Tab - This tab is used to enter the information sent to the reviewers when they are assigned to reivew a form.
- Click [Save] to save all entries made on this screen.