Introduction
Introduction
Welcome to On Site Systems Environmental Health & Safety Assistant (EHSA). Please select from the help topics listed in the Table of Contents.
[Help] button links to the individual topics that can be found in the upper right corner of screens throughout the program.

Getting Started Topics
Edit Labels:
The Edit Labels function is available on various screens. This feature allows the ADMIN user to customize field Screen Labels for their database.
This function is available on any screen where the [Edit Labels] button is available.
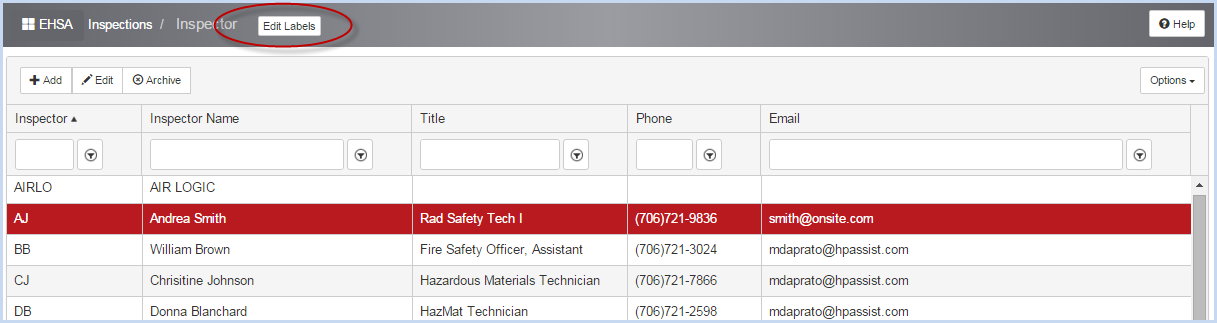
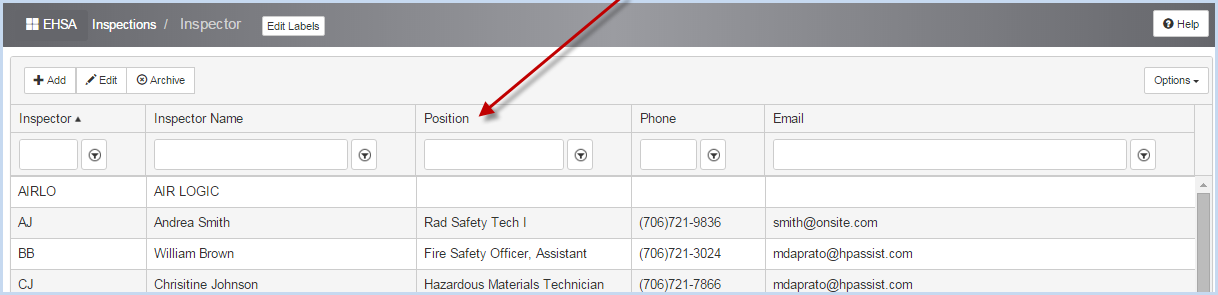
- For example, change Inspector “Title” to “Position” in the screen above. Click on [Edit Labels]. The Edit Labels/Hide Fields pop-up screen will open.
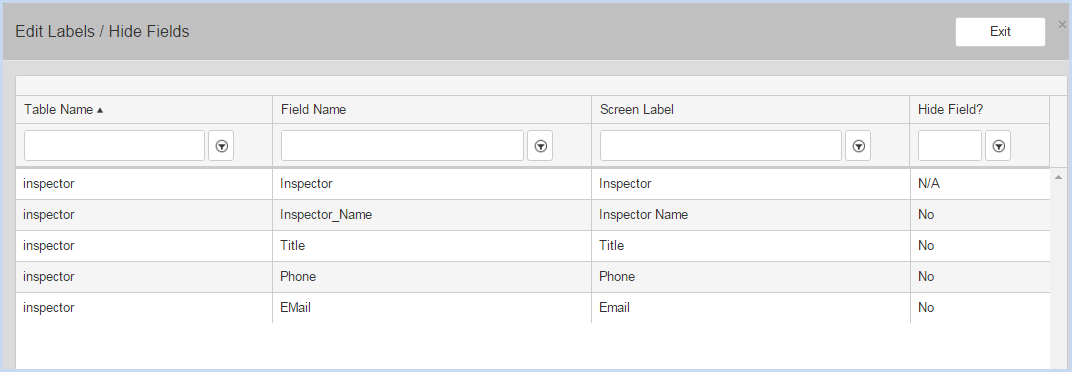
- Click/highlight the row for the label you want to edit. Click on the Screen Label for the Title.
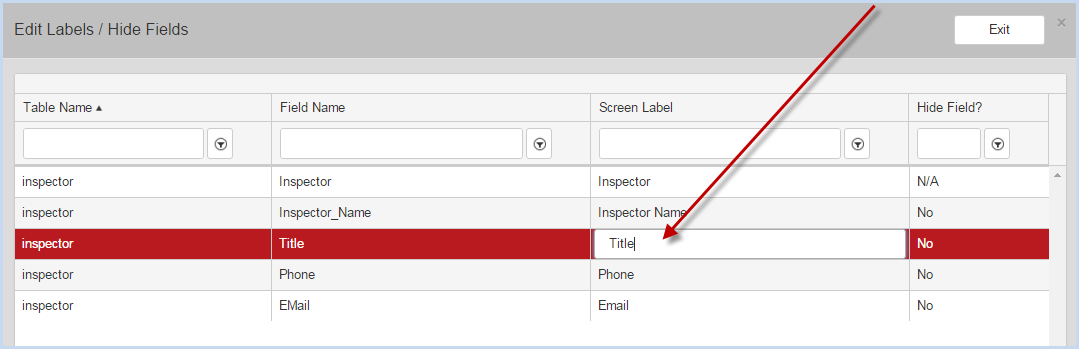
- Edit the Screen Label(s) as needed and hit the [Tab] or [Enter] key. The confirmation box will appear. Click [OK] and then [Exit] to close the screen.
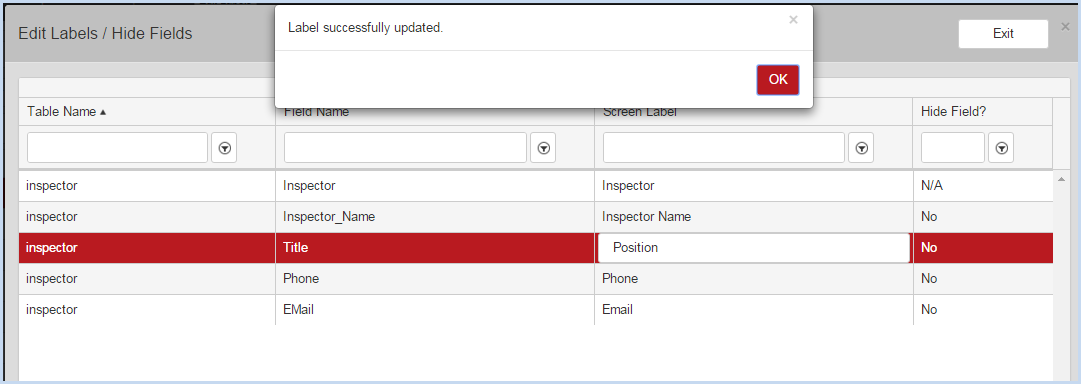
- The new screen label is shown on the screen below.
- This change is reflected on other screens where the field appears.
- Please note, the help documentation refers to the original names of fields. Administrative users are responsible for tracking their custom labels and modifications and notifying users.

Customizing Column Order Display:
Users can rearrange the display order (left to right) of the columns on any grid view screen. Custom column heading order can be set and saved for each individual login.
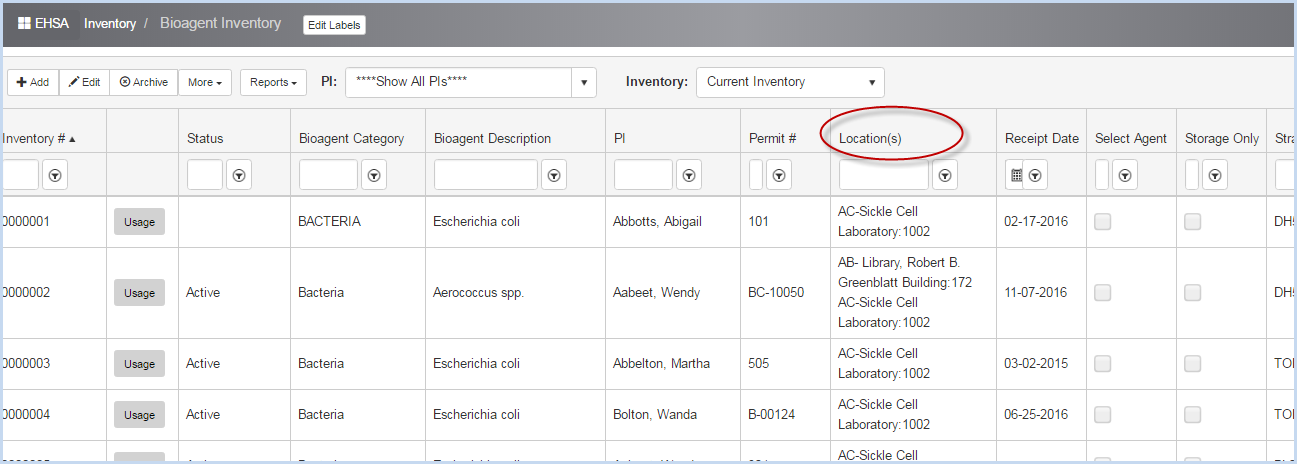
- For example, when opening the Bioagent Inventory screen, the view appears as shown below.
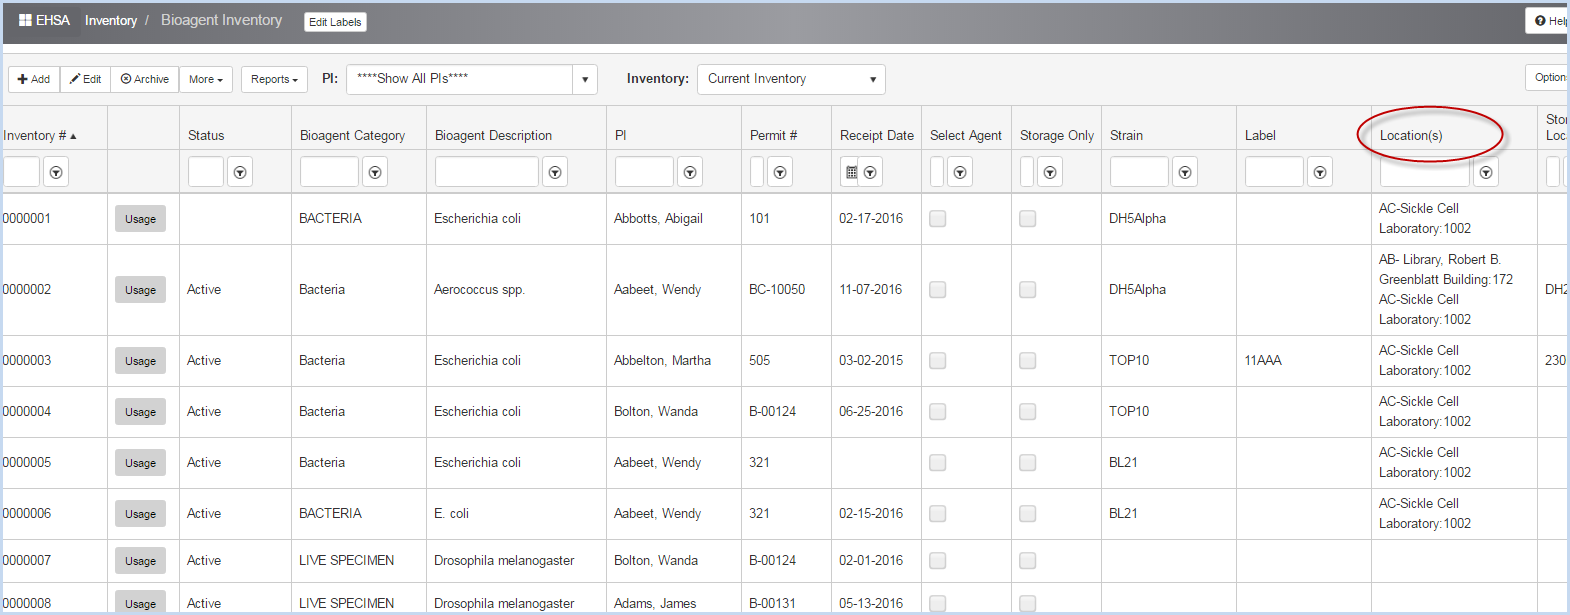
- Click on a column header and drag it to a new position to rearrange the view. For example, click on the Location header above and move between Permit # and Receipt Date columns.
- The view will now display the Location column in the position selected as shown below.

- To save any new settings for your individual login, select Save Settings from the Logout dropdown options.
- If you do not save the setting changes, the program will revert back to the defaults next time you login into EHSA.

- A confirmation pop-up box will appear.
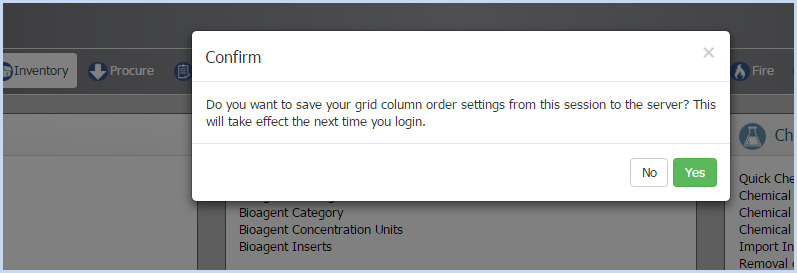
- Click [Yes] to save the grid column order settings, or [No] to go back to the default.
- If [Yes] is selected, the program will confirm the new settings have been saved.
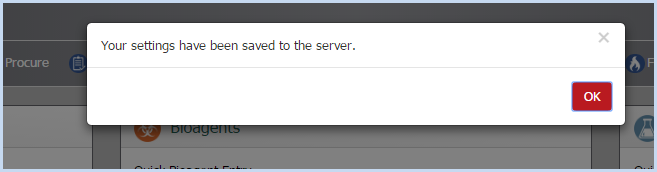
- The next time the user logs in, the new settings will be displayed.
- To Clear Settings and return to defaults, select Clear Settings from the Logout dropdown options.
- A confirmation pop-up box will appear.
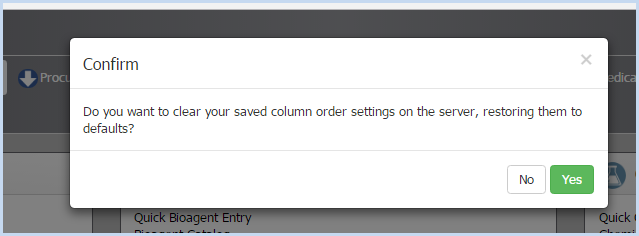
- Click [Yes] to clear column order settings, or [No] to leave as selected.
Sorting Data Views on Screen:
There are various ways to make the data easier to view. Any on-screen list can be sorted by clicking on the column header. Click and drag a column header to the left or right to rearrange the horizontal view order. The data can also be grouped by the column header fields. Use filters for column data in columns to view specific
Sorting: Click on any column in the header row to sort by that column.
An upward arrow indicates the sort is A-Z, oldest to newest, 1 to 10, etc. 
A downward arrow indicates Z-A, newest to oldest, etc. 
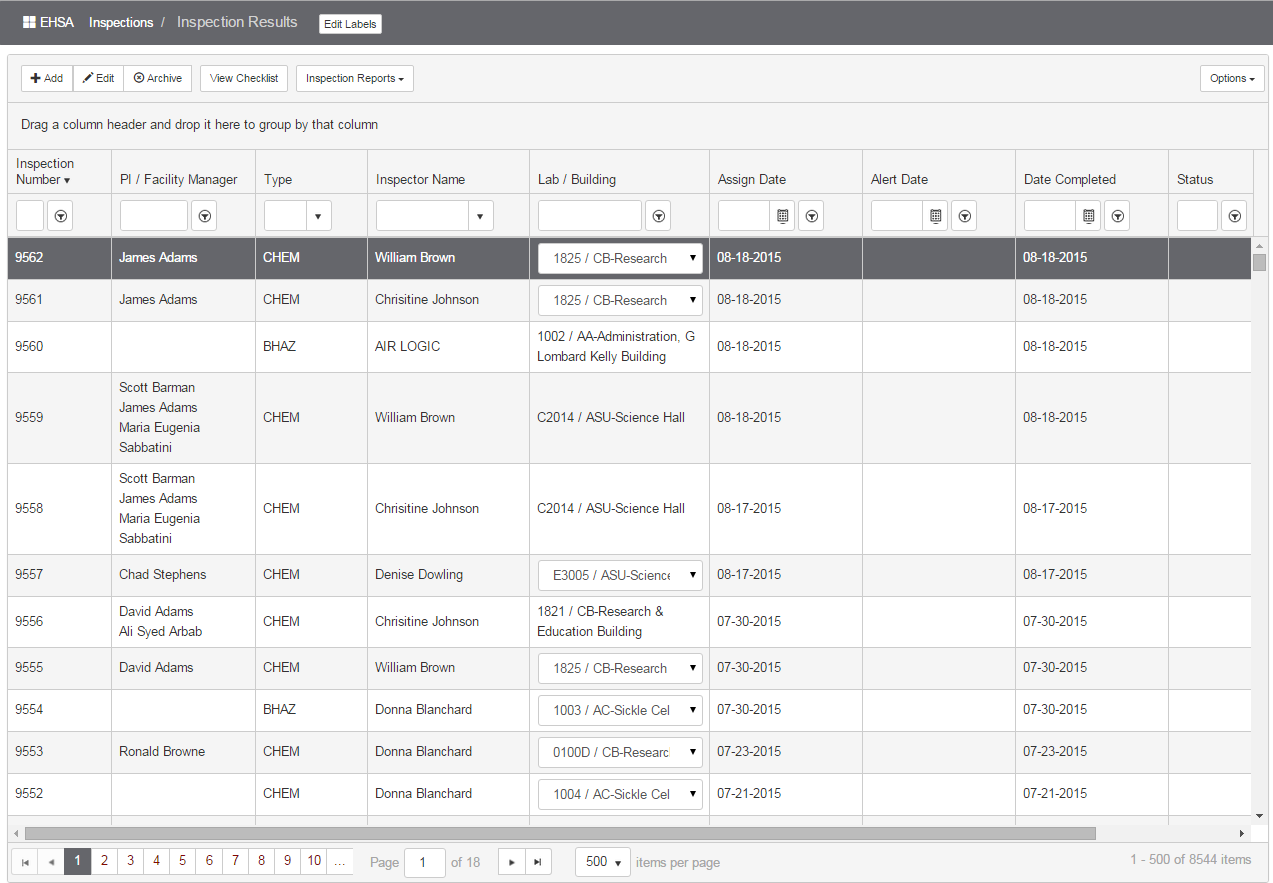
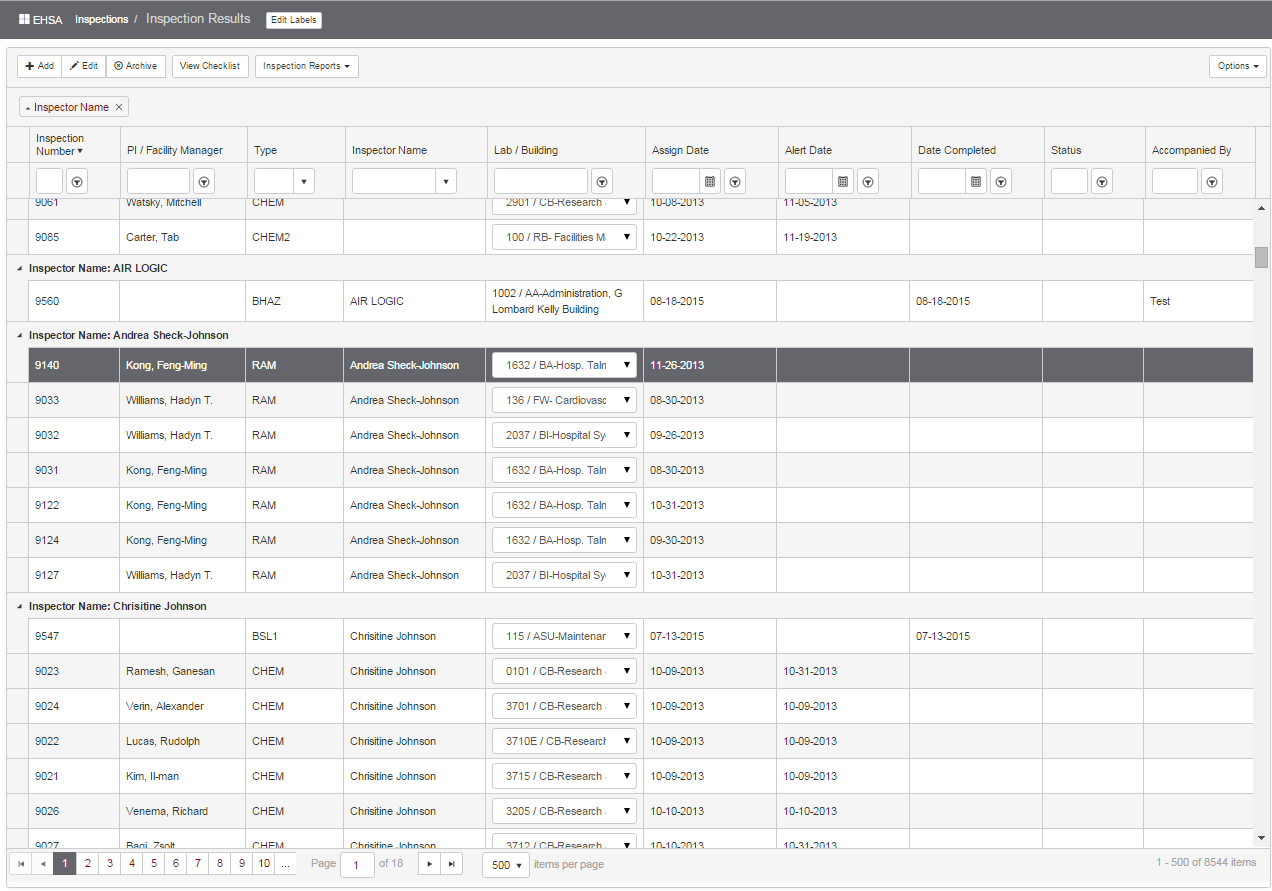
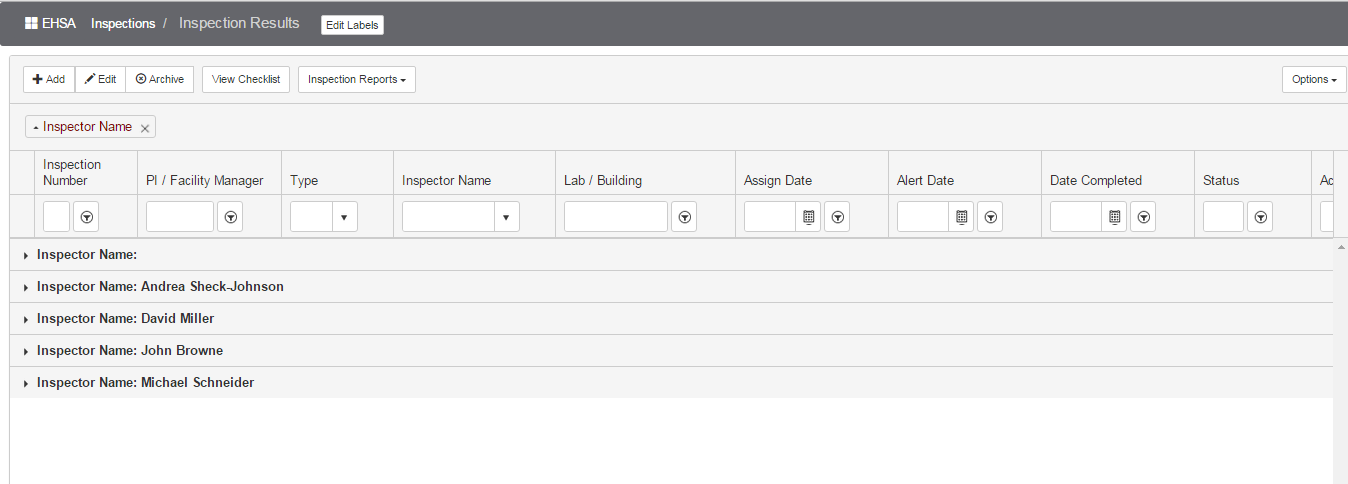
Drag a column header to the area above the header row to group by that column. The inspection list below is sorted by Inspector Name.
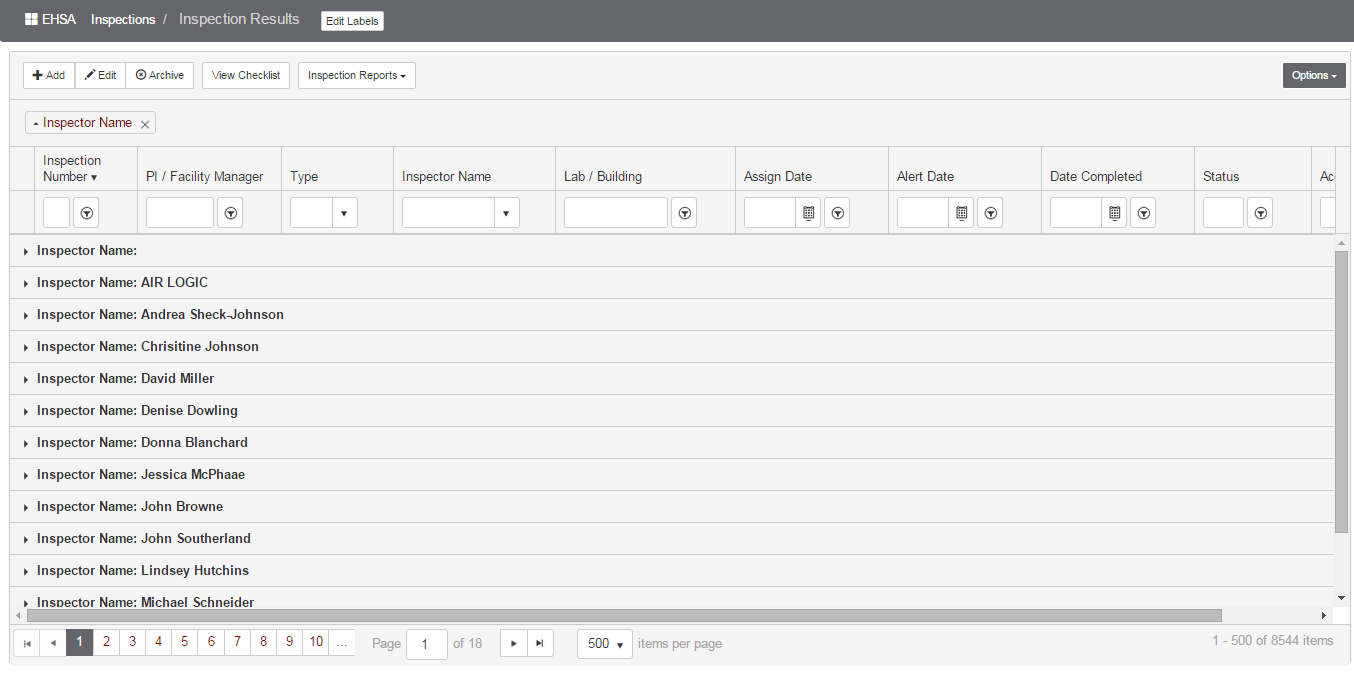
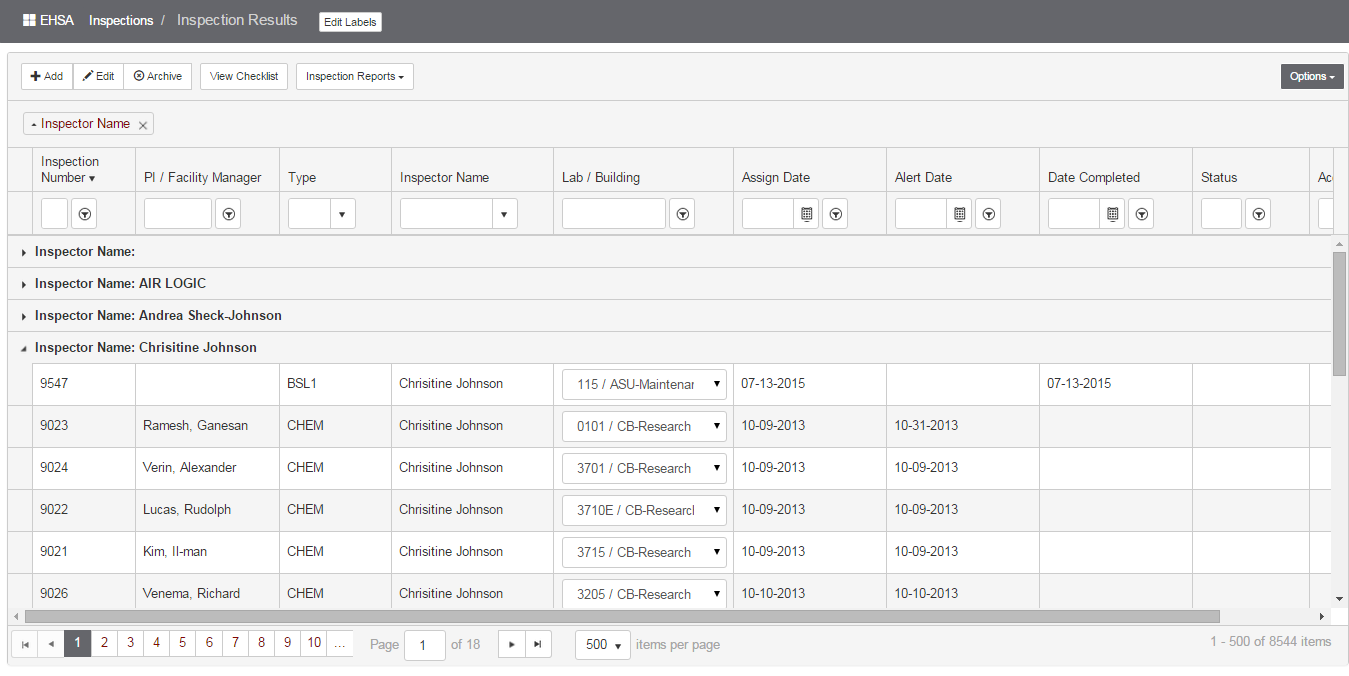
Click the right arrow beside an Inspector Name to view all inspections for a selected inspector.
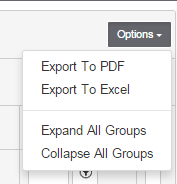
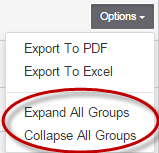
Options - Export to PDF or Excel:
The Options dropdown in the upper right corner of the screen allows Export to PDF, Export to Excel, Expand All Groups, or Collaspe All Groups:
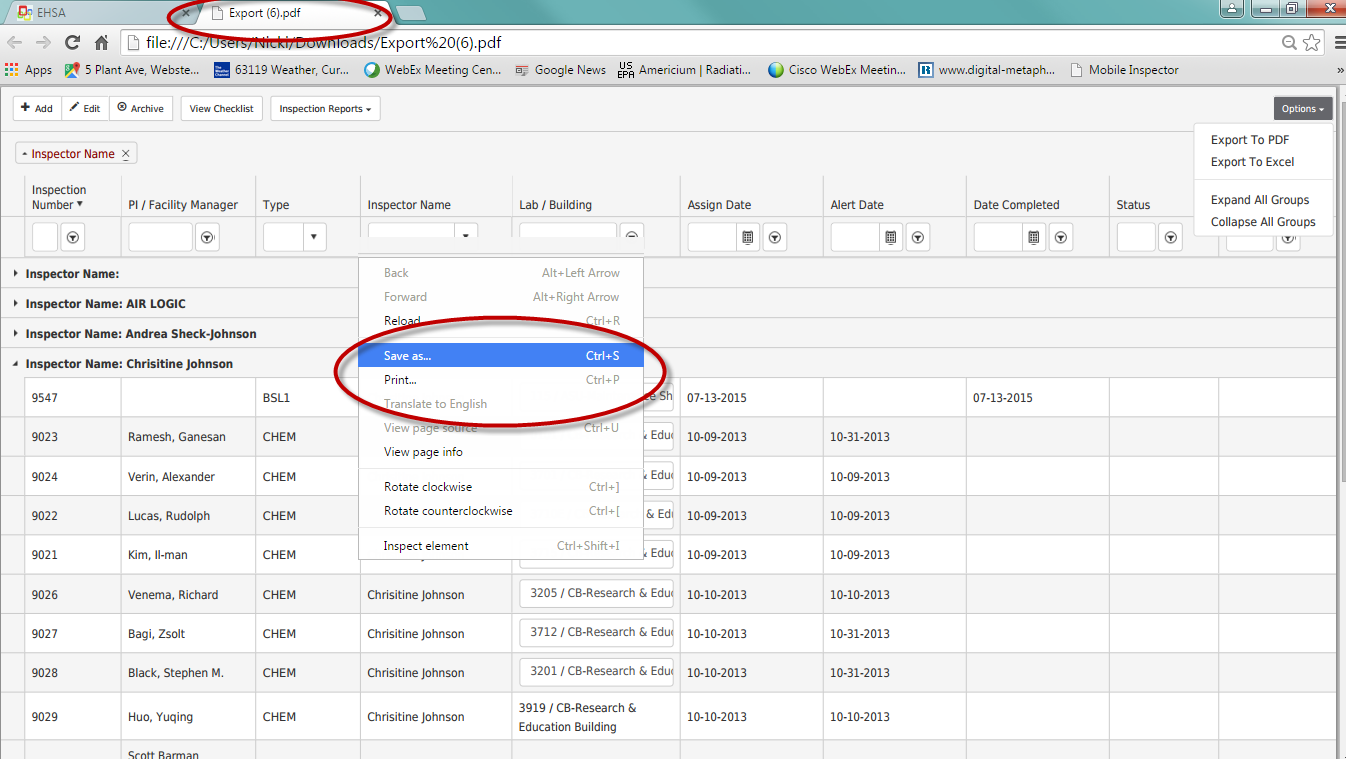
Export to PDF sends the data as shown on the screen to a PDF file. The data downloads to a PDF file and shows at the lower left corner of the screen.

This action functions as a screen shot of the data view shown. Click on the file to open the file in a new window.
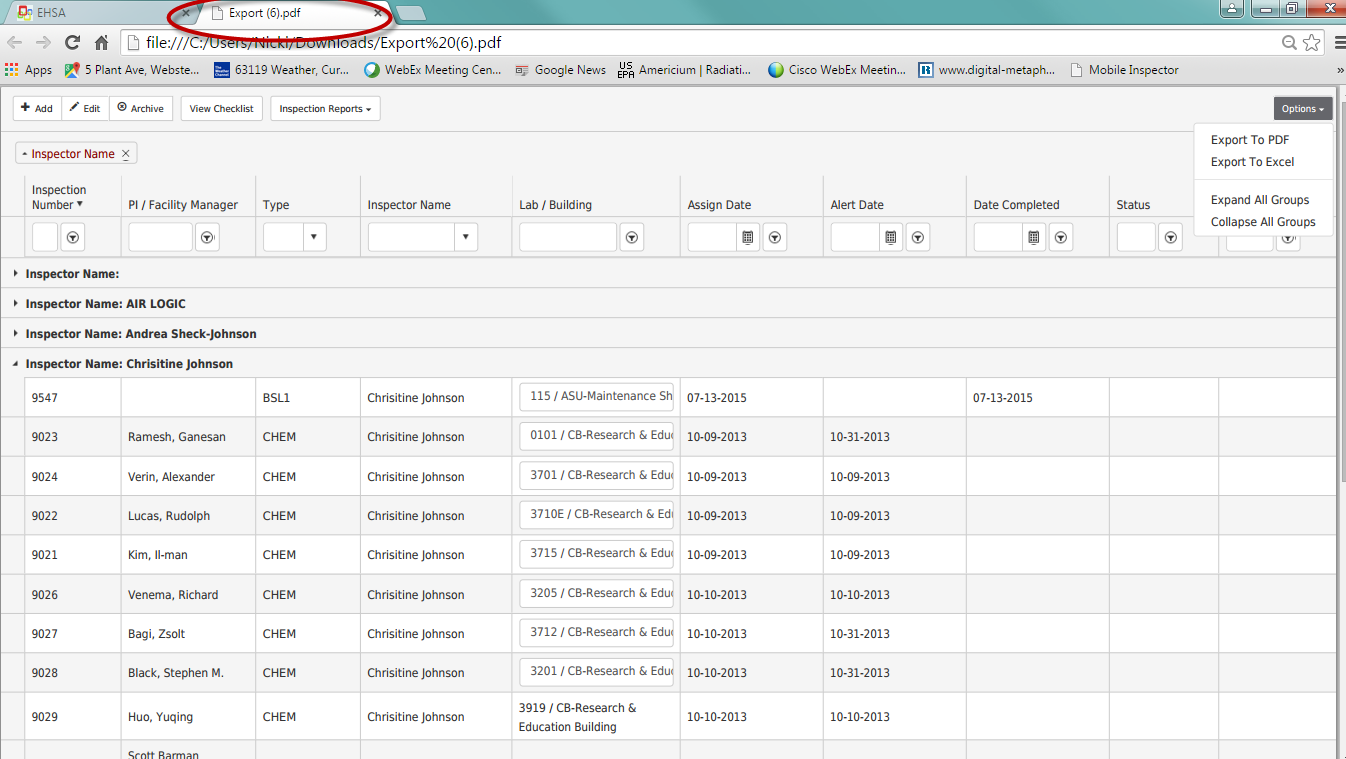
While on the PDF Export screen, right click and select Save as to save the PDF file, or Print to print. Users can also click [Contrl+P] to print.
Export to Excel will download the screen data to an Excel file. Click on the file to open.
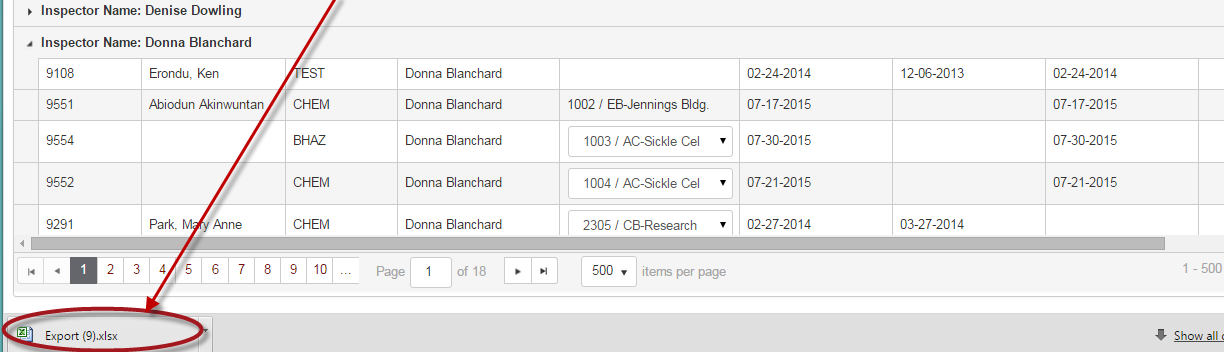
This will open the file in Excel – the user can save the file to their computer or network and modify as needed.
Expand or Collapse All Groups:
Use Expand All Groups or Collapse All Groups to view details or groups.
Expand all Groups example:
Collapse all Groups example:
Click the “x” on the label to remove the sort: 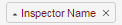
Use a Dropdown or Filter to narrow down the results on screen. Dropdown lists are available for fields such as Type:
For example, select CHEM in the dropdown to view CHEM inspections below.

Click the “x” to remove the filter: 
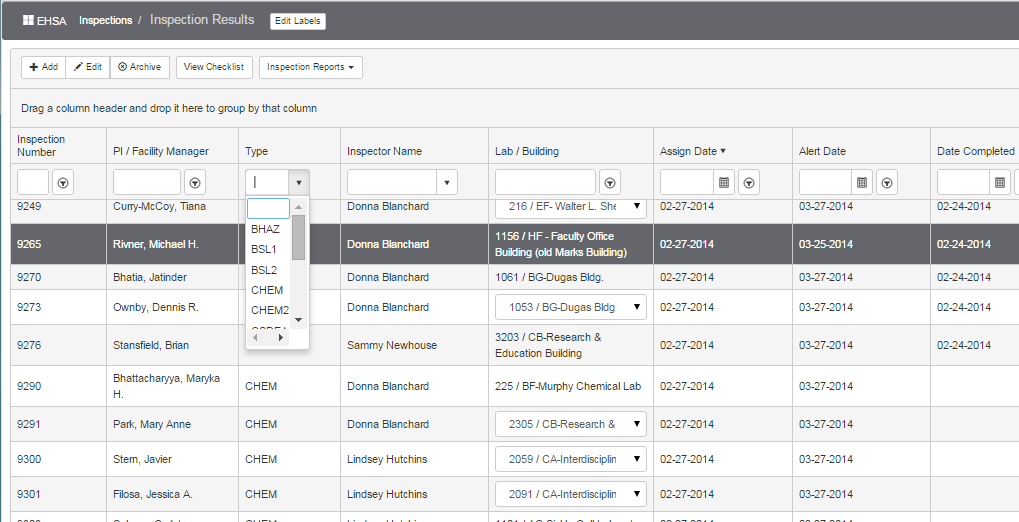
Use Filters to locate an inspection. Filter options will be available when the user clicks the down arrow on the Filter box. The default filter option is “Contains”.
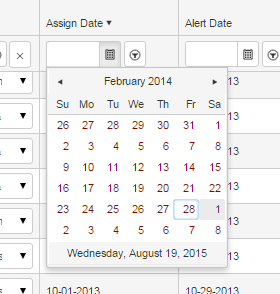
For date filters, the user selects a Date:
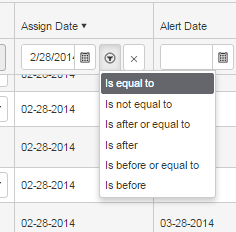
The default for a date filter is “equal to” – additional options are shown below:
If there is more than one Lab Location for the inspection, click the dropdown arrow to view the locations:

To group by column, click and drag a header label such as “PI/Facility Manager” to the area above the header row.
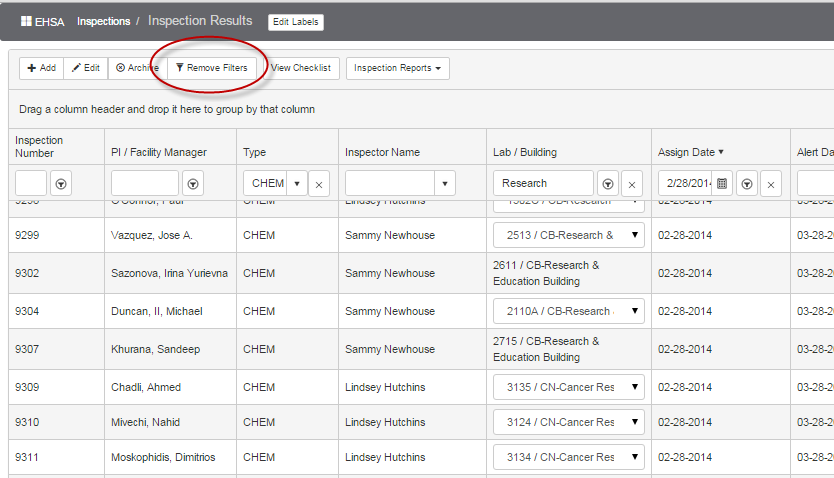
Click [Remove Filters] to remove all filters:
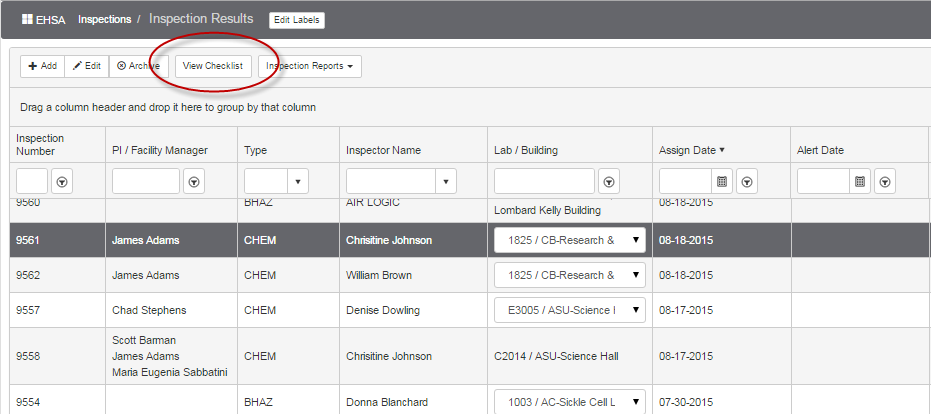
Click [View Checklist] to view the list of Violations/Deficiencies for a highlighted inspection.
The list is defaulted to “Subcategory” filter.
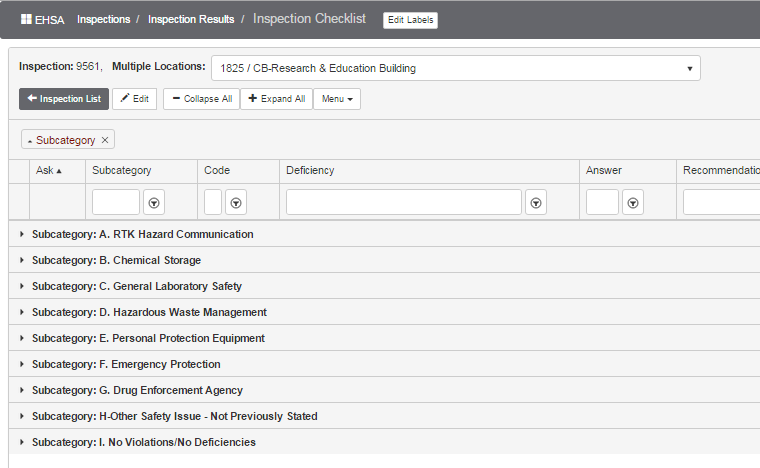
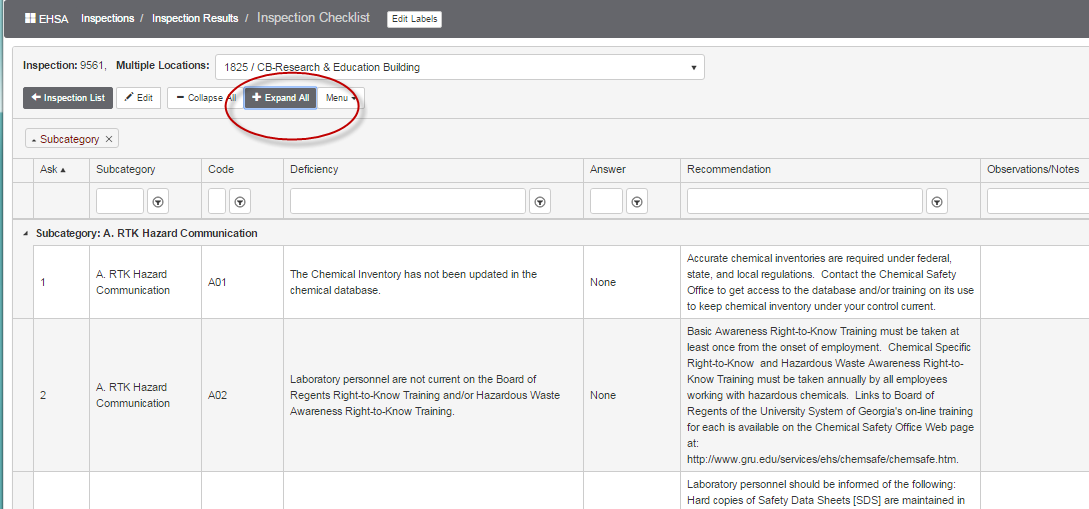
Click [+Expand All] to open the list or [-Collapse All] to close the list.

[+Expand All] has been selected:
Click the [< Inspection List] button to return to the Inspection List.
