Perform Inspection
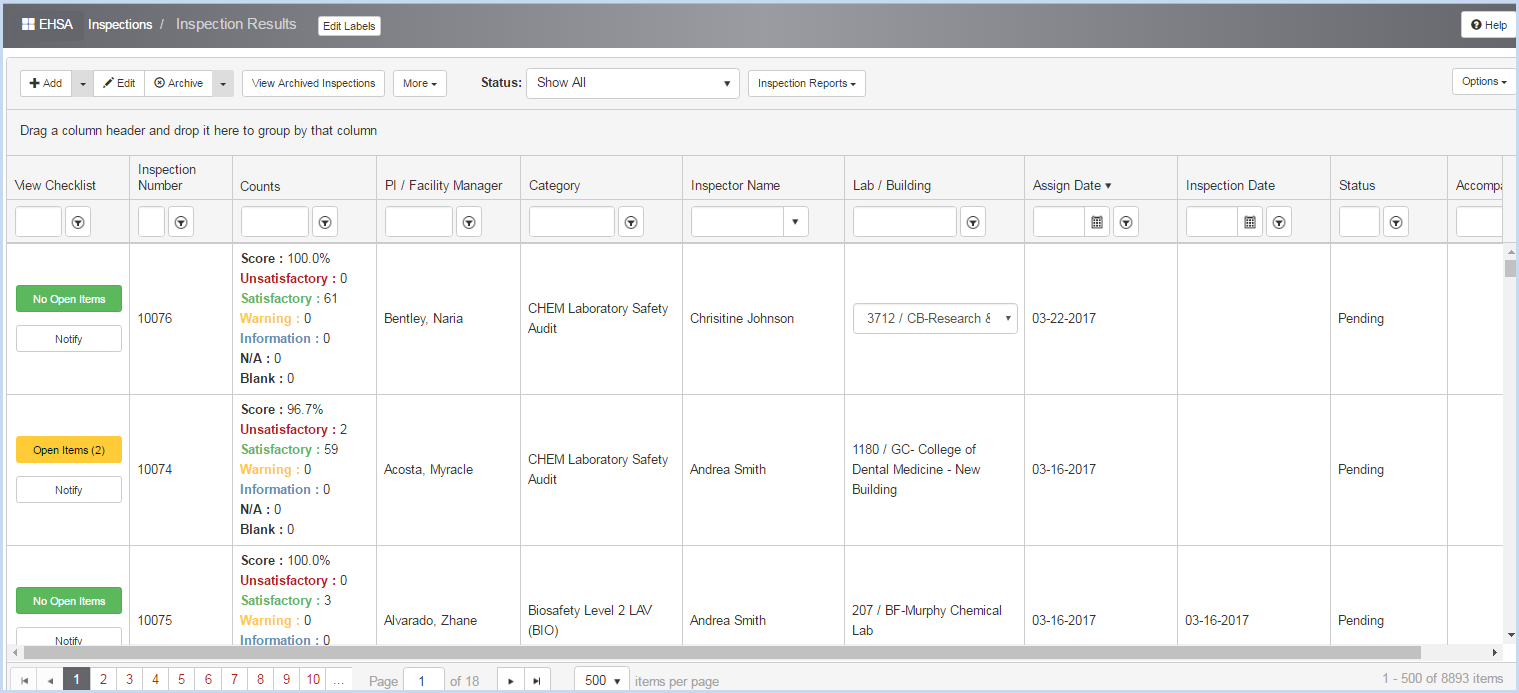
Viewing an Inspection
From the Inspection Results screen, highlight and double click Inspection to open and view and edit the Inspection information
- Enter the Inspection Date.
- Click [Save and View Checklist] button.
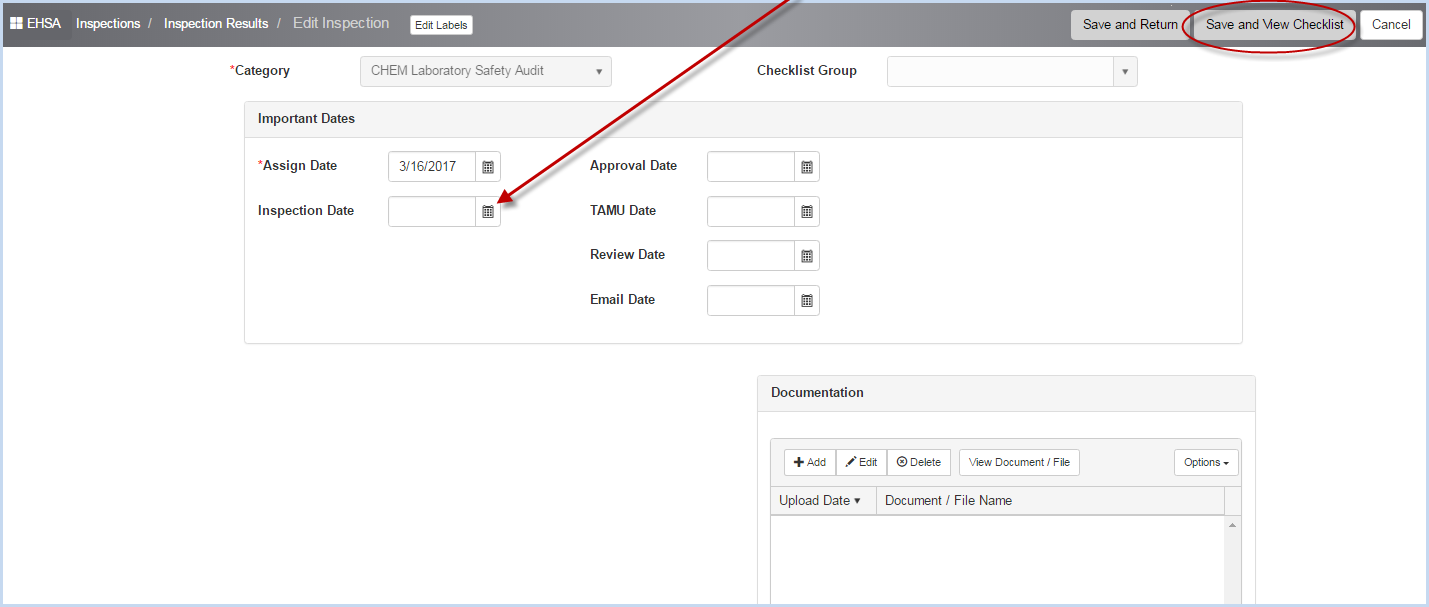
- This opens the Checklist for the selected inspection.
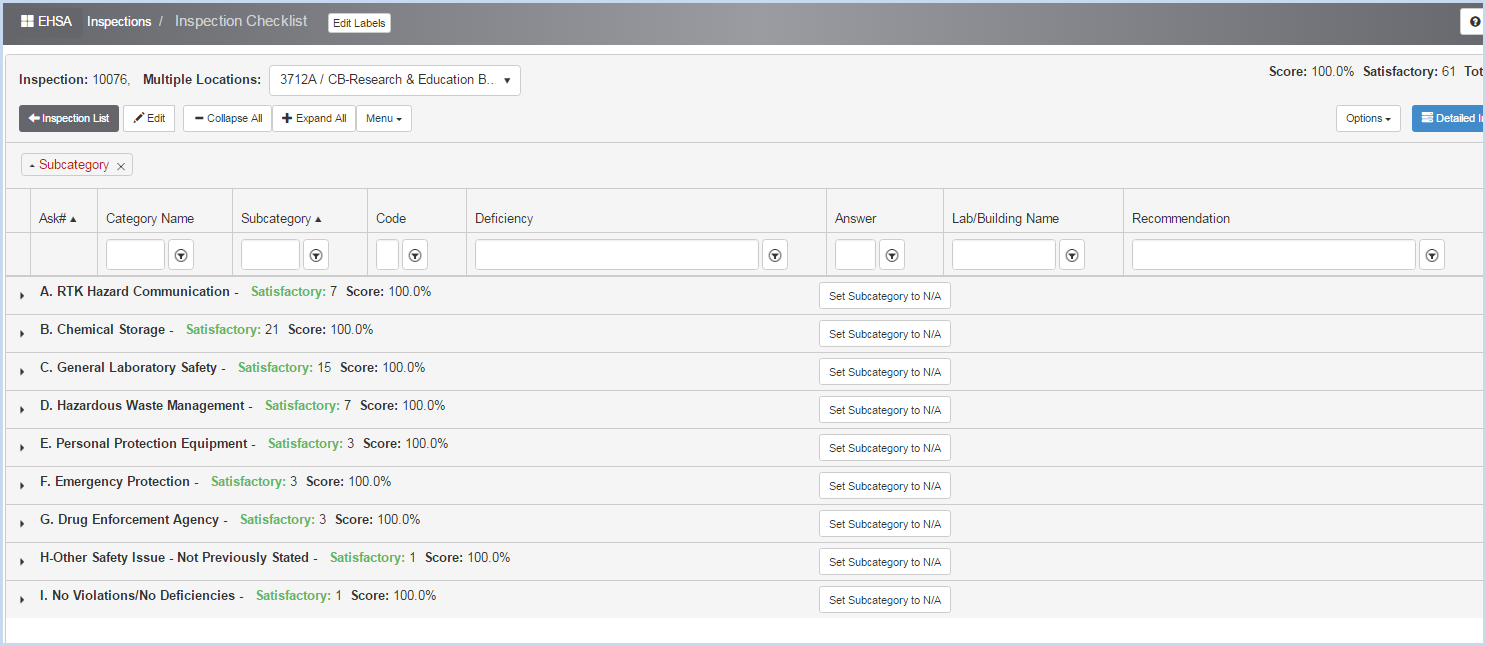
- Inspection checklist – when viewing the inspection checklist, the deficiencies in all categories are set to a default answer of No or None. Inspectors can go though each question on the checklist, and mark those that are Violations or Items of Concern, etc.
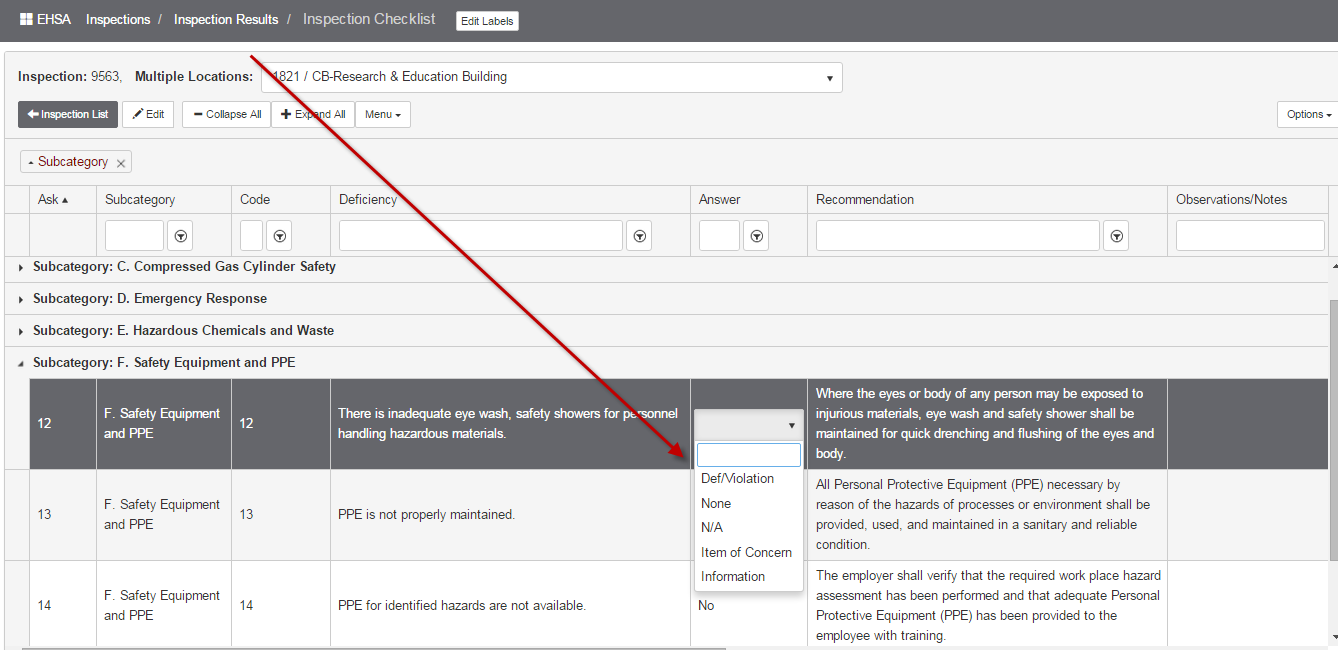
- In addition, for inspections with multiple locations, select the lab/location from the dropdown. Select N/A if the Answer applies to all labs.
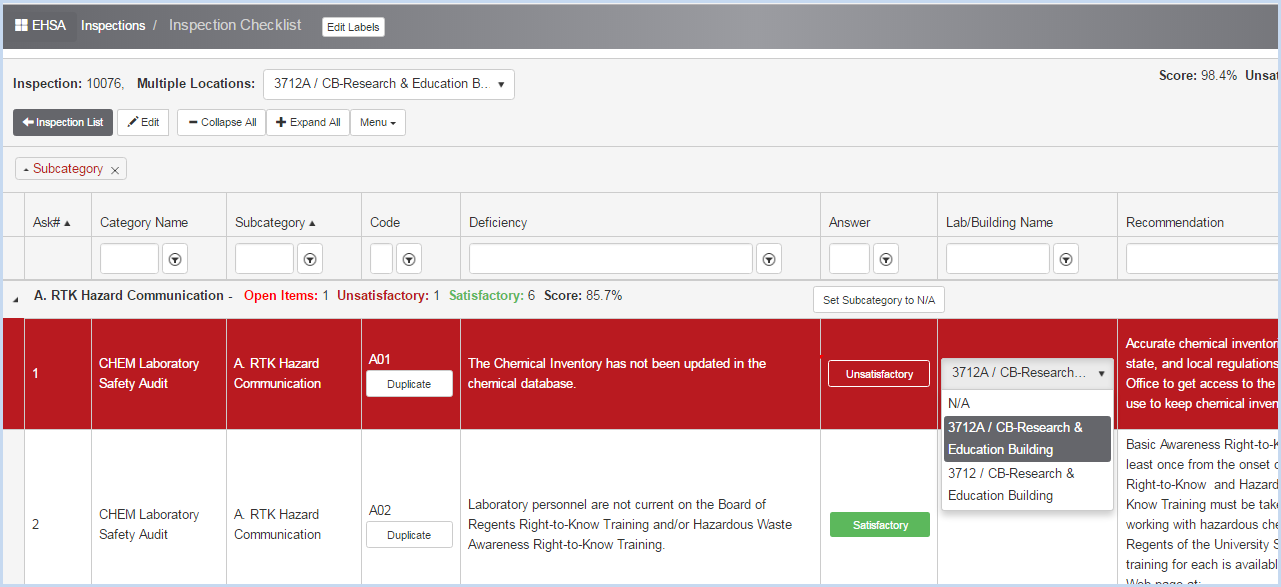
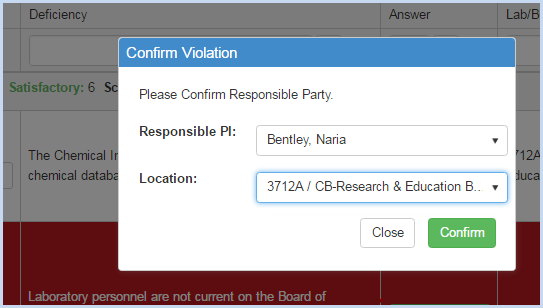
- When an item is marked as a Violation, a confirmation box will appear to Confirm Responsible Party.
- Enter the Responsible PI (if inspection includes multiple PI, you'll need to select from dropdown.
- Select the Location.
- Click the [Confirm] button to save the information.
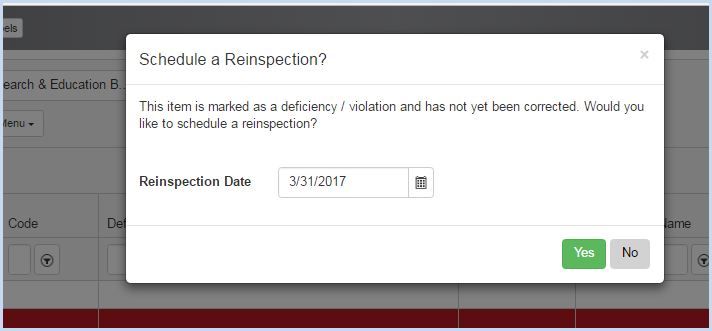
- A Schedule a Reinspection pop-up window will appear for each violation.
- Enter a reinspection date and click [Yes] to save.
- Click [No] if you do not want to schedule a reinspection.
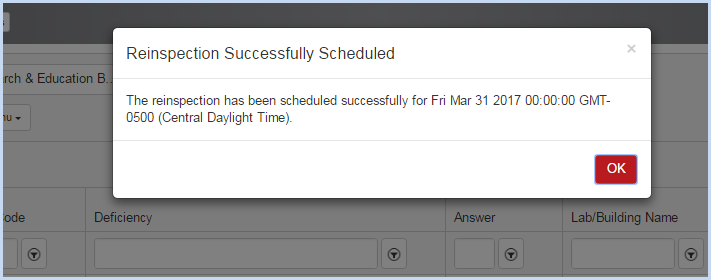
- A Reinspection Confirmation will appear. Click [OK] to close the confirmation pop-up.
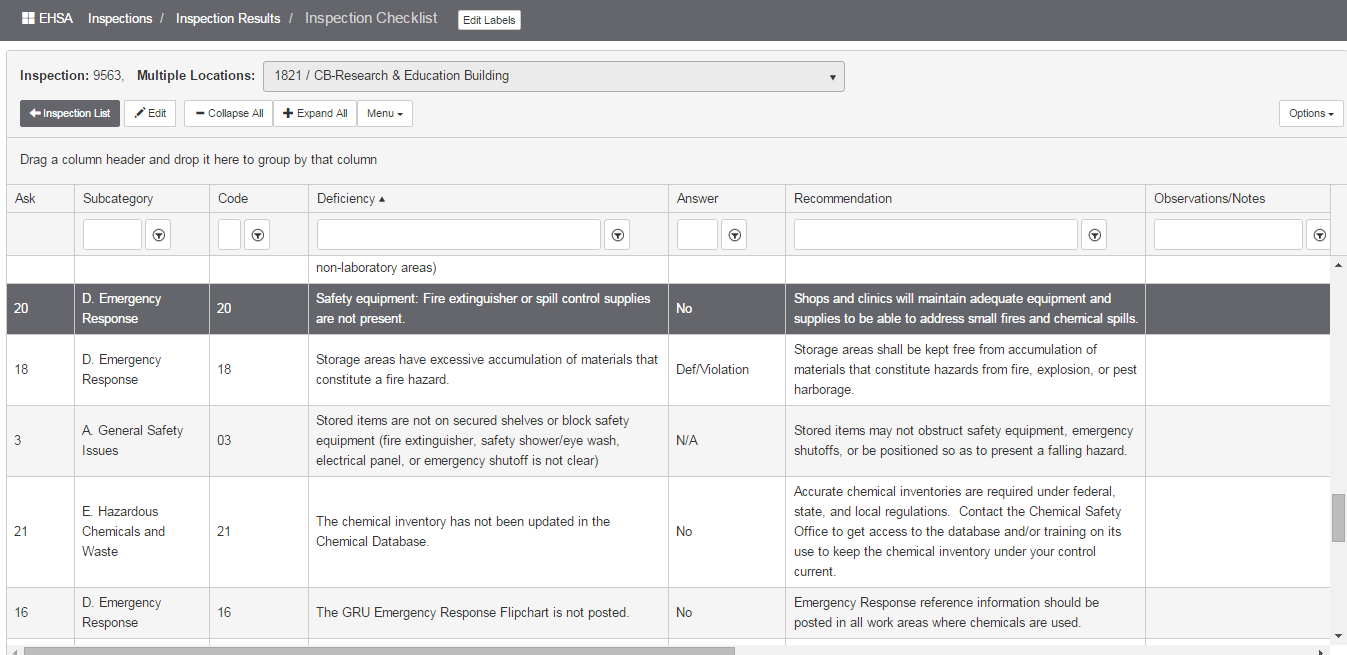
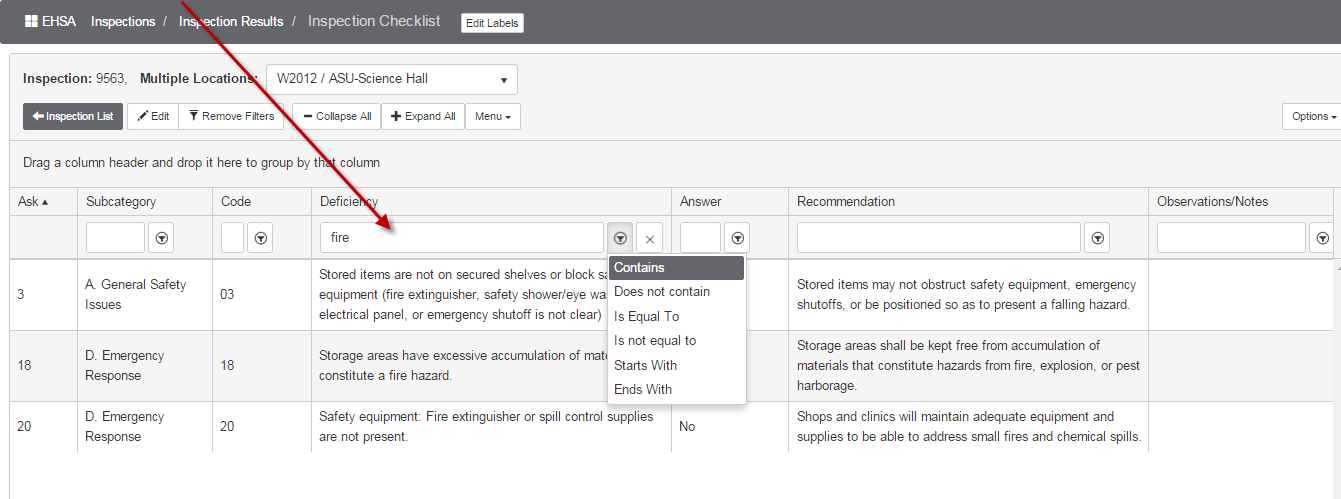
- An inspector can also use the filters to search for a particular violation, and then mark that item as a violation. For example, the inspector spots an issue with fire hazards, so he/she searches for ‘fire’ in the Deficiency field. The search returns items in different subcategories.
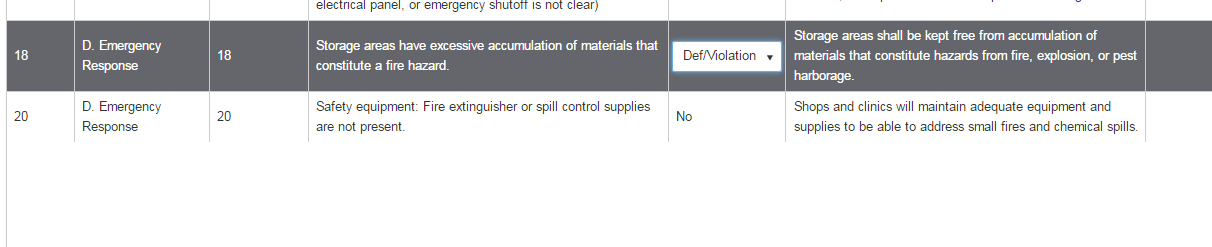
- The inspection can mark the item that is a violation or concern as appropriate.
- Click [Remove Filters] to remove the filter and go back to the list.
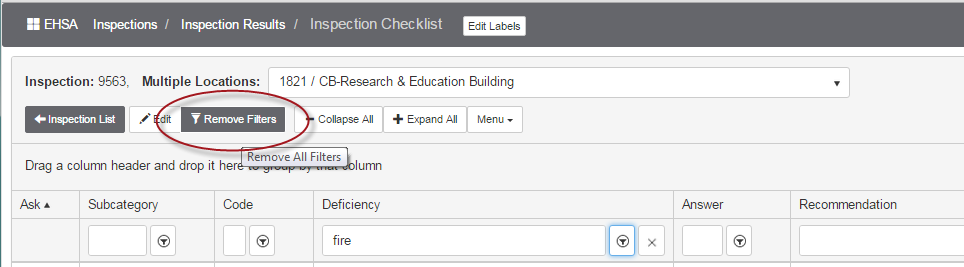
Filters removed: