Add Inspection in Inspection Listing
Add a New Inspection
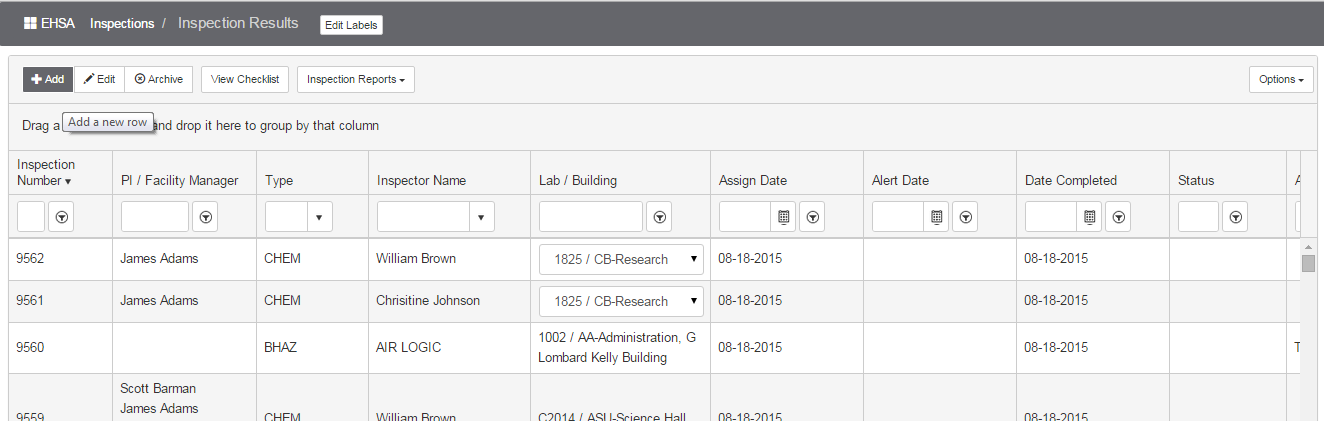
Users can also add an Inspection from the Inspection Results screen.
Click [Add] to add a new inspection:
Adding inspection:
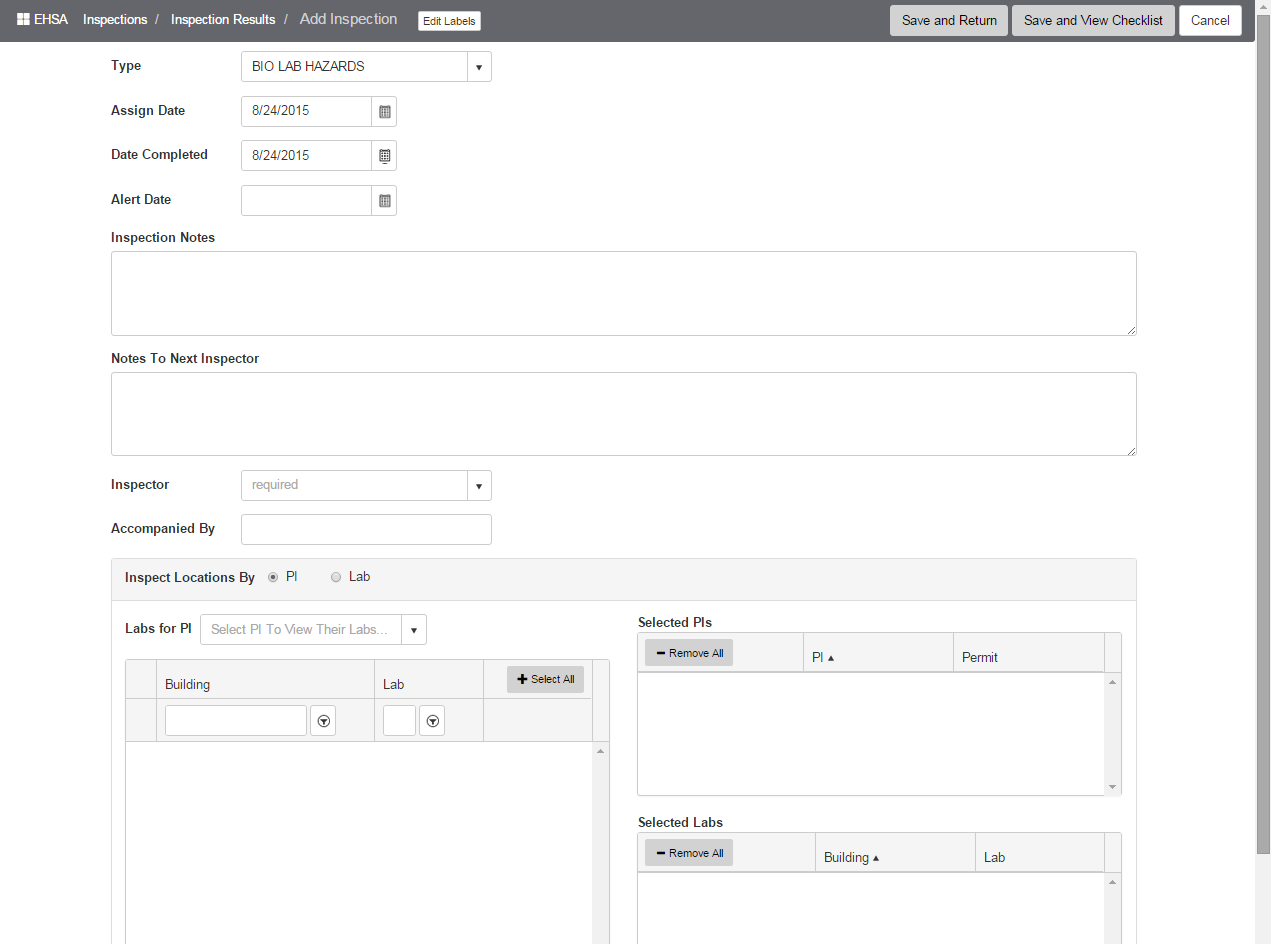
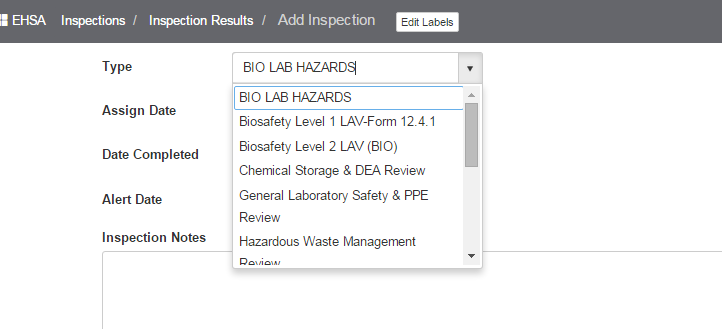
Select the Inspection Type from the dropdown list. This list will display the full name of the inspection type.
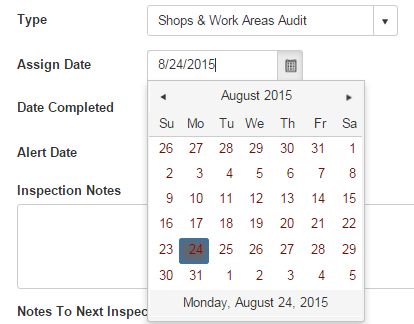
Select the Assign Date from the Date-picker calendar – the current date is the default.
If the Assign Date is in the future, you can leave the Date Completed until after the inspection is completed. The Alert Date is usually set one week after the Assign Date.
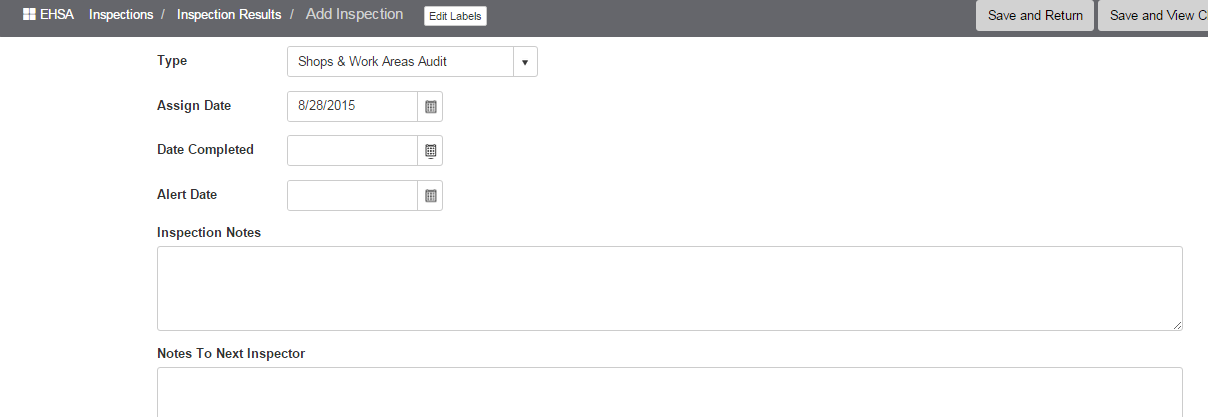
Enter Inspection Notes and Notes to Next Inspector as needed.
Inspector field is required – select from the Inspector list dropdown. If Inspector is accompanied, enter information in the [Accompanied By] field. This is a free form field. Multiple names can be entered if needed, or a description such as “Fire Marshall”.

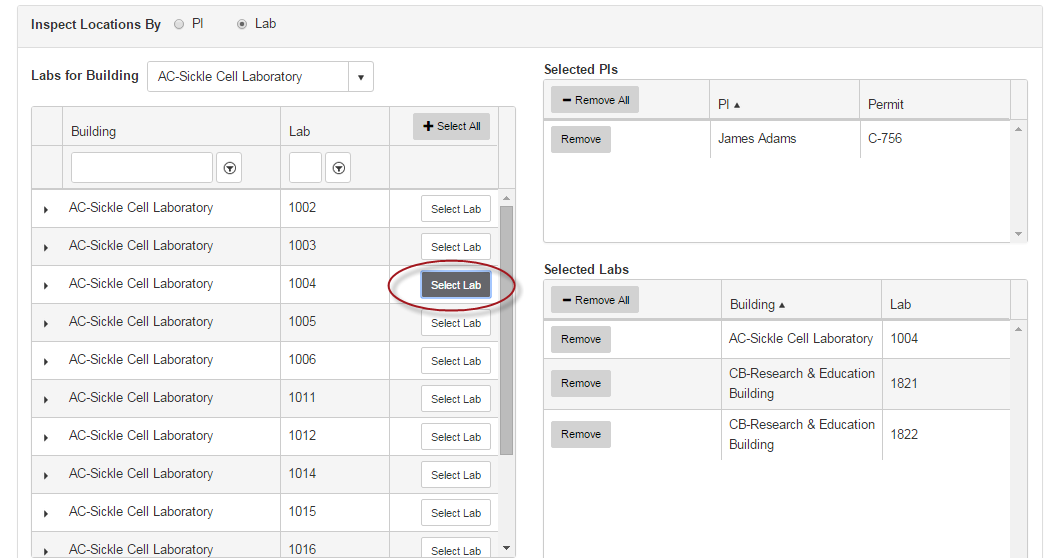
Next, select Inspection Locations By – PI or Lab. For PI, the labs attached to the PI’s permits are listed. The permitted lab list will correspond to the Permit Type of the inspection.
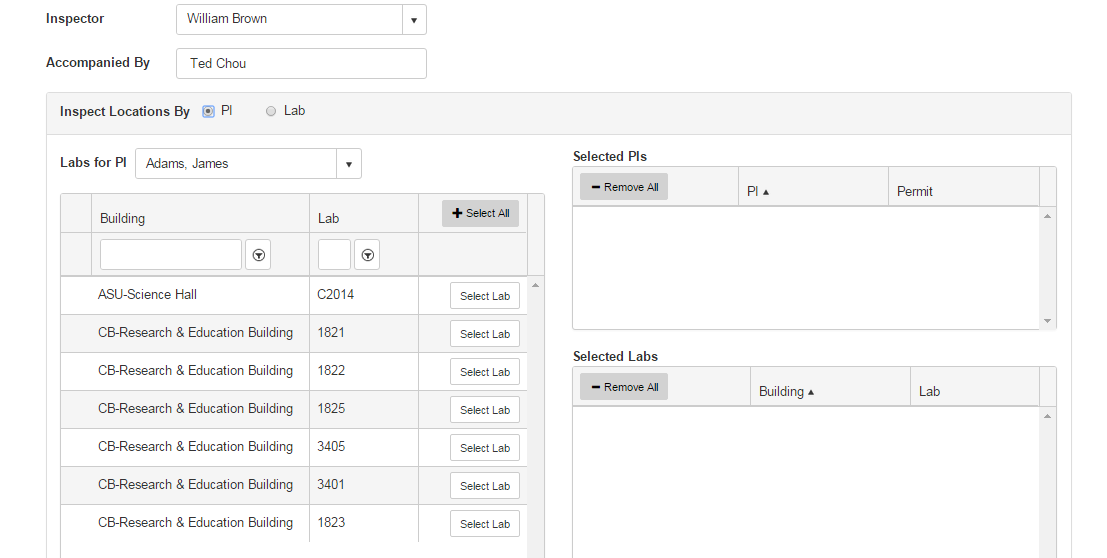
Click on [Select Lab] to select a lab and move it to the inspection list.
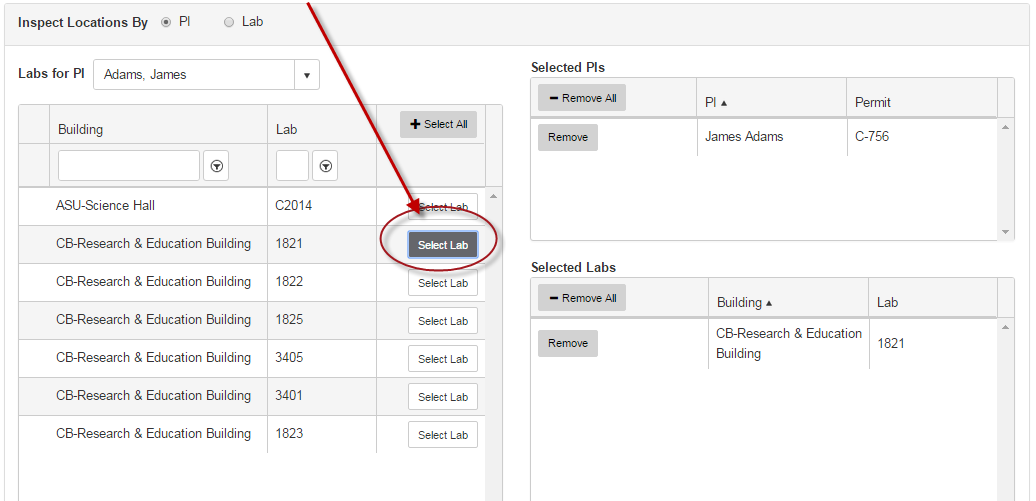
Both the selected lab and the PI will be moved to the inspection.
To add other labs not on the permit to the inspection, select the Lab radio button and select a Building from the dropdown listing.
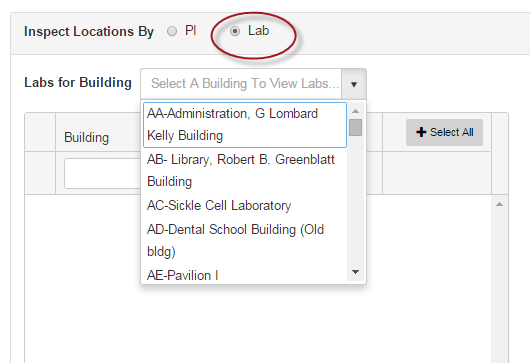
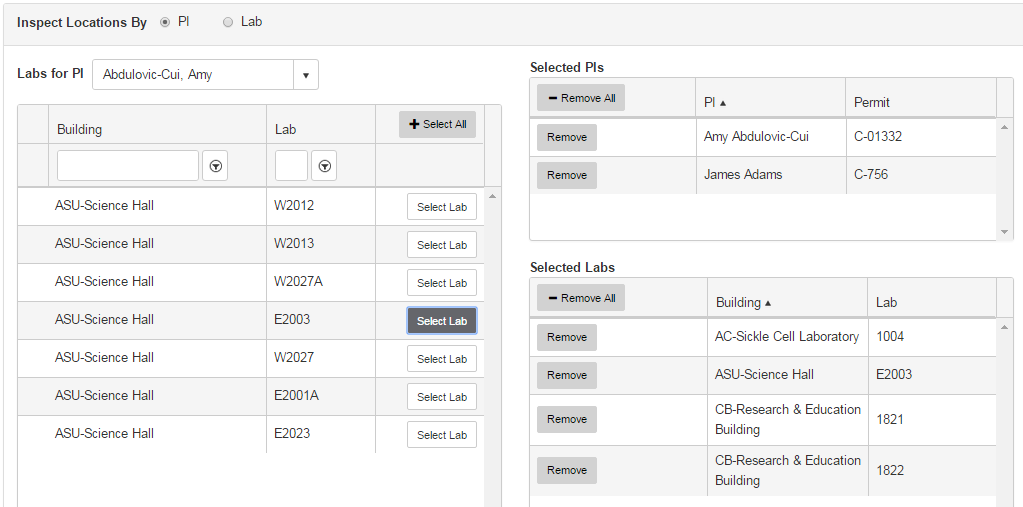
Additional lab selected and added to the inspection:
If lab or labs from another PI need to be added to the inspection, select PI and chose the PI from the dropdown, then click on [Select Lab] to add. The PI and the lab will be added.
Click [Remove] to remove a Selected PI or Selected Lab from the inspection.
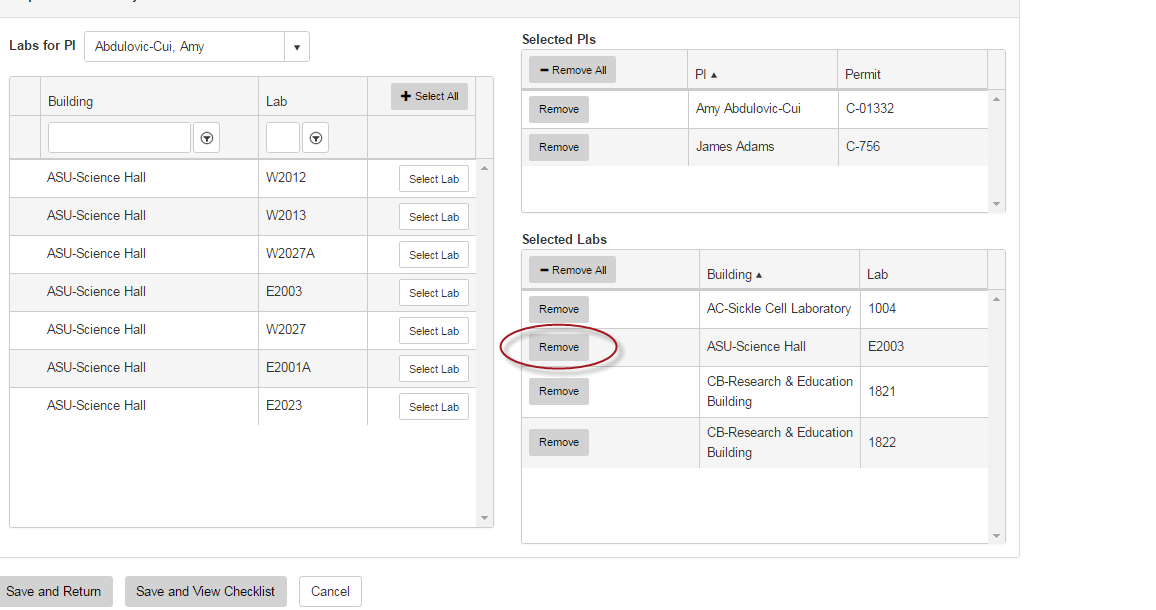
Click [Save and View Checklist] when lab listing for inspection is complete.

Click on [+Expand All] to view the list of questions.

Or, click on the Subcategory arrow to open the list for an individual subcategory.
