EMF List
EMF List
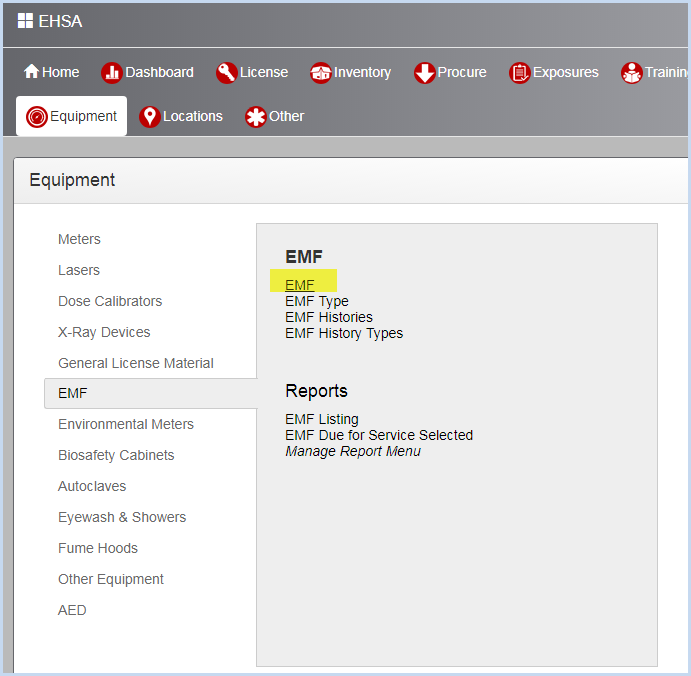
Select Equipment from the Main Menu bar. Select EMF from the EMF menu.
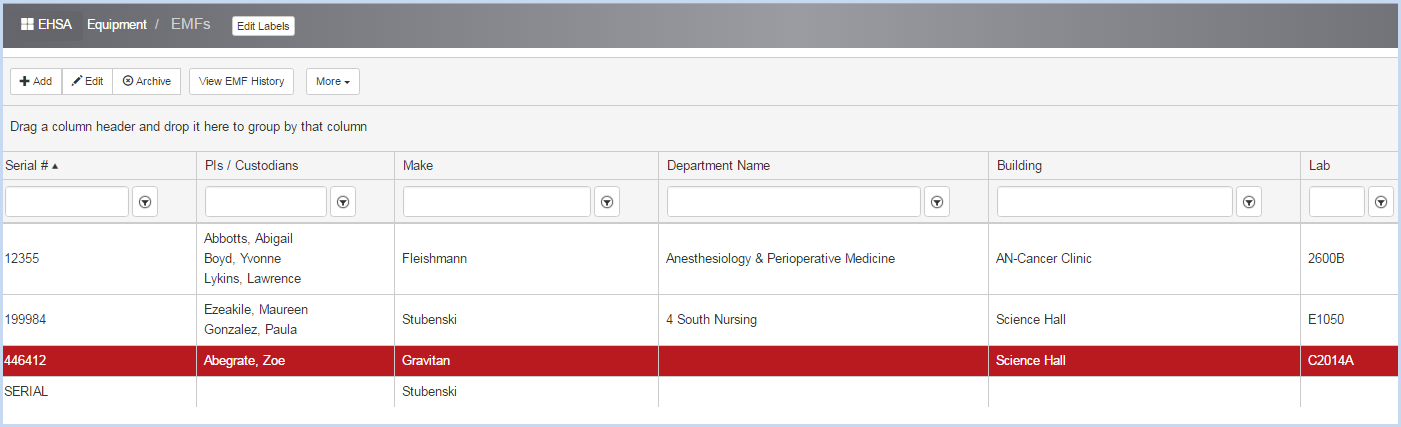
- This opens the EMF Listing Screen as shown below. Use filters and column sorting to view and find EMFs for editing.
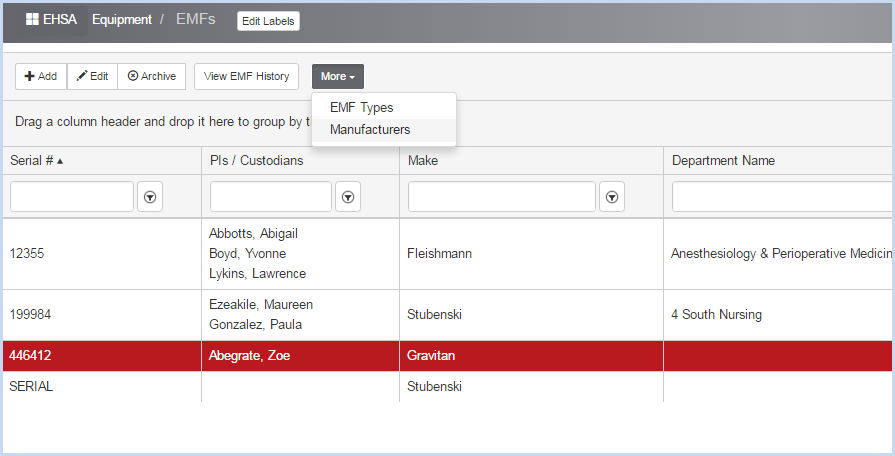
- Click the [More] dropdown to open the list of editable dropdown lists for EMF details such as Manufacturers.
- Select a list for editing. The list of Manufacturers is shown below. Select [Add], [Edit], or [Archive] to add or change the list of Manufacturers
- Click the [EMFs] button to return the to list of EMF's.
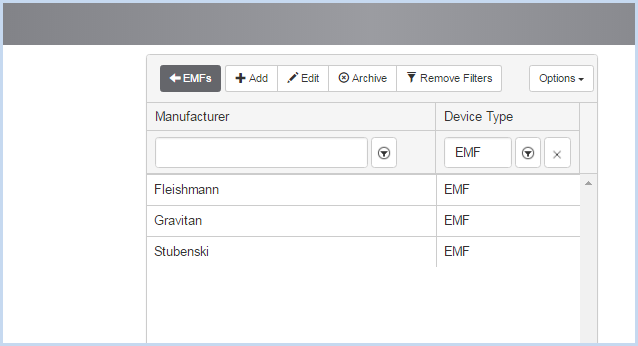
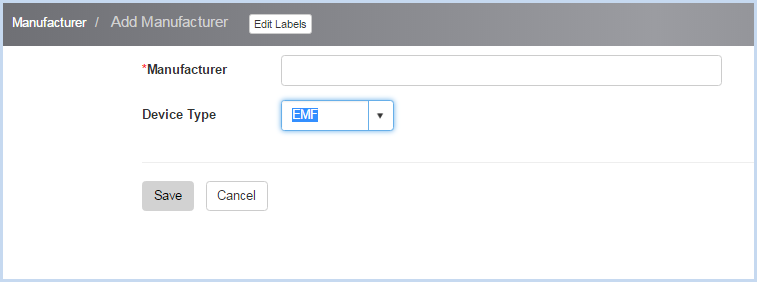
- Click [Add] to add a Manufacturer and enter information. The Device Type is EMF (EMF). Click [Save] to save the entry, or [Cancel] to discard any edits and go back to the previous screen
- Click [Add] to add a new EMF, or [Edit] to modify any existing EMF. This opens the EMF entry/edit screen.
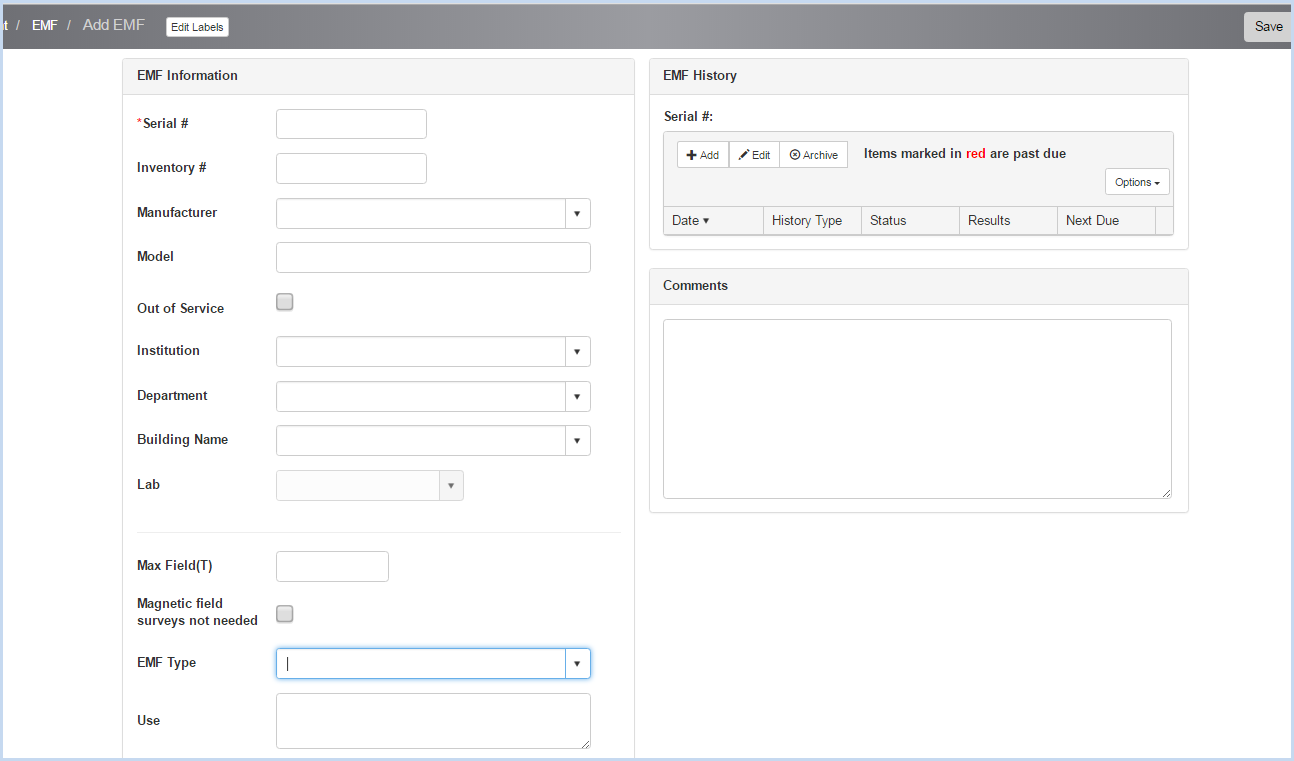
- Enter the Serial #. This field is required and is a unique identifier.
- Enter the Inventory #.
- Select the Manufacturer from the dropdown list.
- Enter the Model.
- Check "Out of Service" if unit is out of service. When checked, date field will appear to enter the Date Out of Service.
- Select Institution, Department, Building Name and Lab from the dropdown lists.
- Enter/select the Max Field(T).
- Check "Magnetic field surveys not needed" if surveys are not needed.
- Select the EMF Type from the dropdown list.
- Enter the Use information as needed.
- Enter any Comments about the unit.
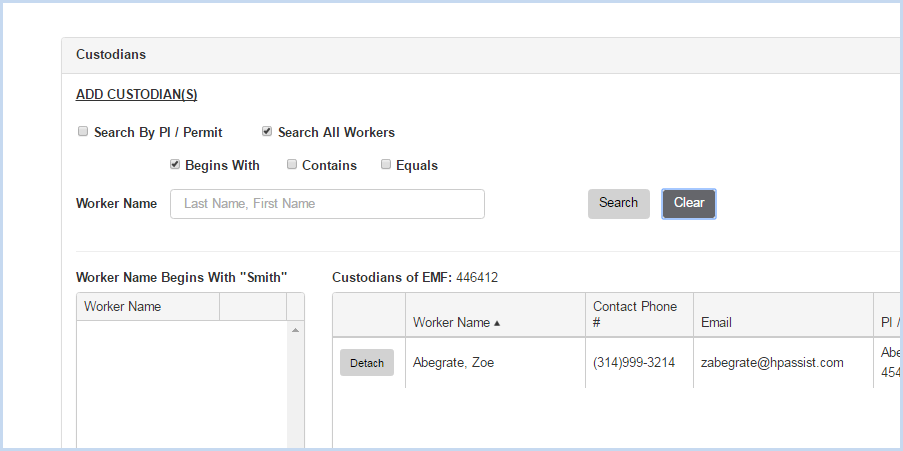
- Scroll down to view the Custodians Section shown below.
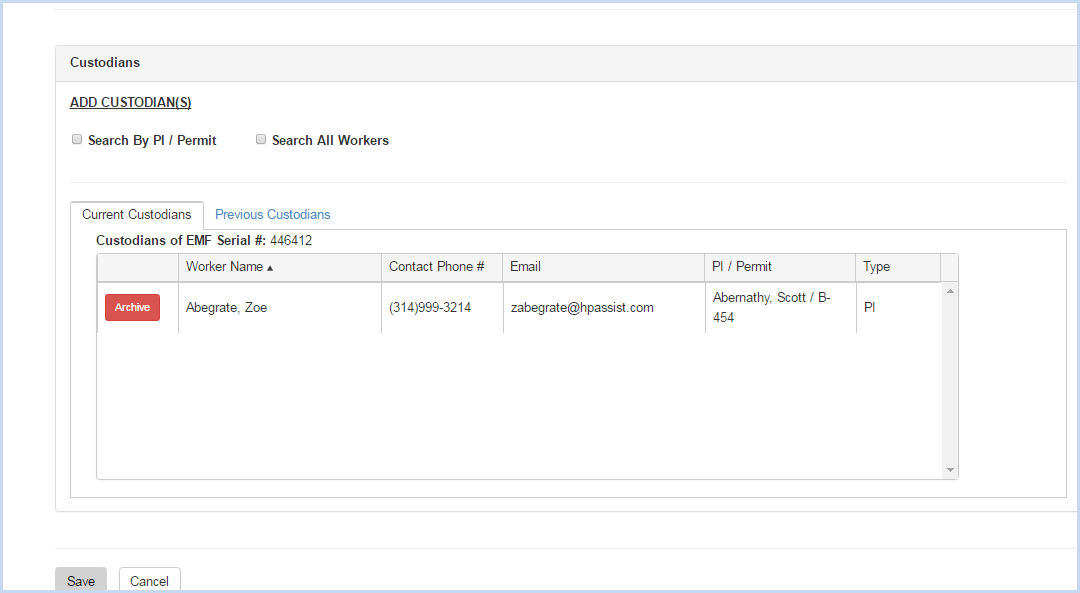
- Click the radio button for Search by PI/Permit or Search All Workers to search for and add a custodian.
- Search by PI/Permit is shown below. Select the PI from the dropdown list.
- After the PI is selected, choose one of the Permits attached to the PI from the Permit # dropdown.
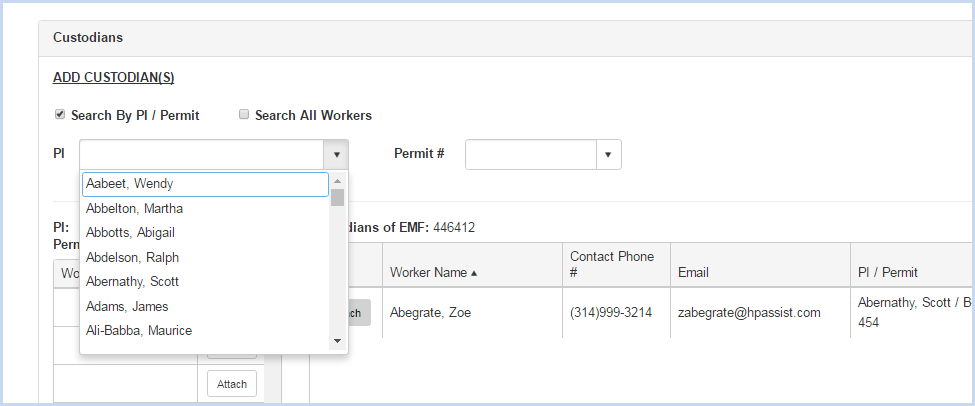
- After the PI and Permit are selected, the list of Workers attached to the permit will be available for attaching.
- Click on the [Attach] button to attach each contact needed.

- When the Search All Workers option is chosen, enter filter criteria (Begins With, etc.) and click the [Search] button.
- Click [Save] to save the entries or [Cancel] to discard any entry/edit and return to the previous screen.