Chemical Catalog
Chemical Catalog
Click on the Other icon on the Main Menu. Then click/select Chemical Catalog under the Chemical Catalog menu list.

- This opens the Chemical Catalog screen as shown below. Scroll to the right to view additional data columns.
- Use the filters and/or sort by column headers to view and search for chemicals in the catalog.
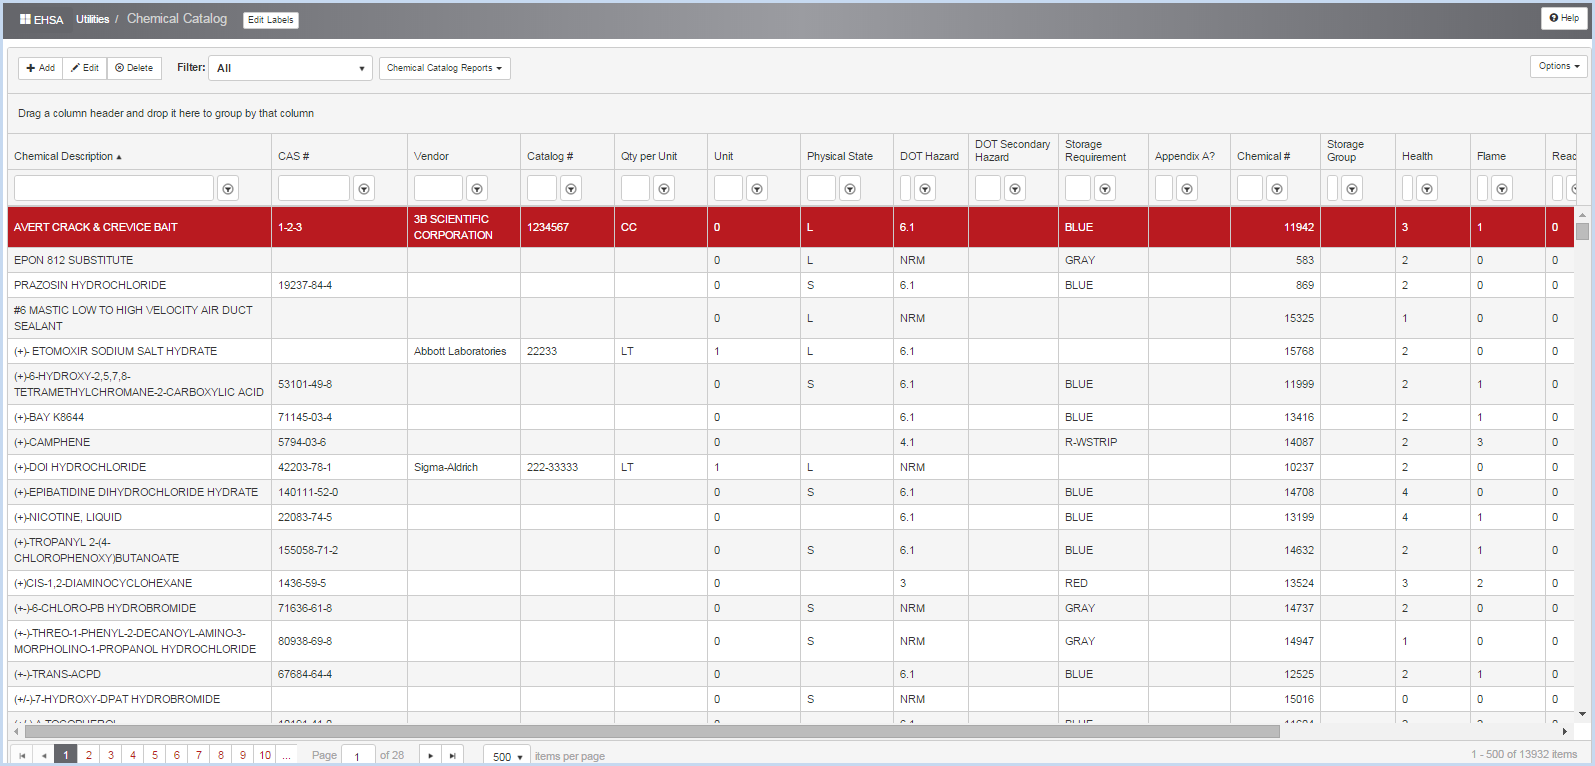
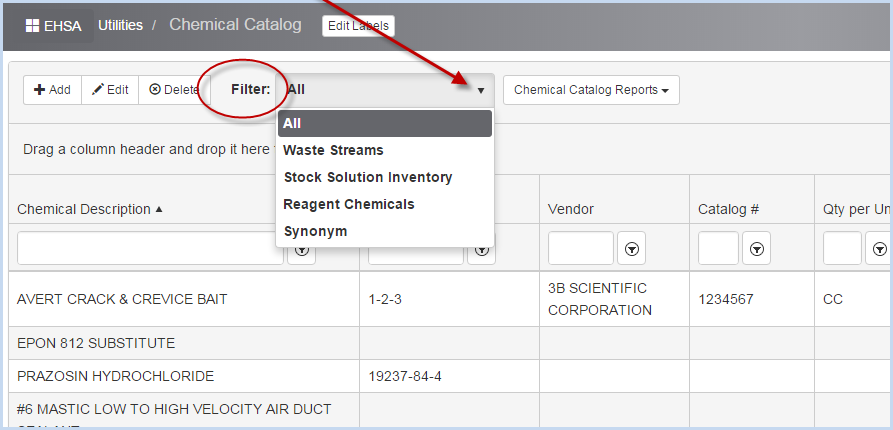
- Use the top lever filter to narrow the list chemicals by the Categories of Catalog Items.
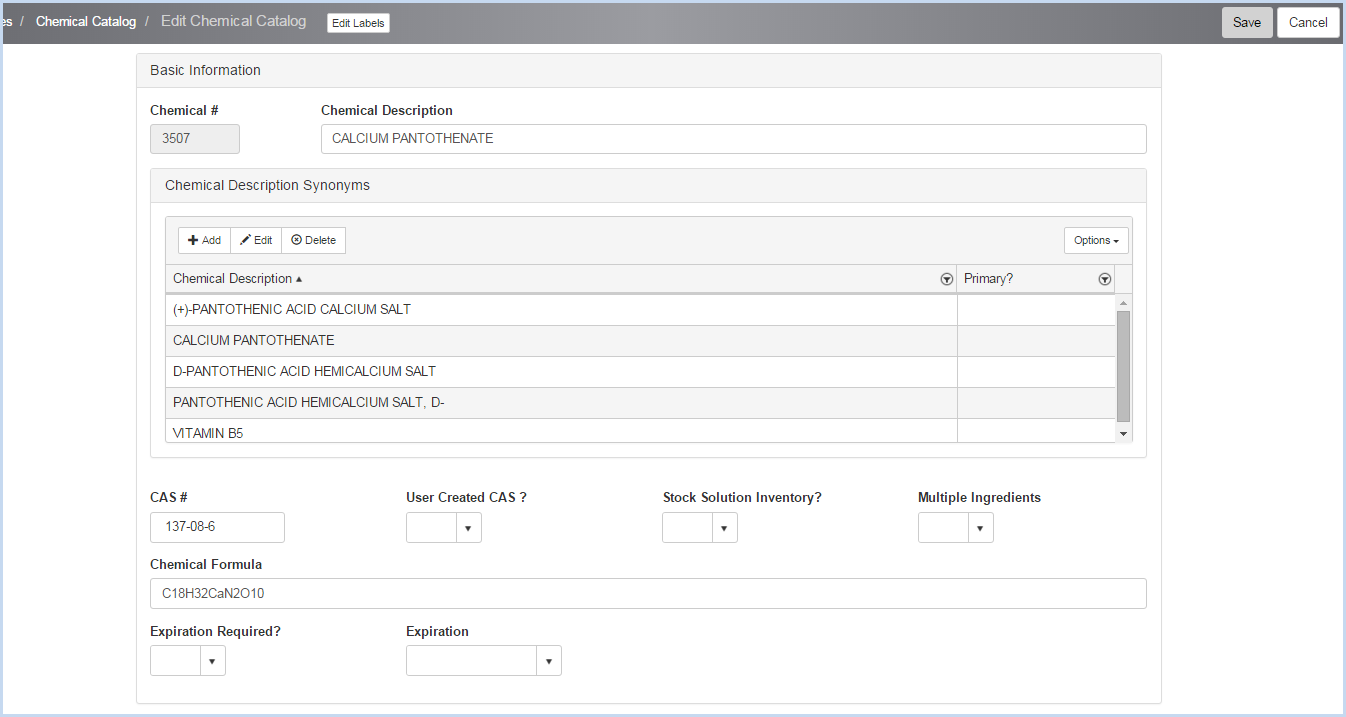
- Click on a catalog item to open the Edit Chemical Catalog screen. The Basic Information section is shown below.
- Add, edit or erase the Chemical Description Synonyms as needed.
- Check if the items is a User Created CAS, Stock Solution Inventory and/or has Multiple Ingredients.
- Select if Expiration Required, and select the Expiration from the dropdown as applicable.
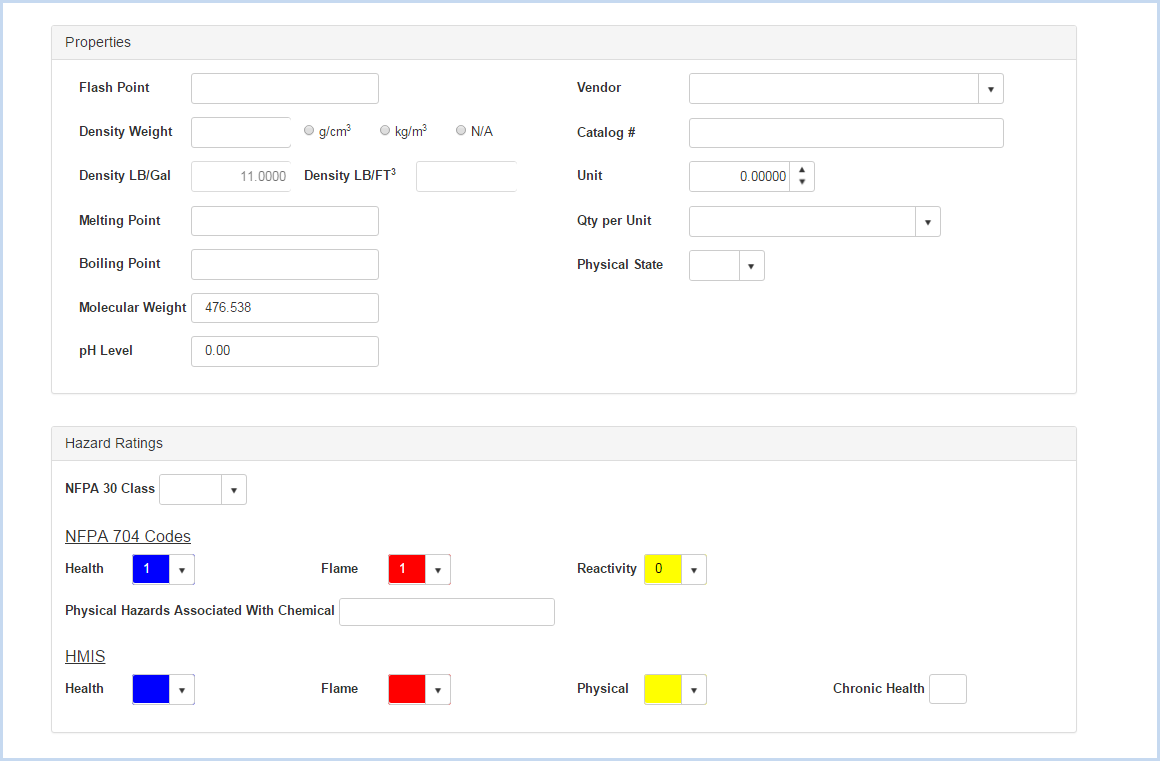
- Scroll down to view the Properties and Hazard Ratings sections.
- Review and edit the Properties field details as applicable.
- Review and edit the Hazard Ratings fields as applicable.
- Scroll further down to view the Transportation section and More Detail tabs.
- Select Transportation details from the dropdown lists.

- Each tab under the More Details section contains additional information for the chemical.
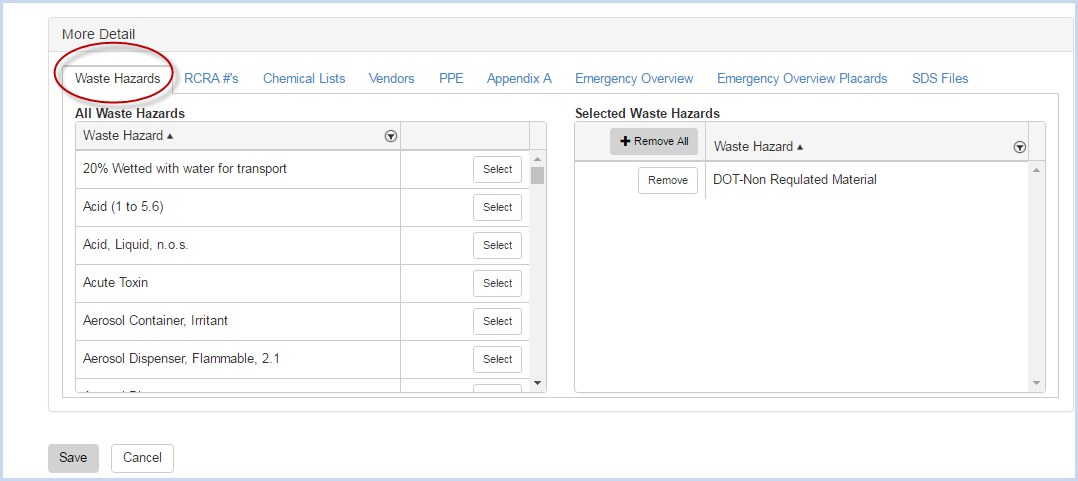
Waste Hazards Tab
- Click [Select] for each Waste Hazard listed under All Waste Hazards to move it to the hazard list for the chemical.
- Click the [Remove] button to remove a Waste Hazard from the chemical's Selected Waste Hazards list.
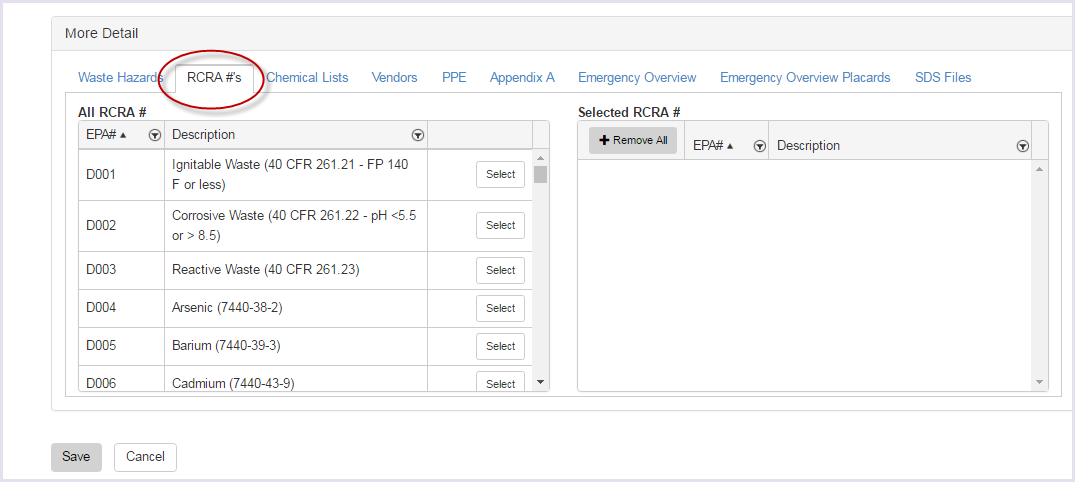
RCRA#'s
- Click [Select] for each RCRA# listed under All RCRA#'s to move it to the list for the chemical.
- Click the [Remove] button to remove an item from the chemical's Selected RCRA# list.
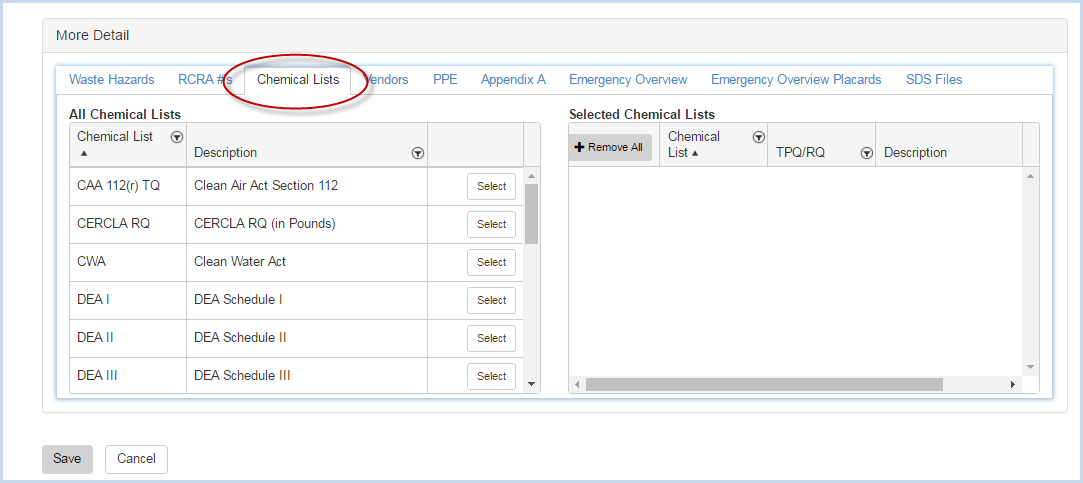
Chemical Lists
- Click [Select] for each Chemical List listed under All Chemical Lists to move it the Selected Chemical Lists for the chemical.
- Click the [Remove] button to remove an item from the chemical's Selected Chemicals Lists.
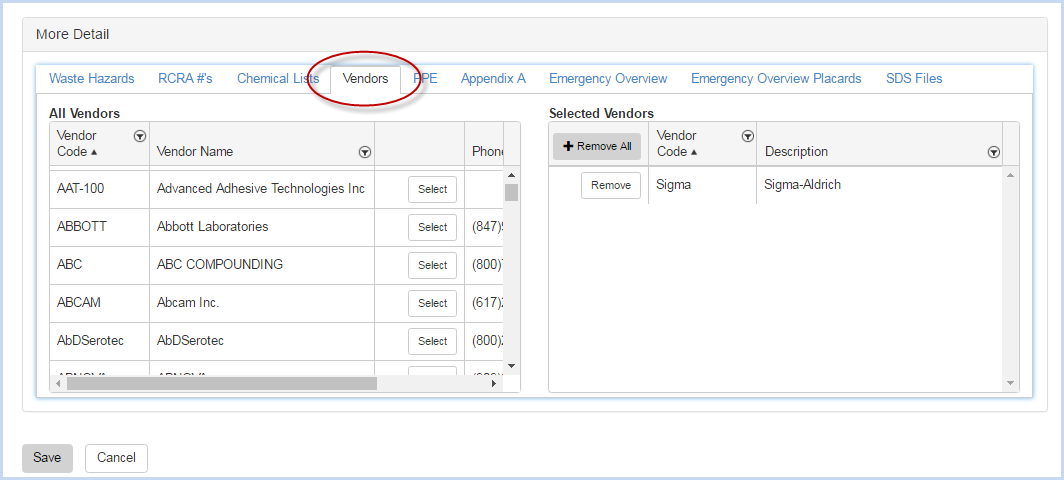
Vendors
- Click [Select] for each Vendor listed under All Vendors to move it to the Selected Vendors list for the chemical.
- Click the [Remove] button to remove an item from the chemical's Selected Vendors list.
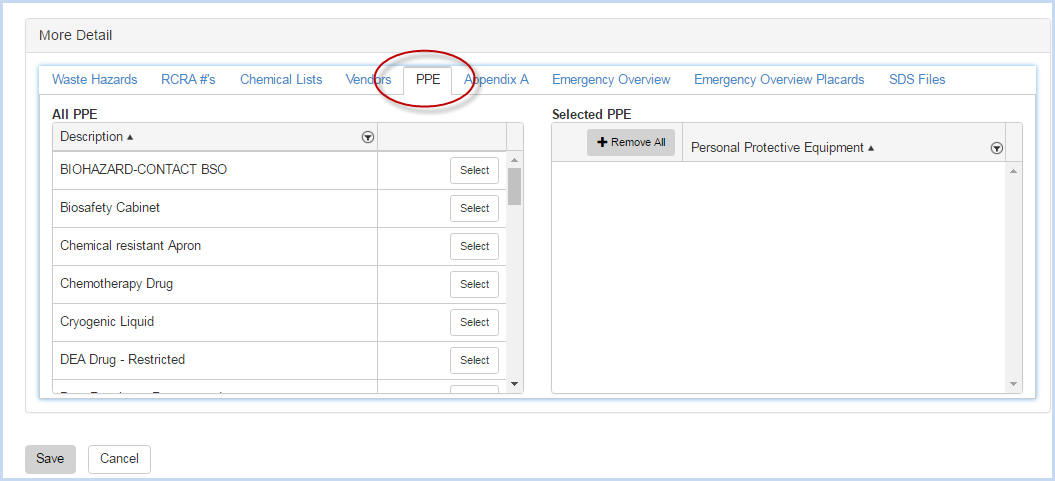
PPE
- Click [Select] for each PPE item item listed under All PPE to move it to the Selected PPE list for the chemical.
- Click the [Remove] button to remove an item from the chemical's Selected PPE list.
Appendix A
- Check the "Appendix A?" box if the chemical is an Appendix A chemical.
- Enter the information as applicable under Release Information, Theft Information, and Sabotage Information.
- Check the boxes in each section as applicable for the chemical.

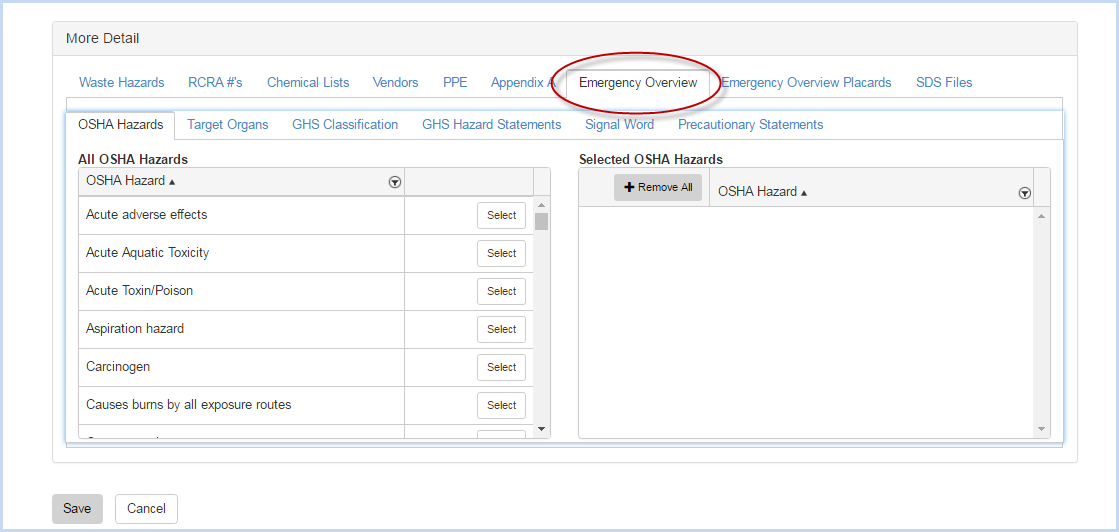
Emergency Overview
- The Emergency Overview section contains additional sub-tabs for OSHA Hazards, Target Organs, GHS Classification, GHS Hazard Statements, Signal Word, and Precautionary Statements.
- Click the sub-tab and click [Select] item from the appropriate list - OSHA Hazards, Target Organs, GHS Classification, GHS Hazard Statements, or Precautionary Statements - to move an item to the chemical's Selected list.
- Click the [Remove] button to remove the list item from the chemical.
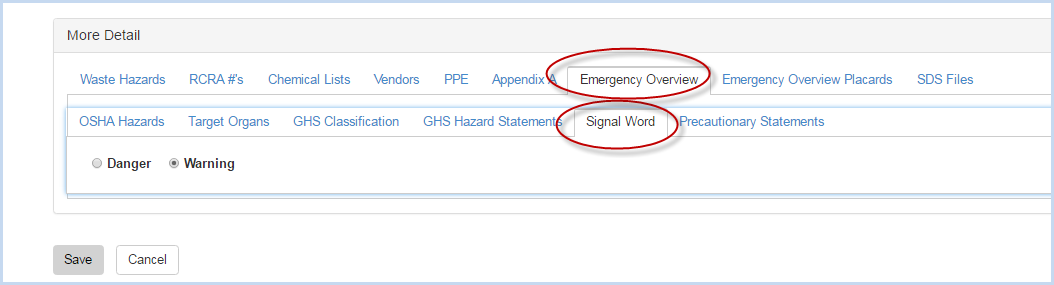
Signal Word
- The Signal Word sub-tab is different that the other Emergency Overview sub-tabs.
- Select the radio button for the Signal Word for the chemical. (Signal words: a single word used to indicate the relative level of severity of hazard and alert the reader to a potential hazard on the label. The signal words used are "danger" and "warning." "Danger" is used for the more severe hazards, while "warning" is used for less severe hazards)
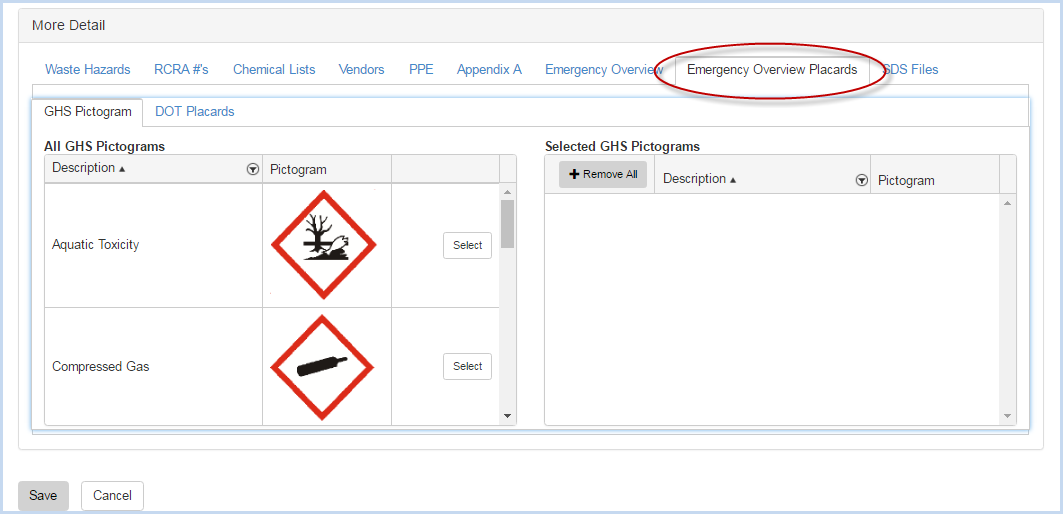
Emergency Overview Placards
- Click [Select] for the image(s) on the GHS Pictogram or DOT Placards tab to move to the image(s) to the corresponding sections for Emergency Placards.
- Click the [Remove] button to remove the image from the chemical.
SDS Files
- Add and manage SDS file document attachments for the chemical in this section.
- Click [+Add] to add a new row (document).
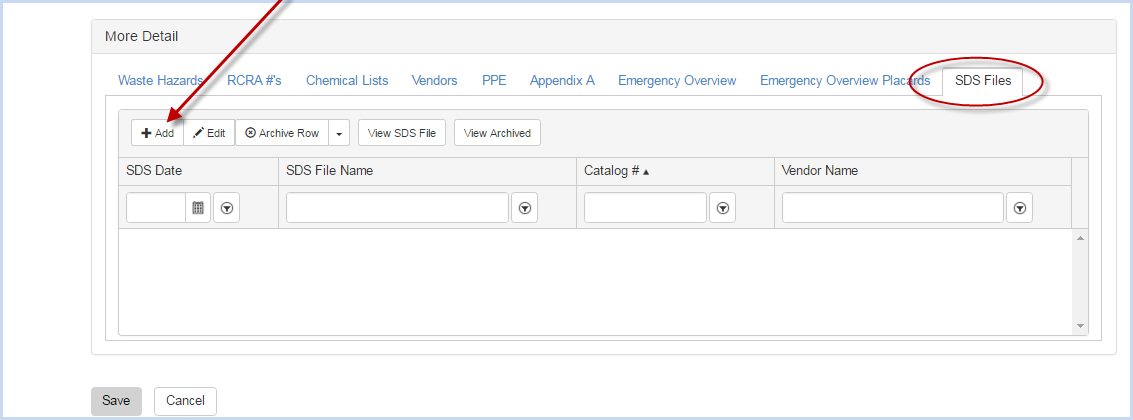
- This opens the entry section below.
- Enter the Catalog Number.
- Select the Vendor from the dropdown list.
- Use the calendar date picker option to select the Date. (This is a required field)
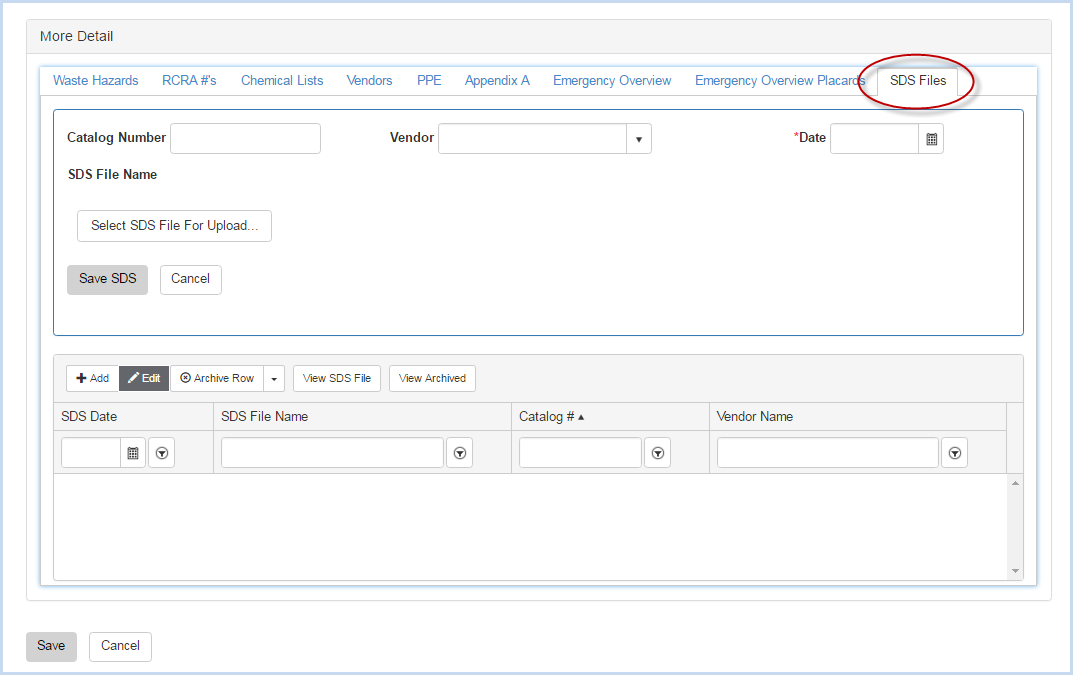
- Click [Select SDS File for Upload] button to navigate to the file to upload
- Then click [Save SDS] to save the file attachment.
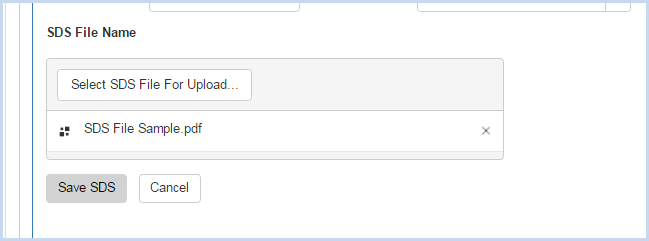
- Click [Save SDS] to save the document, or Click [Cancel] to cancel the upload.
- The SDS document is now listed as shown below.
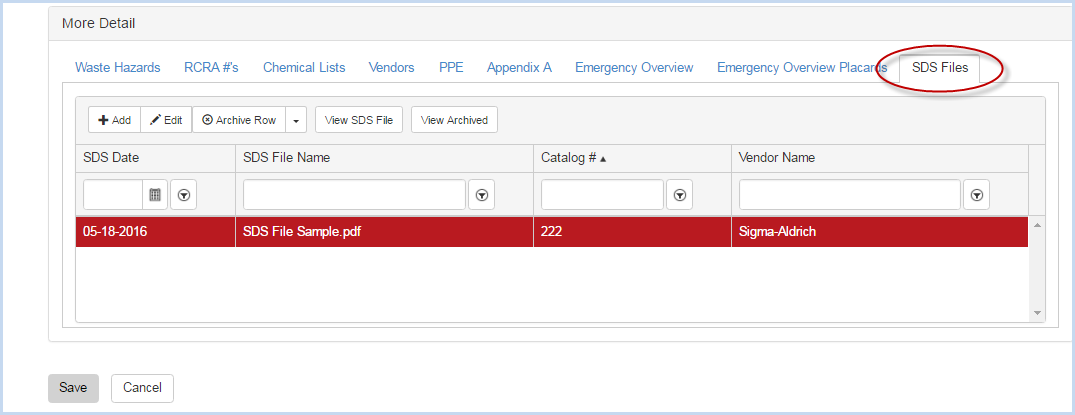
- Click [Save] to save edits/entries, or [Cancel] to discard entries/edits.